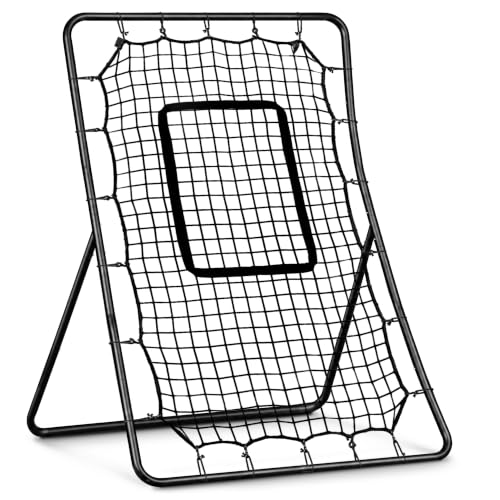
Pitching a Tent: The Ultimate Guide to Setting Up Camp Like a Pro
Master the essential skill of pitching a tent. From choosing the right spot to securing your shelter in wind and rain, this guide will make your next camping setup effortless and secure.
Why Pitching a Tent Matters: A well-pitched tent is your fortress against the elements. It ensures a dry, comfortable night's sleep and protects you from wind, rain, and insects. Learning to pitch your tent correctly is the single most important skill for a successful camping trip.
The Art and Science of Pitching a Tent
Pitching a tent is more than just a chore; it's the moment your campsite transforms into a home. For beginners, the process can seem daunting, but with the right approach, it becomes a simple, even enjoyable, routine. Whether you're using a pop-up tent you can stand up in or a classic dome, the fundamentals remain the same. Mastering these basics ensures you spend less time struggling with poles and more time enjoying the great outdoors. This guide covers everything from pre-pitch planning to advanced weather-proofing techniques.
Choosing the Perfect Campsite Before You Pitch
The success of your tent pitch starts long before you unroll the fabric. Your choice of campsite is critical. Look for a level, clear area. A slight incline is better than a depression where water could pool. Clear away any rocks, sticks, or pinecones that could damage your tent floor or cause discomfort while you sleep. If you're camping in a designated area, like one of the state campgrounds, look for prepared tent pads. If you're more adventurous and heading into the backcountry, understanding how to choose a spot is part of the Leave No Trace principle. Always check for overhead hazards like dead branches or loose rocks that could fall. For more tips on finding a great spot, see our guide on best camping spots.
A Step-by-Step Guide to Pitching Your Tent
While every tent is slightly different, the core process is universal. Always practice pitching your tent at home in your backyard tents area before your trip. This ensures you have all the parts and know the process, which is invaluable if you arrive at your campsite after dark or in bad weather.
- Unpack and Organize: Lay out all your tent components: the tent body, rainfly, poles, stakes, and footprint (if you have one). A footprint or ground tarp is highly recommended to protect your tent's floor from abrasion and moisture.
- Lay Out the Tent Body: Unroll the tent body and stake out the corners. If there's a breeze, this will prevent it from blowing away. Make sure the door is zipped closed to keep out insects.
- Assemble the Poles: Most modern poles are shock-corded. Let them snap together, but don't force them. Check your tent's manual for the specific pole configuration. Many tents have color-coded poles and sleeves for easy assembly.
- Insert the Poles: This is often the trickiest part. Gently thread the poles through the sleeves or clip them to the tent body. Work from one end to the other. Having a second person can make this much easier, especially for large family tents. For those camping solo, an easiest 1-person tent to set up can simplify this step.
- Raise the Tent: Once the poles are in place, they should form the structure of the tent. Lift the tent and secure the pole ends into the grommets or pins at the corners of the tent base.
- Attach the Rainfly: The rainfly is your primary defense against rain and wind. Drape it over the tent and secure it using clips or Velcro. Make sure it's taut and properly aligned. Guy lines should be staked out to provide tension and increase stability.
- Stake It Down: Stake out all the corners and guy lines. This is crucial for stability. In windy conditions, use stronger stakes and make sure they are angled slightly away from the tent. For more advanced techniques, such as how to setup tent on snow, you'll need to use snow stakes or bury anchors like stuff sacks.
Pitching a Tent in Challenging Conditions
Weather can turn on a dime. Knowing how to pitch your tent in rain or wind is a game-changer.
- Pitching in the Rain: The key is to keep the tent's interior as dry as possible. Look for a sheltered spot. Pitch the rainfly first if your tent allows it (some do). As you are setting up a tent in the rain, work quickly and avoid getting the inside wet. Consider a camping canopy to create a dry staging area.
- Pitching in the Wind: Find a natural windbreak, like a thicket of trees or a large rock. Orient the lowest, most aerodynamic side of the tent into the wind. Stake out the windward corners first. Use all available guy lines to secure the tent. A heated tent designed for four-season use will generally have a more robust structure to handle high winds.
- Pitching on a Platform: Some campgrounds have wooden platforms. You can't use stakes. Instead, you'll need to use ropes to tie your tent down to the platform's edges or use heavy rocks. For a detailed guide, check out setting up a tent on a platform.
Essential Gear for Effortless Tent Pitching
Having the right gear can make pitching a tent significantly easier. For beginners, an easy set up screen tent for camping or an instant cabin tent can be a great choice. For families, a spacious 10-person instant cabin tent with screen room offers ample space and quick setup. If you are looking for a more traditional experience, a classic bell tent is iconic but requires more effort to pitch. Other helpful items include:
- Mallet: For driving stakes into hard ground.
- Extra Stakes and Guy Lines: Always carry a few spares, as they can get lost or damaged.
- Footprint or Ground Tarp: To protect your tent's floor and add an extra layer of waterproofing.
- Headlamp: If you arrive at your campsite after dark, a headlamp is essential for hands-free pitching.
Your Post-Pitch Checklist for a Perfect Camp
Once your tent is up, take a moment to do a final check. Ensure all seams are sealed (if not factory-sealed). Make sure the rainfly is properly tensioned and not touching the inner tent walls, which can cause condensation. Organize the inside of your tent. A tidy tent is a comfortable tent. For a comprehensive list of what to bring inside and outside your tent, refer to our camping list. A well-organized camp, starting with a perfectly pitched tent, sets the stage for a memorable and relaxing adventure. For those looking for a more luxurious experience, you might even consider a glamping tent.
Recommended Tents for Easy Pitching
⚠️ AFFILIATE DISCLOSURE: This website contains affiliate links. As an Amazon Associate, we earn from qualifying purchases. If you make a purchase through these links, we may receive a small commission at no additional cost to you. Read our full affiliate policy.

PowerNet Baseball & Softball Practice Net 7x7 FT, Outdoor Baseball Training Equipment for Pitching & Batting Practice (Red Net)
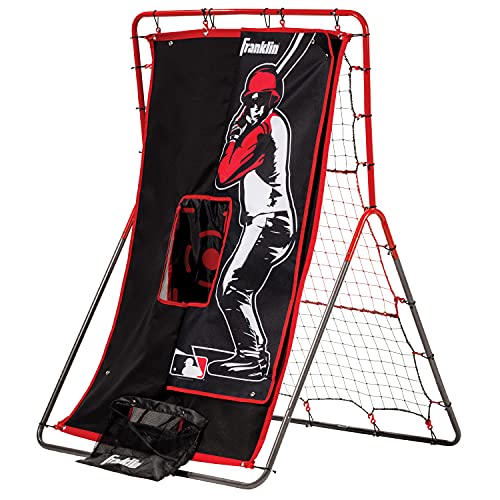
Franklin Sports Switch Hitter Rebounder + Pitching Target - 55 x 36 Inch | Fielding + Throwing Drills, Bounces Back Pop-Flies + Grounders, Steel Frame Netting, Built For Driveway Or Practice Field

ZEALFEEL 9 Hole Baseball Pitching Net with Strike Zone & Carry Bag | 9-hole pitching target with adjustable height and strike zone for baseball and softball accuracy training, teens and adults

LPALNTYS 9 Hole Pitching Net with Strike Zone,Improve Baseball Softball Accuracy Training, Adjust Height to 45 Inches, Portable Set up, Indoor Outdoor Practice for Beginner and Professional
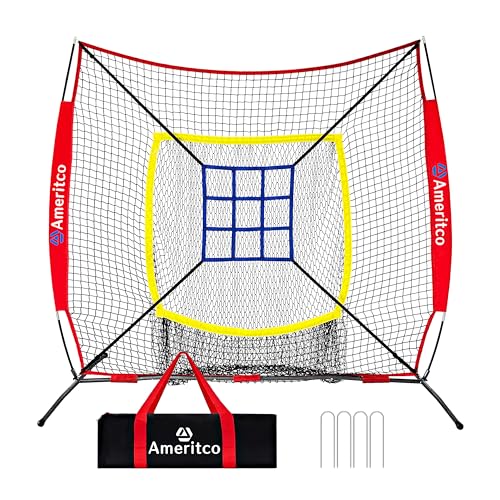
Ameritco 7x7ft Baseball Net with Strike Zone, Large Pocket Baseball Training Net for Hitting/Batting/Pitching/Throwing,Scratch Resistant Base,Indoor/Outdoor Versatile Use for All Levels (Red)

ZONLOLO 6x6ft Portable Baseball & Softball Net for Hitting,Pitching and Throwing, with Sturdy Bow Frame,Battting Tee,Ball Caddy and 2 Strike Zones, Perfect Pitching net for Kids!
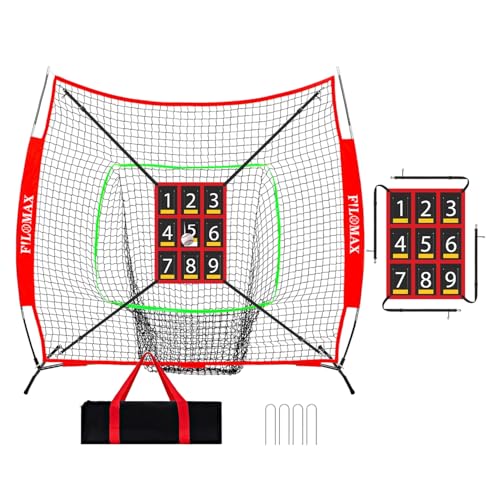
FILOMAX 7x7 ft Baseball & Softball Practice Net with 9 Numbered Strike Zone | PRO Training Net for Hitting, Pitching & Batting | with Carry Bag, Bow Frame for All Ages & Skills (red)