Camping FAQ: Your Top Questions Answered
From choosing the right gear to understanding camping regulations, find clear, honest answers to the most frequently asked camping questions by beginners and experienced campers alike.
Why This FAQ Matters: Whether you are planning your very first camping trip or looking to resolve a specific doubt before investing in gear, this page addresses the real questions campers ask most. Every answer is backed by practical experience and reliable outdoor sources so you can make confident decisions.
Jump to a Section
General Camping Questions
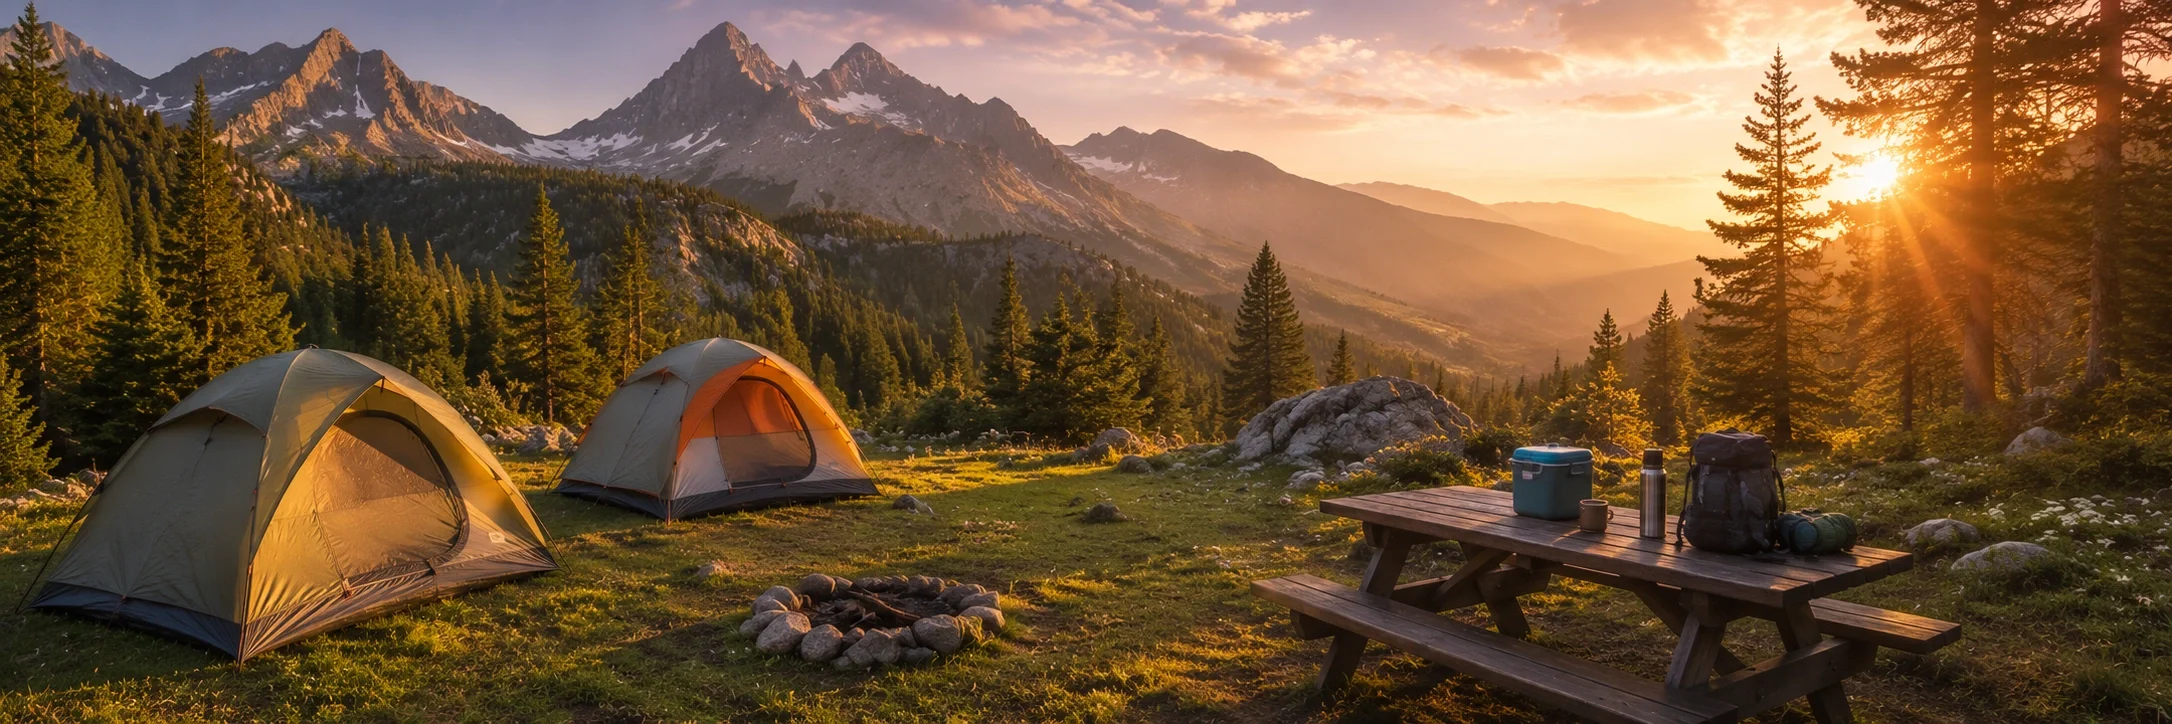
Camping and glamping represent two ends of the outdoor accommodation spectrum. Traditional camping involves setting up your own shelter—typically a tent, hammock, or camping bed—and managing basic needs like cooking, lighting, and hygiene with portable equipment. You carry or pack your gear, set it up yourself, and embrace a simplified lifestyle.
Glamping (glamorous camping) removes the setup work and discomfort. Accommodations include pre-pitched safari tents, yurts, cabins, treehouses, and domes that come furnished with real beds, electricity, heating or air conditioning, and often private bathrooms. Some glamping sites even offer kitchens, Wi-Fi, and room service.
Both experiences have their place. Choose camping if you enjoy hands-on outdoor skills and want an affordable adventure. Choose glamping if you want to enjoy nature without sacrificing comfort or if you are introducing someone to the outdoors who might not enjoy roughing it.
No—camping is not legally permitted everywhere. Understanding where you can and cannot camp is one of the most important things to learn before heading out. Here is a breakdown of land types and their camping rules:
- National Parks: Camping is only allowed in designated campgrounds. Backcountry camping requires permits. No overnight parking or roadside camping.
- State Parks: Similar to national parks—designated sites only, reservations often required. Check individual park rules.
- National Forests & BLM Land: Dispersed camping is generally permitted unless specifically posted otherwise. You can camp anywhere that is not marked as closed, as long as you follow distance rules (typically 200 feet from water sources and trails). This is where BLM camping shines for free or low-cost camping.
- Private Property: Never camp on private land without explicit permission from the owner. Trespassing laws apply.
- Roadside & Rest Areas: Most states prohibit overnight sleeping at rest areas. Some Walmart stores allow overnight RV parking, but this varies by location and local ordinances.
For a thorough understanding, read our detailed article on whether you can camp anywhere, which covers each land type with specific rules and exceptions.
The distinction comes down to amenities, infrastructure, and legal designation:
Campground camping takes place at developed sites with designated tent pads or RV spaces. You typically have access to picnic tables, fire rings or grills, restrooms (vault toilets at minimum, flush toilets at developed sites), potable water, and sometimes showers and electrical hookups. Campgrounds sit in the budget-friendly to mid-range tier per night and often require reservations through Recreation.gov or state park systems.
Wild camping (also called dispersed camping or backcountry camping) means setting up camp outside of developed campgrounds, usually on public land like national forests or BLM areas. There are no facilities—you bring everything including water, a portable toilet or trowel for waste, and your own camping stove. It is typically free and offers solitude, but requires greater self-sufficiency and safety awareness.
Camping styles range from accessible to extreme. Here are the most popular options to help you find your fit:
- Car camping: Drive to your site and unload gear from your vehicle. The most accessible style—ideal for families and beginners. You can bring heavier items like a large cooler, camping table, and comfortable chairs.
- RV camping: Travel and sleep in a motorhome or trailer. Offers beds, a kitchen, and bathroom on board. Site fees sit in the mid-range tier per night with full hookups.
- Backpacking: Carry all gear in a backpack and hike to a remote campsite. Requires lightweight, compact equipment. The most physically demanding style.
- Wild camping: Camping outside designated areas on public land. Free and secluded but requires strong navigation and survival skills.
- Glamping: Pre-set accommodations with hotel-like amenities. Perfect for those who want nature views without the work.
- Solo camping: Camping alone. Incredibly rewarding for self-reflection but requires extra safety preparation.
Explore all styles in detail in our complete camping styles guide. If you are new to camping, start with car camping using a first-time camping checklist to ensure you have everything needed.
Absolutely. Camping is one of the most accessible outdoor activities, and millions of people try it for the first time each year. The key is starting simple and building skills gradually. Here is a realistic path for beginners:
- Start with car camping at a developed campground with restrooms and potable water. This eliminates the hardest parts—carrying heavy gear and finding water.
- Borrow or rent gear before buying. Many outdoor retailers like REI rent tents, sleeping bags, and camping essentials for a budget-friendly daily rate.
- Go with an experienced friend or join a guided group trip. Learning from someone experienced accelerates your skills enormously.
- Keep your first trip short—one or two nights is enough to test whether you enjoy it without a major commitment.
- Use a checklist to avoid forgetting critical items. Our beginner camping checklist covers everything you need.
For more guidance, check our first-time camping tips which covers common mistakes to avoid and how to make your debut trip enjoyable.
Gear & Equipment FAQ
Tent sizing is one of the most common sources of confusion for new campers. Manufacturers label tents by person capacity, but these numbers are optimistic. Here is how to actually choose:
- Solo camping: A 2-person tent gives you room for yourself and your gear. A 1-person tent is only suitable for ultra-light backpacking where weight matters more than comfort.
- Couple camping: A 3-person tent is the minimum for two adults. A 4-person tent provides comfortable space for two people plus gear stored inside.
- Family of 3–4: A 6-person tent is the realistic minimum. An 8-person tent gives everyone breathing room and space for gear.
Beyond capacity, consider floor area (measured in square feet), peak height (can you sit up or stand?), and vestibule space (covered area outside the main tent for muddy boots and packs). Our detailed guide on how to choose tent size includes comparison charts and real-world measurements.
A quality camping tent typically lasts 5–10 years with proper care, though budget tents may show significant wear after 2–3 seasons. Lifespan depends on materials, usage frequency, and maintenance habits.
Factors that affect tent longevity:
- Material quality: Polyester with a 1500mm–3000mm hydrostatic head rating lasts longer than basic nylon. Aluminum poles outlast fiberglass.
- UV exposure: Sunlight degrades fabric over time. A camping tarp pitched over your tent blocks UV rays and adds years of life.
- Storage: Never store a wet tent. Mold and mildew destroy waterproof coatings. Always dry completely before packing away.
- Setup care: Avoid over-tensioning poles, which causes bending and breakage. Use a footprint or ground cloth to protect the floor.
To maximize lifespan, clean your tent after each trip (mild soap and cool water—never machine wash), reapply seam sealer annually, and store it loosely in a breathable bag rather than compressed in its stuff sack. Read our full analysis at how long do tents last.
It depends entirely on how you camp. Here is a practical breakdown by use case:
Budget tents (budget-friendly): Adequate for occasional summer car camping in mild weather. Expect 2–4 seasons of use. May leak in heavy rain and feel flimsy in wind. Fine for testing whether camping is for you.
Mid-range tents (mid-range): The sweet spot for most campers. Brands like REI, Marmot, and Big Agnes offer three-season tents with proper waterproofing, quality poles, and thoughtful design. These last 5–8 years with care and handle rain, wind, and moderate temperatures well.
Premium tents (premium): Worth it for frequent campers, backcountry campers, and winter campers. Features like DAC Featherlite poles, 3000mm+ waterproof ratings, lightweight materials, and expedition-grade construction justify the investment for demanding conditions.
Sleeping bag temperature ratings can be misleading if you do not understand what they mean. The EN/ISO rating system provides three numbers:
- Comfort rating: The temperature at which a cold sleeper (typically female) can sleep comfortably.
- Lower limit (transition) rating: The temperature at which an average male sleeper can sleep curled up without feeling cold.
- Extreme rating: A survival temperature only—do not plan to use this as your target.
Practical buying advice by season:
- Summer (nights 50–65°F): Choose a bag with a comfort rating of 50–55°F. These are lightweight and sit in the budget-friendly tier.
- Three-season (nights 30–50°F): Comfort rating of 25–35°F. The most versatile choice. Expect mid-range tier for quality options.
- Winter (nights below 30°F): Comfort rating of 0–15°F or lower. Winter sleeping bags use down or synthetic insulation rated for sub-freezing temperatures and sit in the mid-range to premium tier.
Always choose a bag rated 10°F below the coldest temperature you expect. Your sleeping pad also matters—a pad with a low R-value will let cold ground steal your warmth regardless of bag rating. Learn more in our sleeping bag temperature guide.
Neither is objectively better—each excels in different conditions. The right choice depends on your camping environment, priorities, and comfort preferences.
Tent advantages: Works on any terrain (rocky, sandy, uneven), provides more interior space for changing clothes and storing gear, better wind and rain protection, easier for couples and families, no trees required. A quality 2-person tent weighs 3–5 lbs and sits in the budget-friendly to mid-range tier.
Hammock advantages: Lighter (complete setup at 1.5–3 lbs), keeps you off cold and wet ground, more comfortable for side and back sleepers when set up correctly, compact pack size, great for wooded areas with good tree coverage. A complete hammock setup (hammock, straps, tarp, bug net) sits in the budget-friendly to mid-range tier.
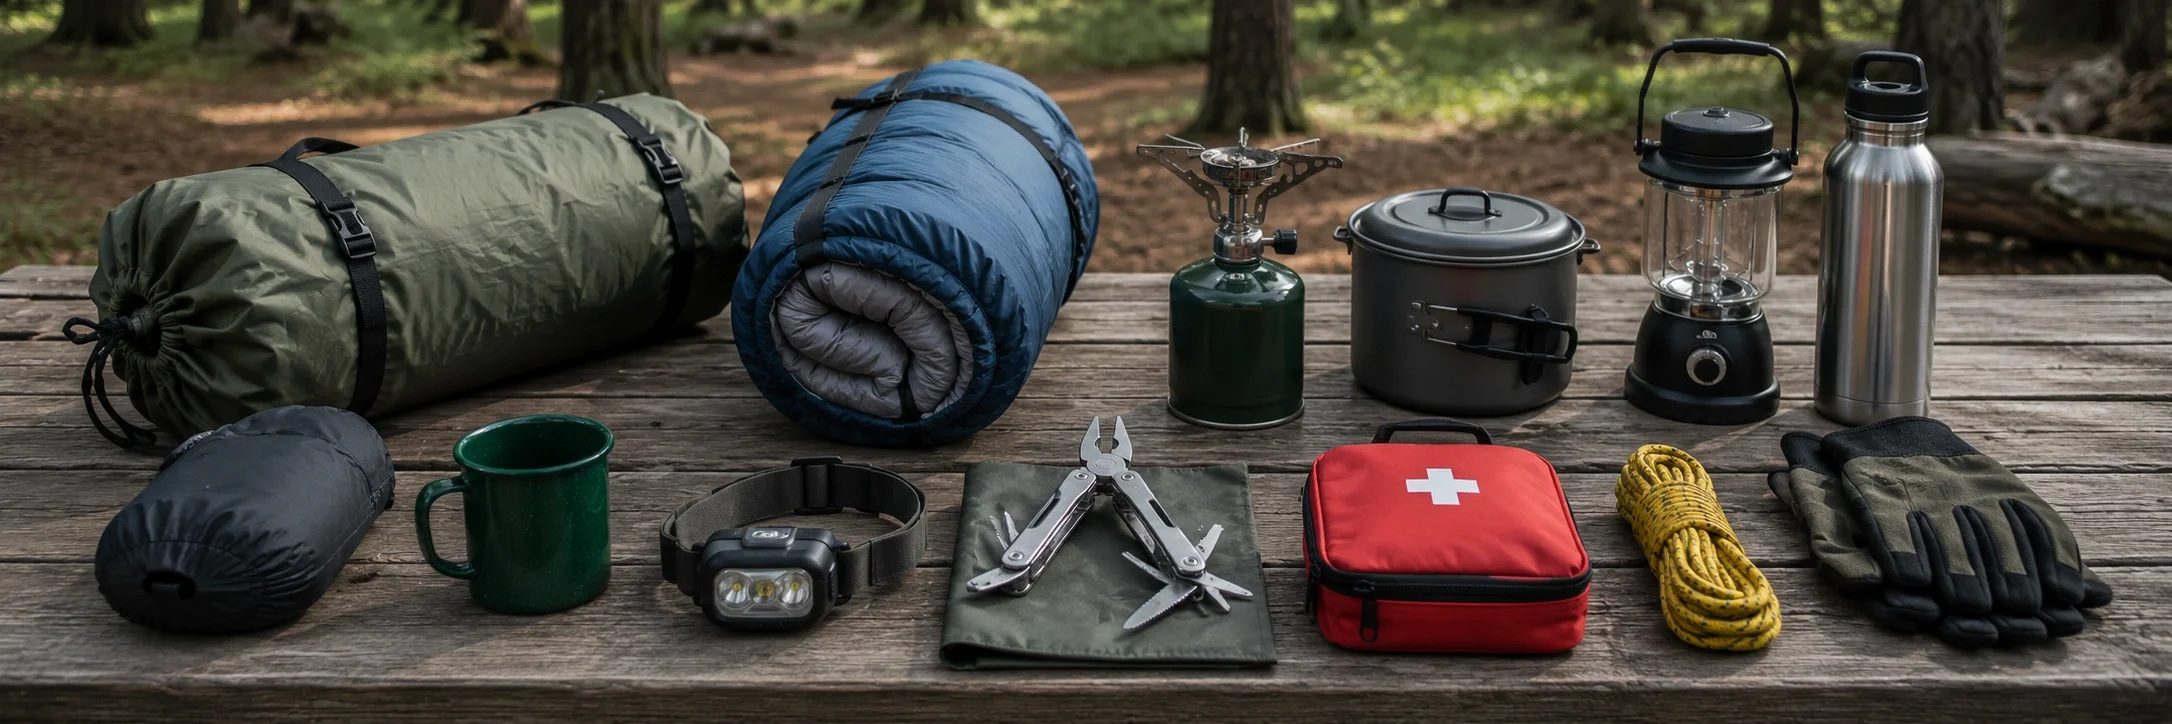
Your camping kitchen setup depends on trip length and cooking ambitions, but here is a practical tiered approach:
Minimal setup (weekend trip, simple meals):
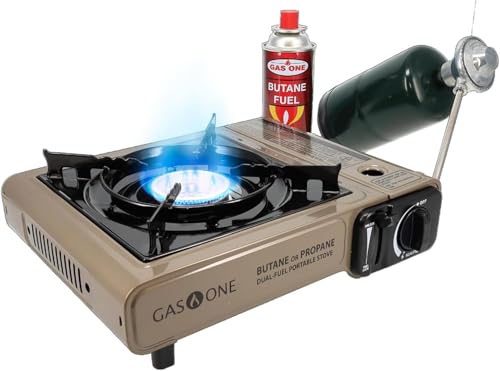
- A camping stove (canister stove is simplest, budget-friendly)
- One pot or a cookware set (budget-friendly)
- A spork or utensil set (budget-friendly)
- A camping kettle for boiling water (budget-friendly)
- Basic seasoning, oil, and easy-prep meals
Full setup (extended trips, group cooking):
- Add a two-burner camp cooker (budget-friendly to mid-range) for simultaneous cooking
- Full utensil kit with spatula, tongs, and cutting board
- Cooler for perishables (rotomolded cooler in mid-range to premium tier keeps ice 3–7 days)
- Dutch oven or camping bar setup for more elaborate meals
- Biodegradable soap, sponge, and wash basin for cleanup
For meal planning ideas, check our camping meals guide and food packing list.
Safety FAQ
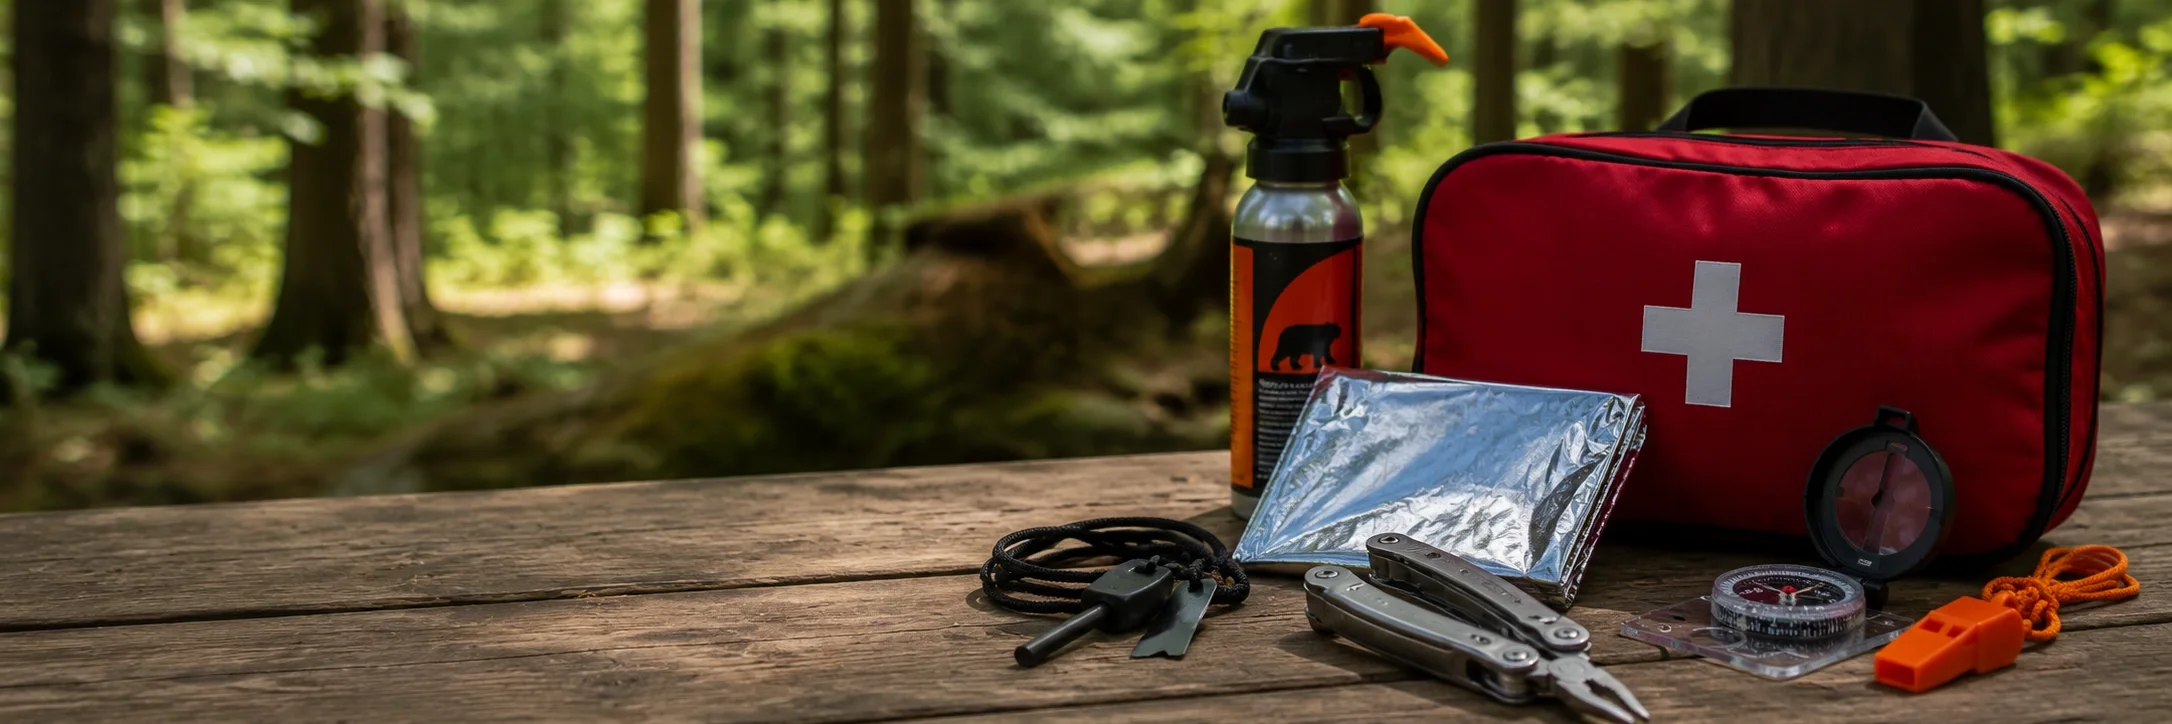
Solo camping can be safe, but it requires more preparation than group camping. The main risks are medical emergencies without immediate help, getting lost, and wildlife encounters without backup. Here is how experienced solo campers manage these risks:
- Tell someone your plan: Share your exact campsite location, trail route, vehicle description and plate number, and your expected return date and time. Set a check-in deadline—if you do not contact them by then, they should call authorities.
- Carry reliable communication: Cell service is unreliable in many camping areas. A satellite communicator like a Garmin inReach (premium) can send SOS signals and text messages from anywhere on Earth.
- Pack a comprehensive first aid kit: A well-stocked camping first aid kit should include bandages, antiseptic, pain relievers, allergy medication, blister treatment, and any personal prescriptions.
- Choose established campgrounds initially: Having other campers nearby provides an informal safety net. Only progress to remote backcountry solo trips after gaining significant experience.
- Know your limits: Do not attempt challenging hikes, unfamiliar terrain, or extreme weather conditions alone until you have experience.
For a complete safety framework, read our in-depth guide on whether camping alone is safe.
This question sparks heated debate, but the data and expert consensus are clear: bear spray is more effective than firearms for stopping bear attacks.
A study by the US Fish and Wildlife Service examined 63 bear encounters and found that bear spray stopped aggressive behavior in 92% of cases, while firearms were effective only 67% of the time. The reasons are practical:
- Accuracy under stress: Bear spray creates a 20–30 foot cloud—you do not need precise aim. A charging bear covers ground incredibly fast, making accurate firearm shots extremely difficult even for experienced shooters.
- Non-lethal: Bear spray deters the bear without killing it, avoiding legal complications and ecological impact.
- Weight and accessibility: A canister of bear spray weighs 8–11 ounces and can be carried on a hip holster for instant access. A firearm adds significant weight and may be inaccessible when needed most.
- Legality: Bear spray is legal in all national parks. Firearms are restricted in many parks and require permits.
Proper food storage is non-negotiable in bear country. A bear that obtains human food once will likely return, creating danger for future campers and often resulting in the bear being euthanized. Here are the standard methods:
- Bear canisters: Hard-sided, bear-resistant containers required in many areas (Sierra Nevada, parts of Yosemite). They sit in the mid-range tier to buy or are available for rent on a per-day basis. The most reliable method.
- Bear hangs (PCT method): Suspend your food bag at least 10 feet off the ground and 4 feet from the trunk. This is free but requires suitable trees and proper technique—many campers do it incorrectly.
- Bear boxes: Steel lockers provided at many campgrounds. Free and effective when available—always use them if present.
- Vehicle storage: In some areas, storing food in a hard-sided vehicle (not a soft-sided tent or pop-up) is acceptable. Windows must be fully closed. This is NOT allowed in some bear-heavy areas like certain national parks.
What counts as food? All food, toiletries (toothpaste, sunscreen, insect repellent), trash, and anything with a scent. Even empty food wrappers should be stored. For complete procedures, see our food storage rules and bear safety guide.
Campfire rules vary dramatically by location, season, and current conditions. Ignorance of fire regulations can result in significant fines, and worse—wildfires that destroy homes and habitats.
Key regulations to understand:
- Fire bans: During dry conditions, counties and land management agencies issue fire bans that prohibit all open flames—including campfires, charcoal grills, and sometimes even camping stoves. Check fire ban information before every trip.
- Fire rings only: Where fires are permitted, use only established fire rings, fire pans, or mound fires. Never build a fire directly on the ground outside a designated area.
- Firewood rules: Many areas prohibit bringing outside firewood to prevent invasive species. Buy local or gather dead and down wood (where permitted).
- Extinguishing: Fires must be cold to the touch before leaving. Pour water, stir the ashes, pour more water, and feel with the back of your hand. Learn proper technique in our how to extinguish a campfire guide.
For comprehensive rules, read our campfire regulations article and campfire safety rules.
Cell phones are unreliable in most camping areas. Depending on your trip type, here are the communication options ranked by capability:
- Satellite communicators (premium): Devices like Garmin inReach and Zoleo send and receive text messages via satellite, include GPS tracking, and have an SOS button that connects to emergency response centers. They require a subscription but are the best all-around option.
- Personal Locator Beacons (PLBs) (mid-range): PLBs broadcast a one-way SOS signal to rescue authorities via satellite. No subscription required, but they cannot send or receive messages—just alert rescuers to your location.
- Two-way radios (budget-friendly per pair): Useful for communication within your group on hikes or between vehicles. Range is typically 2–35 miles depending on terrain, but they do not connect to outside help.
- Satellite phones (premium): Satellite phones allow voice calls from anywhere but are expensive and overkill for most campers.
For most campers, a satellite communicator is the ideal balance of capability, cost, and weight. Learn more in our emergency communication guide and camping communication devices comparison.
Planning & Booking FAQ
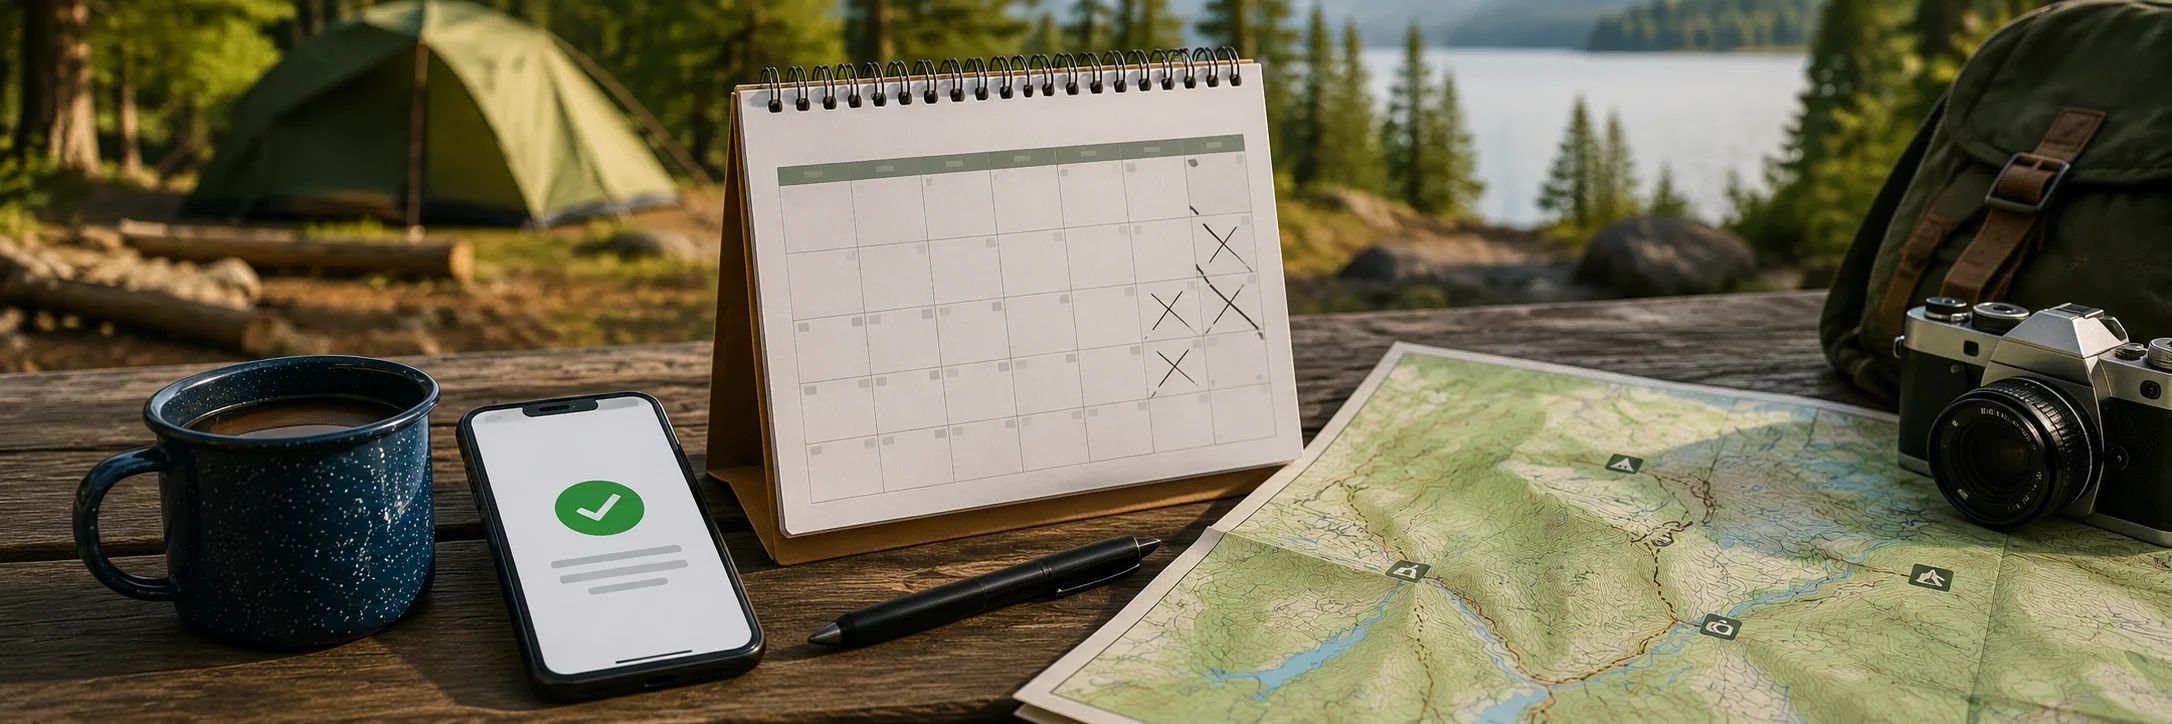
It depends on where, when, and how you plan to camp. Here is a practical guide:
- National park campgrounds: Reservations are strongly recommended and often essential. Popular parks like Yosemite, Yellowstone, and the Smoky Mountains book out months in advance, especially for summer weekends and holidays. Book through Recreation.gov, which opens reservations 6 months ahead.
- State park campgrounds: Many accept reservations through state park websites or Reserve America. Some sites are first-come, first-served, but the best sites often go to those who reserve.
- BLM and national forest dispersed camping: No reservations needed—and no fees. This is the appeal of BLM camping. However, popular dispersed areas near cities can fill up on weekends.
- Private campgrounds (KOA, Hipcamp, etc.): Reservations recommended, especially during peak season. Many accept same-day bookings if space is available.
Read more strategies in our do I need a reservation guide and learn about cancellation policies so you know your options if plans change.
The "best" time depends on your region, tolerance for weather, and what you want from the experience:
- Spring (March–May): Wildflowers bloom, temperatures are mild, and crowds are thinner. Downsides: unpredictable weather, rain, some high-elevation roads still closed. Great for spring camping in lower elevations.
- Summer (June–August): Most popular season—warm weather, all facilities open, kids out of school. Major downsides: crowds, higher fees, bugs, and heat in some regions. Book early. See our summer camping checklist.
- Fall (September–November): Many campers' favorite season. Cooler temperatures, fall foliage, fewer bugs, and smaller crowds after Labor Day. Fall camping offers some of the best conditions of the year.
- Winter (December–February): Not for beginners without proper preparation. Offers solitude, beautiful snowy landscapes, and unique experiences like ice fishing. Requires specialized winter camping gear and knowledge. See our winter camping checklist.
For region-specific timing, check our best time to camp guide which breaks down optimal months by US region and camping type.
Camping costs span a wide range depending on your style. Here is a realistic tier breakdown:
Per-night camping fees:
- Dispersed camping (BLM/national forest): free
- Basic national forest campground: budget-friendly
- State park campground: budget-friendly
- National park campground: budget-friendly to mid-range
- Private campground (KOA, etc.): mid-range
- RV site with full hookups: mid-range
- Glamping: premium
One-time gear investment (beginner):
- Budget setup (tent, sleeping bag, pad, stove, headlamp): budget-friendly
- Mid-range setup (quality tent, sleeping bag, pad, stove, cookware, cooler, lighting): mid-range
- Premium setup (top-tier everything): premium to luxury
Ongoing demands: Fuel, food, firewood, and replacement consumables all sit in the budget-friendly tier for typical trip lengths. For a detailed budget framework, visit how much does camping cost.
Getting lost is one of the most feared scenarios for campers, but staying calm and following proven steps dramatically improves outcomes. The universally recommended protocol is STOP:
- S – Stop: Sit down immediately. Do not take another step. Panic leads to poor decisions and gets you more lost.
- T – Think: How did you get here? Can you retrace your steps? When was the last point you knew your location?
- O – Observe: Look around for landmarks, listen for sounds (roads, water, other people), check your resources (water, food, warmth, communication devices).
- P – Plan: Decide whether to retrace (only if you are certain of the direction) or stay put. In most cases, staying put is the safest choice—rescuers will find you faster if you are not moving.
If you have a satellite communicator or PLB, activate the SOS function. If you only have a cell phone, try calling 911—even without signal bars, phones can sometimes reach towers. Use SOS signals like three whistle blasts, three fires, or bright colored clothing arranged in a triangle to attract attention.
Prevention is always better than rescue. Carry a map and compass (or handheld GPS), tell someone your plan, and stay on marked trails. Read our full guide on what to do if lost.
Regulations & Rules FAQ
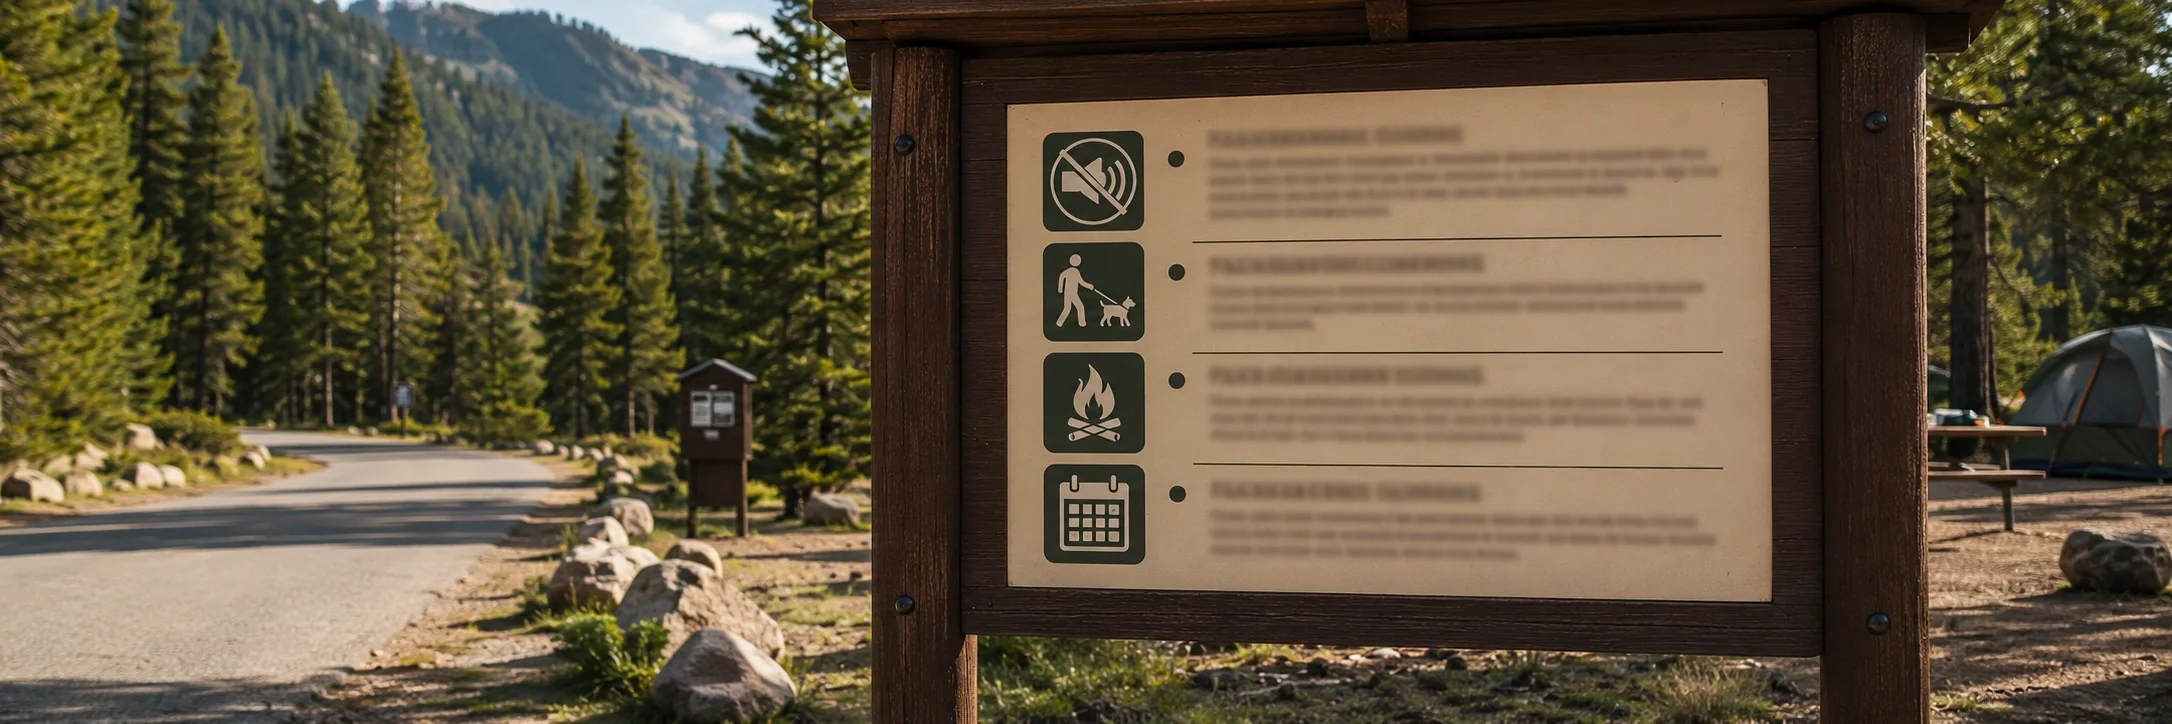
Bureau of Land Management (BLM) land covers approximately 247 million acres across 12 western states, and it offers some of the best free and low-cost camping in America. Here are the key rules:
- Stay limits: Most BLM land allows 14 days of continuous camping in one location. After 14 days, you must move at least 25 miles away. Some areas have shorter limits (5–7 days) during peak season.
- No facilities: Dispersed BLM camping has no water, toilets, or trash service. Pack out everything you bring in. Bring a portable toilet or follow proper cathole digging protocols.
- Distance requirements: Camp at least 200 feet from water sources and 100 feet from roads when possible. Do not camp in active livestock grazing areas.
- Fire rules: Follow current fire restrictions. When fires are allowed, use existing fire rings or bring a fire pan. Always fully extinguish fires.
- Vehicle rules: Stay on established roads. Off-road driving is prohibited except on designated OHV areas. Some areas allow roadside camping, others require pulling off the road.
BLM land is ideal for car camping and dispersed camping. For detailed area-by-area guidance, read our BLM camping rules and BLM camping guide.
The Leave No Trace (LNT) framework consists of seven principles designed to minimize human impact on natural environments. These are not just suggestions—they are increasingly adopted as regulations on public lands:
- Plan ahead and prepare: Know the regulations, weather, and terrain of your destination. Prepare for extreme weather, hazards, and emergencies. Repackage food to minimize waste.
- Travel and camp on durable surfaces: Stick to established trails and campsites. In pristine areas, spread use to avoid creating new trails. Avoid camping on vegetation.
- Dispose of waste properly: Pack out all trash, leftover food, and litter. Deposit human waste in catholes 6–8 inches deep and 200 feet from water. Pack out toilet paper.
- Leave what you find: Do not pick flowers, move rocks, or disturb cultural or historic artifacts. The rule is simple: if it was not yours when you arrived, leave it.
- Minimize campfire impacts: Use a camping stove instead of a fire when possible. Where fires are allowed, use existing fire rings and keep fires small. Burn all wood to white ash.
- Respect wildlife: Observe from a distance. Never feed animals—it alters their natural behavior and creates dangerous dependencies. Store food securely per food storage rules.
- Be considerate of other visitors: Keep noise levels down, yield to other users on trails, and respect quiet hours at campgrounds (typically 10 PM–6 AM).
Following these principles ensures that the places we love to camp remain beautiful and accessible for future generations.
Quiet hours are mandatory periods of reduced noise at developed campgrounds. The standard is 10:00 PM to 6:00 AM, though some campgrounds set them earlier (9 PM) or later (11 PM). During quiet hours:
- Generators must be turned off (some campgrounds have separate generator hours, like 8 AM–8 PM)
- Music, radios, and TV must be kept at a volume that cannot be heard beyond your campsite
- Conversations should be kept at normal speaking volume—no shouting or loud laughter that carries
- Arrivals and departures during quiet hours should be made as quietly as possible
Enforcement varies: At national and state parks, rangers can issue warnings or fines (typically in the budget-friendly tier for first offenses). Private campgrounds may ask violators to leave without refund. In practice, enforcement is often complaint-driven—if another camper reports you, a ranger will visit your site.
Be a considerate neighbor and you will never have issues. If noise from others is disturbing you, document it (time, duration) and contact campground staff or the ranger station rather than confronting the other campers directly.
While both types of parks offer excellent camping, their rules differ in several important ways:
- Entrance fees plus camping fees, typically in the budget-friendly to mid-range tier
- Camping only in designated campgrounds or with backcountry permits
- Pets severely restricted—leashed only in developed areas, not on trails
- Drones prohibited without special permits
- All food must be stored in bear-proof containers or vehicles in bear country
- Reservations through Recreation.gov, often booking out 6 months ahead
- Generally lower fees than national parks, sitting in the budget-friendly tier for both entrance and camping
- Rules vary significantly by state—some allow dogs on trails, others do not
- Alcohol policies vary (some states prohibit alcohol entirely in state parks)
- Reservations through state park systems or Reserve America
- Some states allow dispersed camping in state forests (separate from state parks)
Always check the specific park's website before your trip, as individual parks may have additional restrictions beyond the general rules.
Camping with Pets FAQ
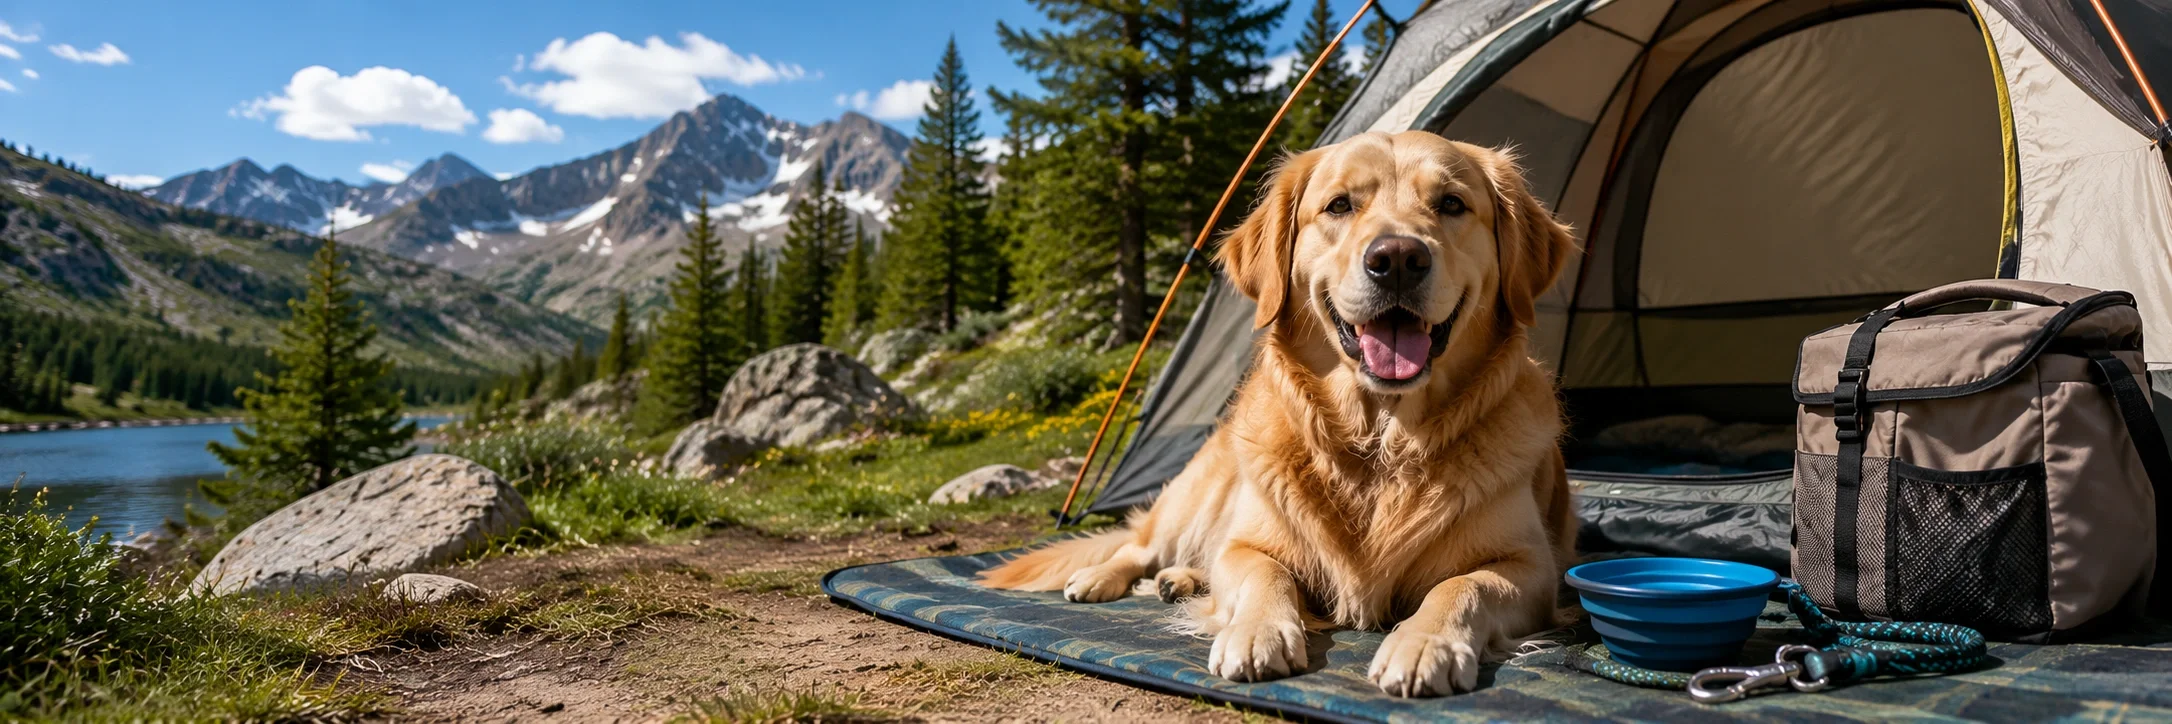
Yes, you can bring your dog to many campgrounds, but restrictions are common and vary significantly by location. Understanding these rules before you arrive prevents disappointment and potential fines.
Common restrictions:
- Leash requirements: Almost all campgrounds require dogs on a leash no longer than 6 feet at all times. Even if your dog is well-trained off-leash, the rule applies universally.
- Trail access: National parks prohibit dogs on nearly all trails. State parks vary—some allow leashed dogs on trails, others restrict them to developed areas only. National forests generally allow leashed dogs on trails.
- Leaving dogs unattended: Most campgrounds prohibit leaving dogs alone at campsites, even tethered. This is for the dog's welfare and to prevent barking disturbances.
- Breed restrictions: Some private campgrounds restrict certain breeds. Always ask when booking.
- Vaccination requirements: All campgrounds require up-to-date rabies vaccinations. Some require proof of vaccination.
- Number limits: Many campgrounds limit 2 dogs per site.
For a comprehensive overview, read our camping with dogs rules and pet-friendly camping guide.
Camping with dogs requires additional gear beyond your own equipment. Here is a complete packing list:
- Leash and collar: A 6-foot leash (required) plus a longer 15–30 foot line for tethering at camp. Collar with ID tags and current rabies tag.
- Food and water: Bring enough dog food for the trip plus extra. Collapsible water bowl (budget-friendly). Dogs need more water when active outdoors—plan 1 ounce per pound of body weight per hour of activity.
- Shelter: A camping blanket or dedicated dog bed for sleeping. Dogs lose body heat on cold ground, especially short-haired breeds.
- Safety gear: Dog first aid kit (paw bandages, tick remover, antiseptic), dog-specific first aid items, and a dog life jacket if near water.
- Waste management: Extra waste bags—plan for more than you think. A small trowel if burying is permitted (200 feet from water, 6 inches deep).
- Tick and bug protection: Vet-approved flea/tick treatment before the trip. Consider a dog-safe insect repellent. Check your dog for ticks daily—read our bug protection guide for more details.
- Warmth: A dog jacket or sweater for cold nights, especially for small or short-haired breeds.
Winter Camping FAQ
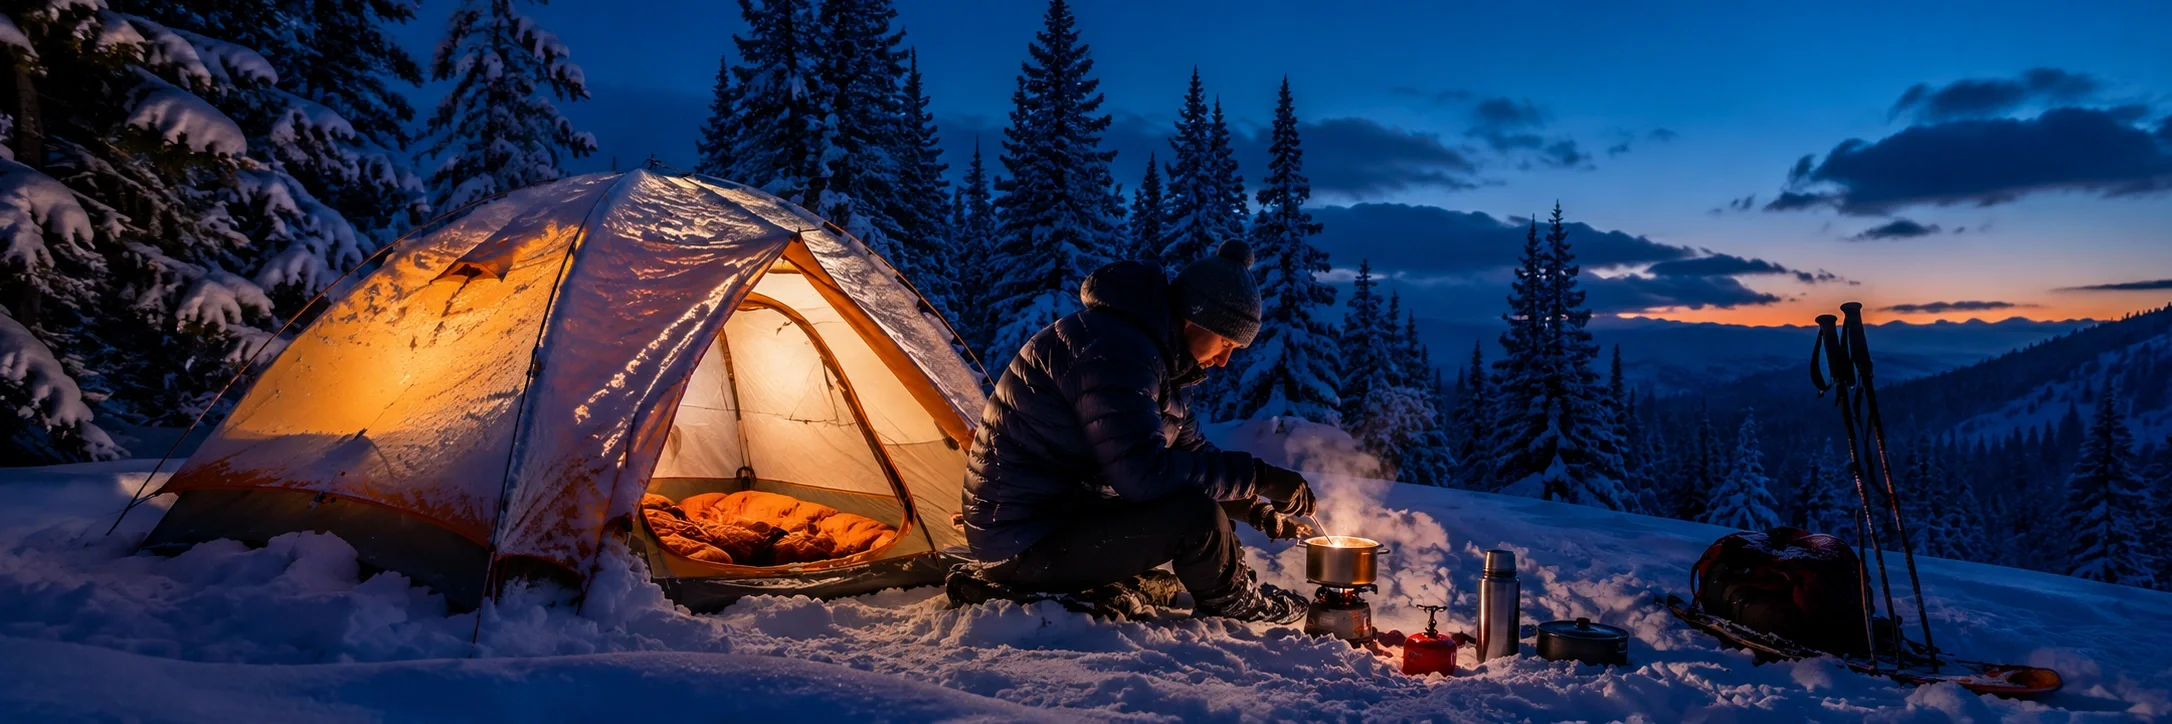
Winter camping is not recommended for absolute beginners. You should have at least several three-season camping trips under your belt before attempting winter camping. The risks are significantly higher and the margin for error is much smaller:
- Hypothermia and frostbite: Temperatures can drop rapidly, and once your core temperature falls, cognitive function declines—making it harder to recognize you are in danger. Learn about hypothermia prevention and how to prevent frostbite.
- Equipment failure consequences: In summer, a failed tent or wet sleeping bag is uncomfortable. In winter, it can be life-threatening. Your gear must be rated for the conditions.
- Shorter daylight hours: Less time to set up camp, find firewood, or hike out if something goes wrong.
- Snow hazards: Avalanche risk, unstable snow for tent setup, and hidden obstacles under snow require specialized knowledge.
Winter camping requires specialized winter camping gear that goes well beyond standard equipment. Here are the essential upgrades:
- Winter tent (mid-range to premium): Four-season tents with sturdier poles, reduced mesh, and better wind resistance. Three-season tents can work in mild winter conditions but may collapse under snow load.
- Winter sleeping bag (mid-range to premium): Rated to at least 0°F for moderate winter, -20°F or lower for extreme cold. Down insulation offers the best warmth-to-weight ratio.
- Winter sleeping pad (R-value 5+): Two pads stacked (closed-cell foam under an inflatable) provide the best insulation from frozen ground. A pad with R-value below 4 will leave you cold regardless of your sleeping bag.
- Layering clothing system: Base layer (merino wool or synthetic), mid-layer (fleece or down jacket), and waterproof outer shell. Avoid cotton at all costs—it loses insulation when wet.
- Winter boots (mid-range): Insulated, waterproof boots rated for sub-freezing temperatures. Bring extra wool socks.
- Tent heater (budget-friendly to mid-range): Only for well-ventilated tents—carbon monoxide is a real danger. Many experienced winter campers skip heaters and rely on proper clothing and sleeping systems instead. Hot tent camping with a wood stove is another option.
For a complete gear list, see our winter camping checklist and winter emergency kit guide.
Staying warm without a heater is entirely possible and actually the preferred approach for most experienced winter campers. It comes down to systems, not gadgets:
- Before bed: Eat a high-calorie, warm meal. Drink a hot beverage—winter hot drinks like hot chocolate or tea raise your core temperature. Do light exercises (jumping jacks, squats) to generate body heat right before getting in your sleeping bag.
- Sleeping system: Use a sleeping bag liner for extra warmth. Put a hot water bottle in your sleeping bag (sealed tightly). Wear a knit hat and use a camping pillow to insulate your head from the cold ground. Keep your next day's clothing inside the bag so it is warm in the morning.
- Insulation from ground: This is the most overlooked factor. Use two sleeping pads—a closed-cell foam pad (R-value 3+) underneath an inflatable pad (R-value 4+). The ground pulls heat from your body faster than the air above.
- During the day: Layer properly and adjust layers to avoid sweating—moisture is the enemy of warmth. Eat high-fat, high-calorie snacks throughout the day. Stay hydrated; dehydration reduces your body's ability to regulate temperature.
- Tent setup: Setting up your tent on snow properly—stomping out a level platform and using snow anchors—reduces drafts and improves stability.
For a complete warmth strategy, read our guide on how to stay warm in winter camping.
Still Have Questions?
Explore our in-depth guides for detailed answers on specific topics, from gear selection to destination recommendations.
Browse All Camping Guides