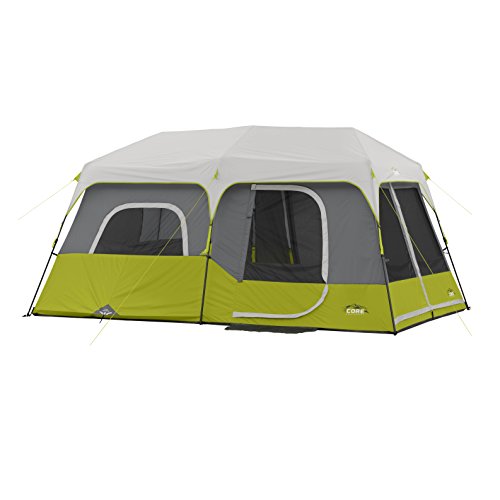
The Complete Camping Tent Buying Guide
Everything you need to know about choosing the right camping tent — from types and materials to sizing, waterproofing, and setup techniques that make a real difference in the field.
Your camping tent is the single most important piece of gear you will ever purchase. It is your shelter from wind, rain, heat, and cold. It is where you sleep, where you store your gear, and ultimately what determines whether your trip feels like an adventure or an ordeal. Yet most campers spend more time researching camping stoves and camping chairs than they do understanding the tent that will protect them through the night.
This guide walks you through every critical factor — so that by the time you finish reading, you will know exactly which tent suits your camping style, how much you should realistically spend, and what features genuinely matter versus what is marketing fluff. Whether you are a first-time camper setting up in a campground or a seasoned backpacker heading into the backcountry, the principles here apply.
Types of Camping Tents
Not all tents are built for the same purpose. Understanding the core categories is the first step toward making a smart purchase. Each type is engineered for a specific use case — using the wrong tent in the wrong environment leads to discomfort, damaged gear, or worse.
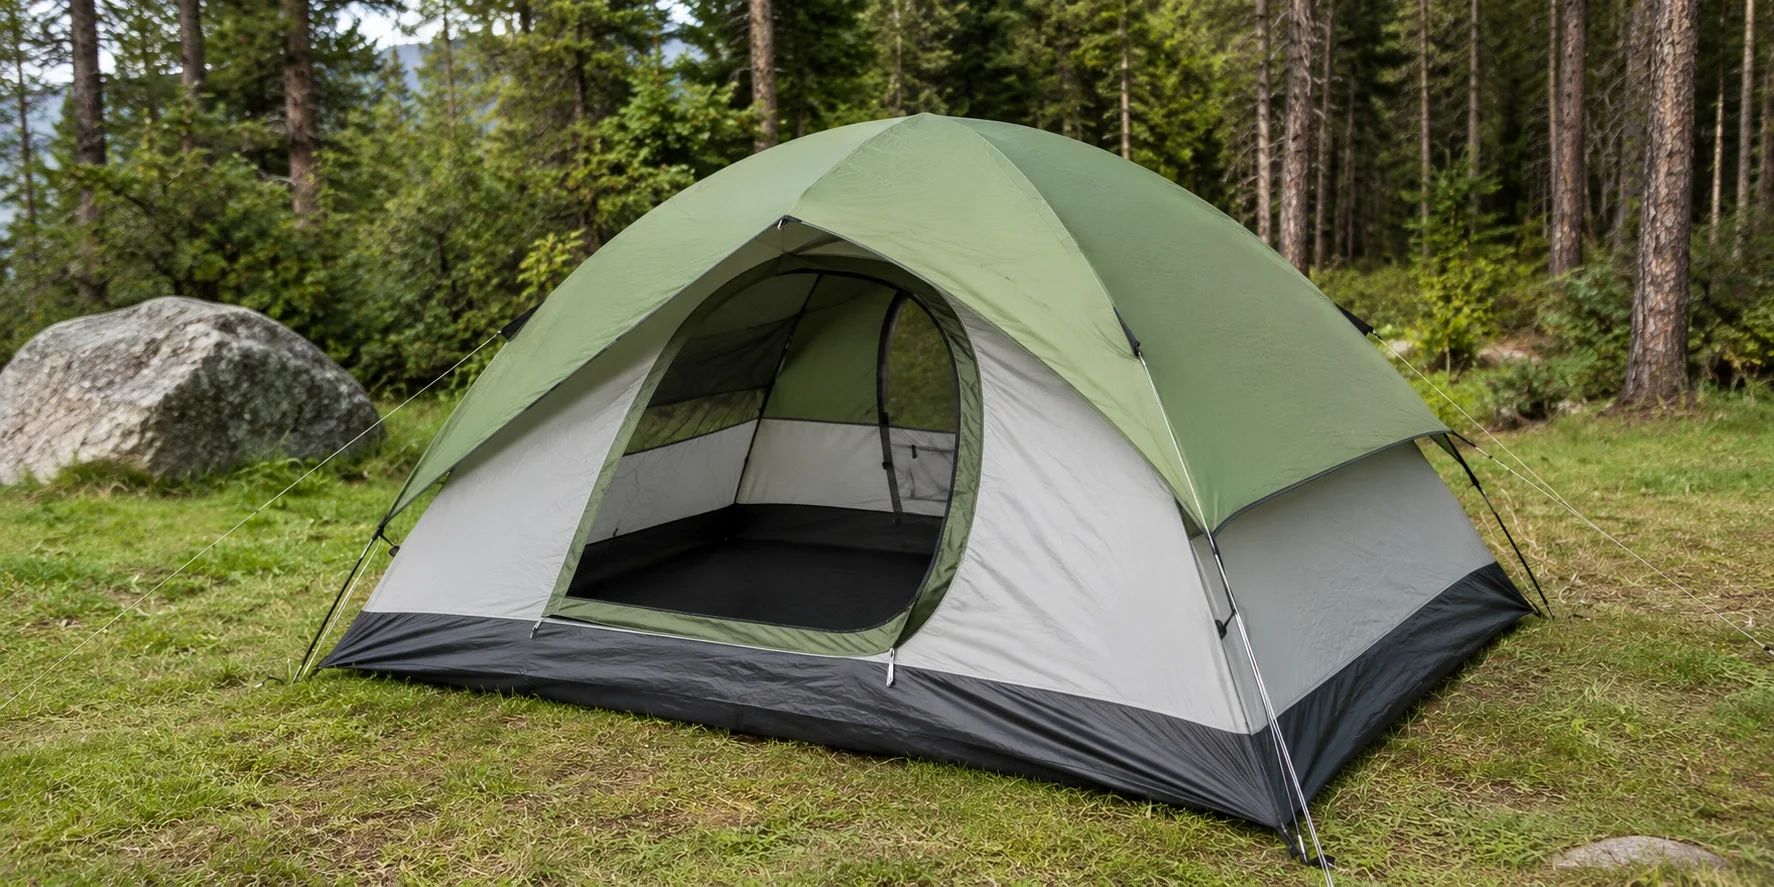
Dome Tents
Uses two flexible poles that cross at the top, creating a freestanding dome shape. Excellent wind resistance due to the aerodynamic profile. Easy to set up and relocate without staking. Most versatile option for general car camping and short backpacking trips.
$60–$350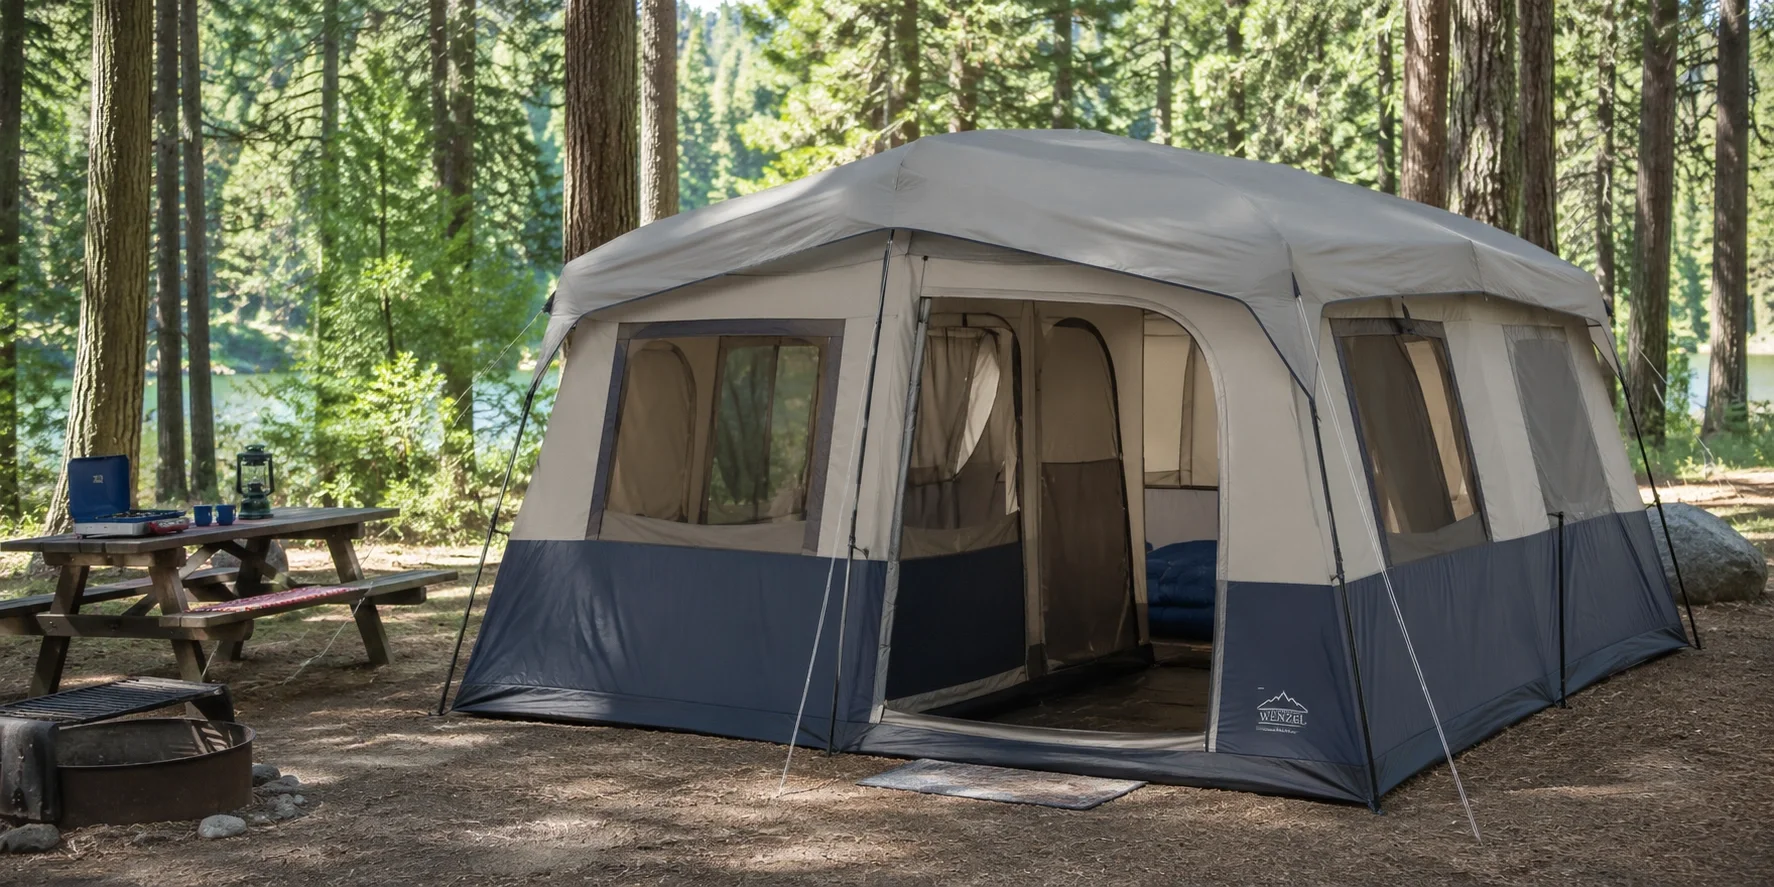
Cabin Tents
Features near-vertical walls that maximize interior headroom and floor space. Built for family camping where comfort matters more than weight. Often includes room dividers, multiple doors, and large windows. Best suited for car-accessible campgrounds.
$150–$500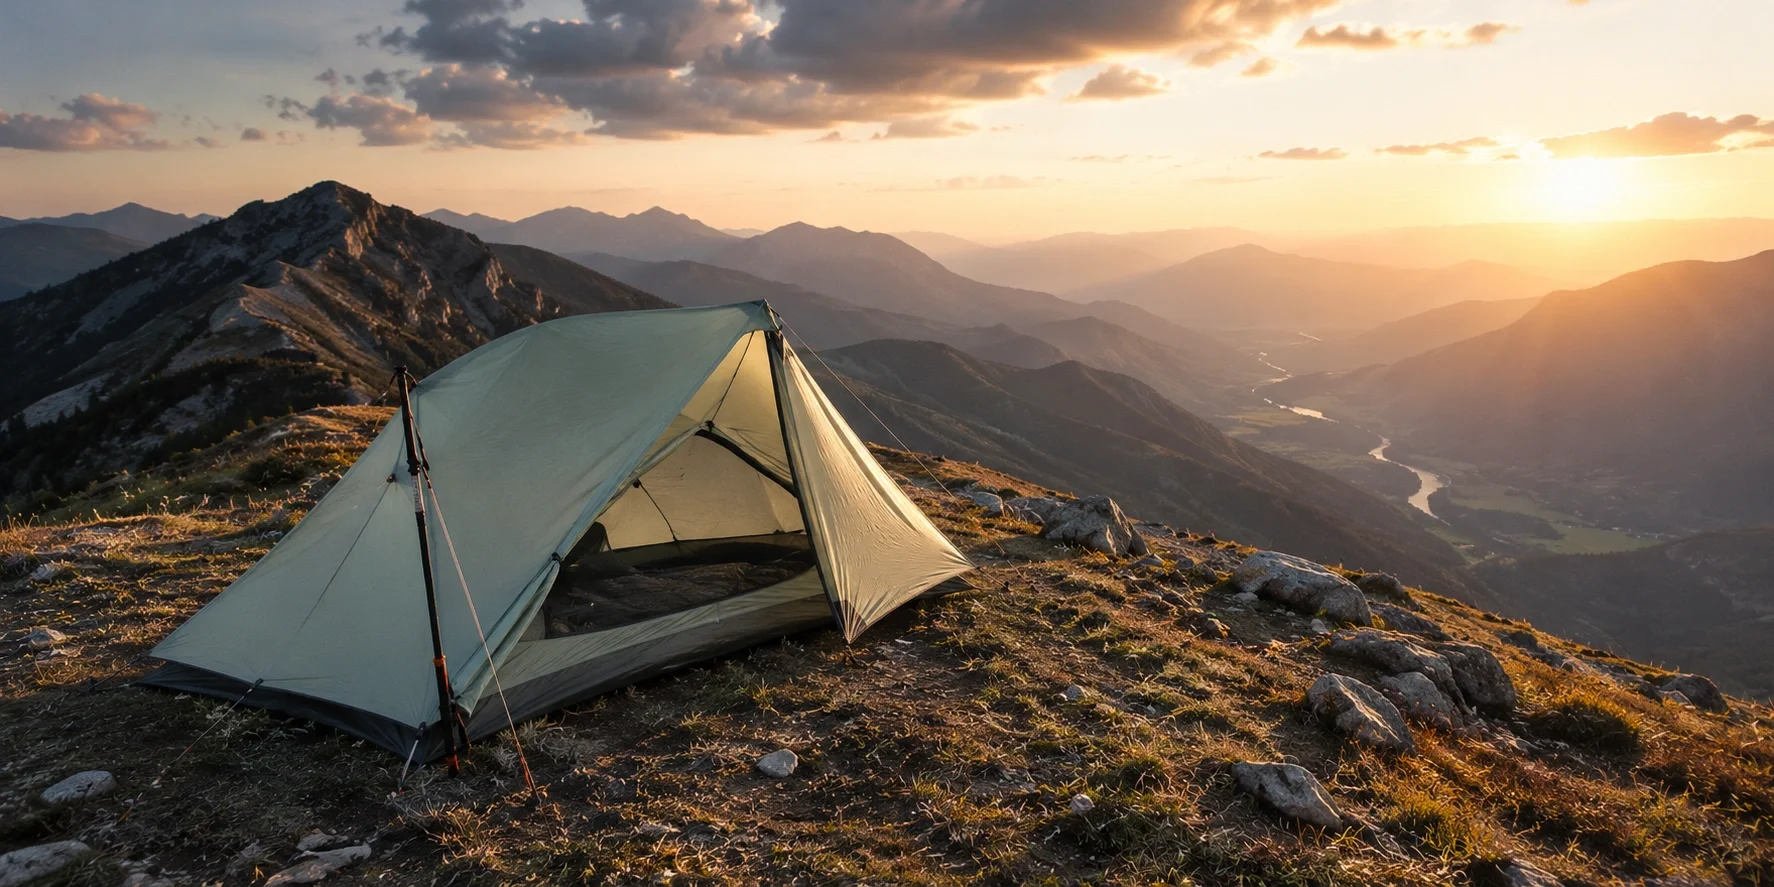
Backpacking Tents
Engineered for minimal weight and pack size. Typically uses thin but strong materials like 15D or 20D silicone-coated nylon. Prioritizes weight savings over durability. Ideal for backpacking trips where every ounce matters on the trail.
$200–$600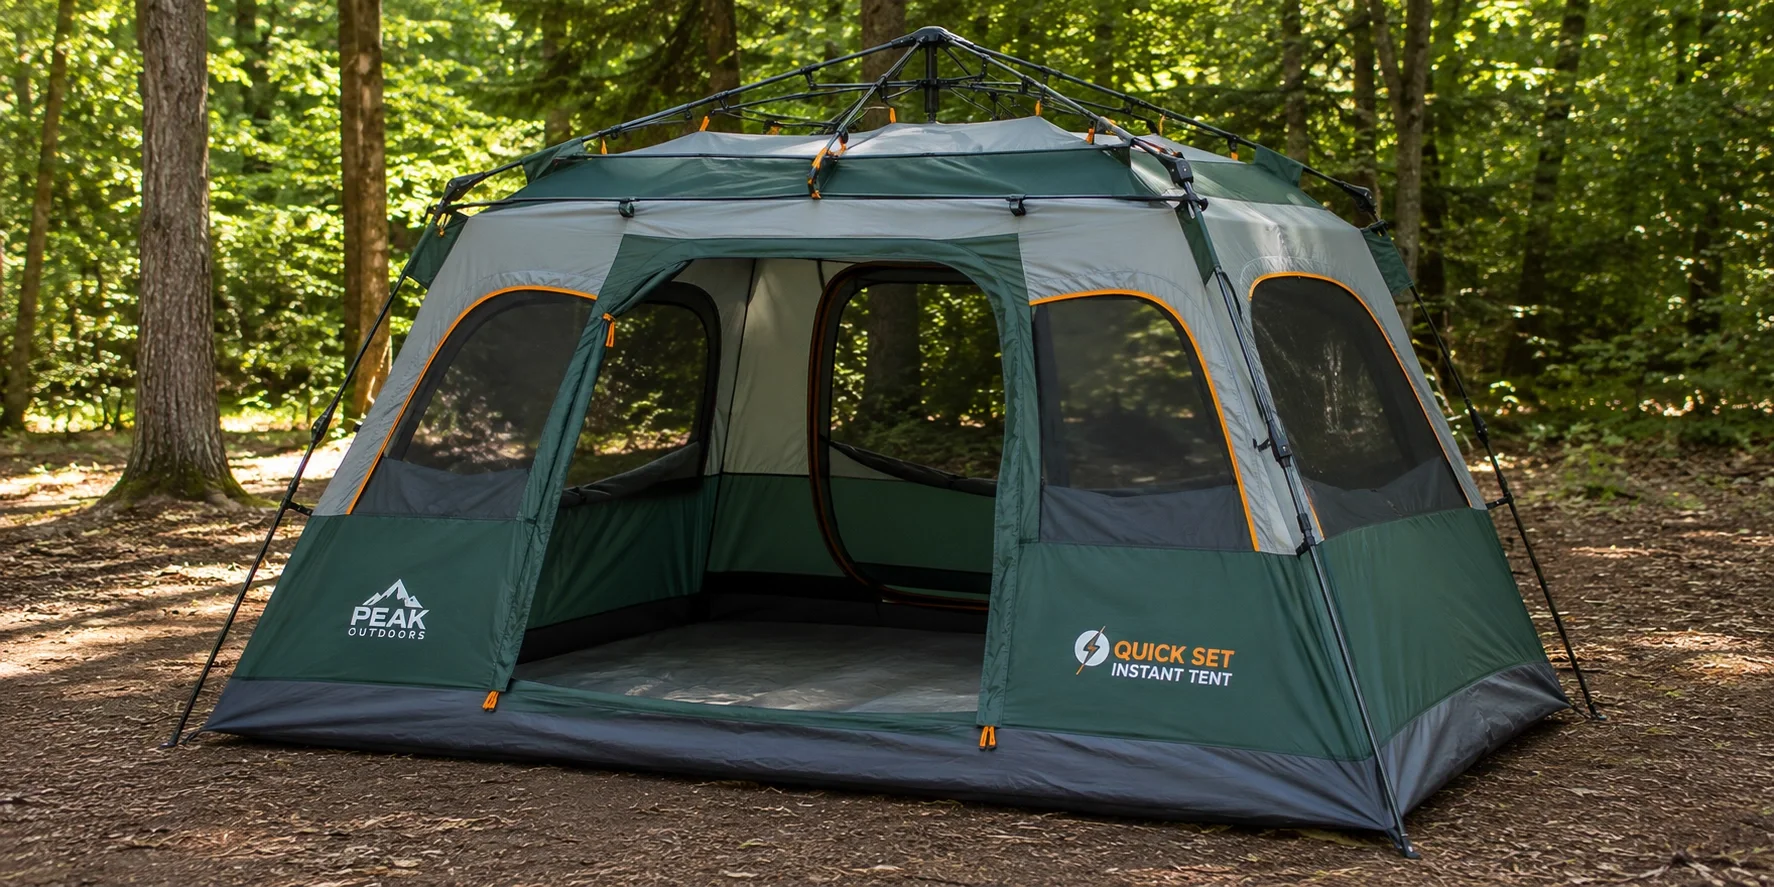
Instant / Pop-Up Tents
Pre-assembled frame that unfolds and locks into place in under 60 seconds. Heavier than traditional tents due to the integrated pole structure. Perfect for casual campers who want zero setup hassle. Limited in severe weather performance.
$50–$200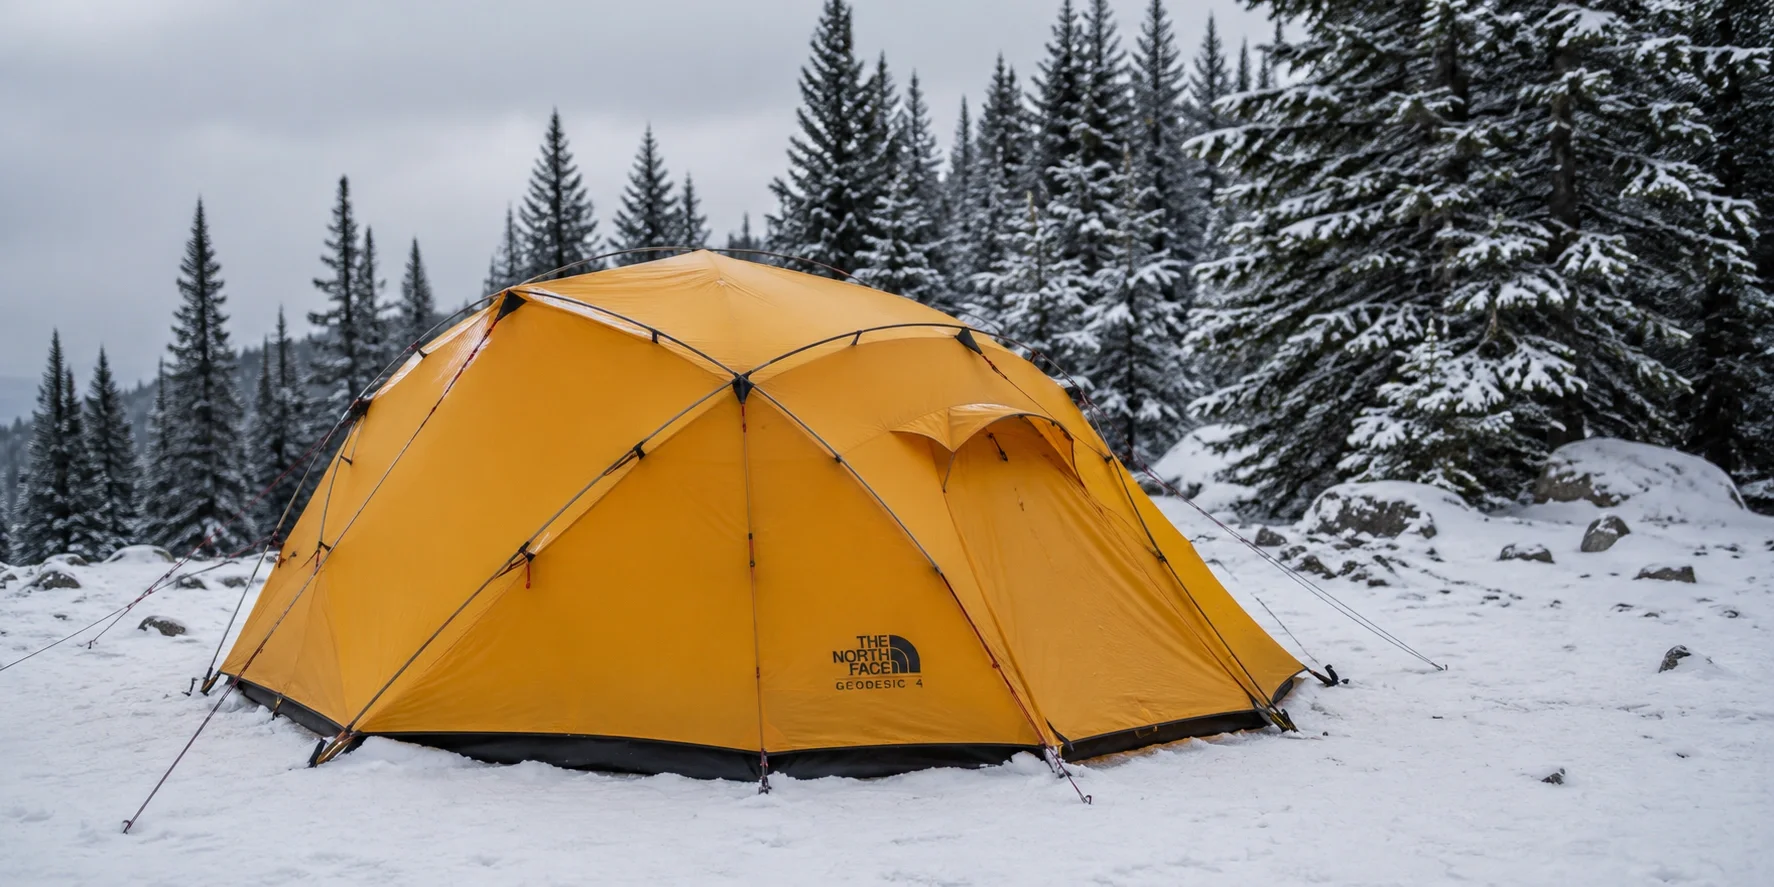
4-Season / Expedition Tents
Reinforced pole systems, heavy-duty fabrics, and minimal mesh to retain heat and shed snow. Built for winter camping, alpine expeditions, and sustained high-wind environments. Significantly heavier and more expensive than 3-season models.
$400–$900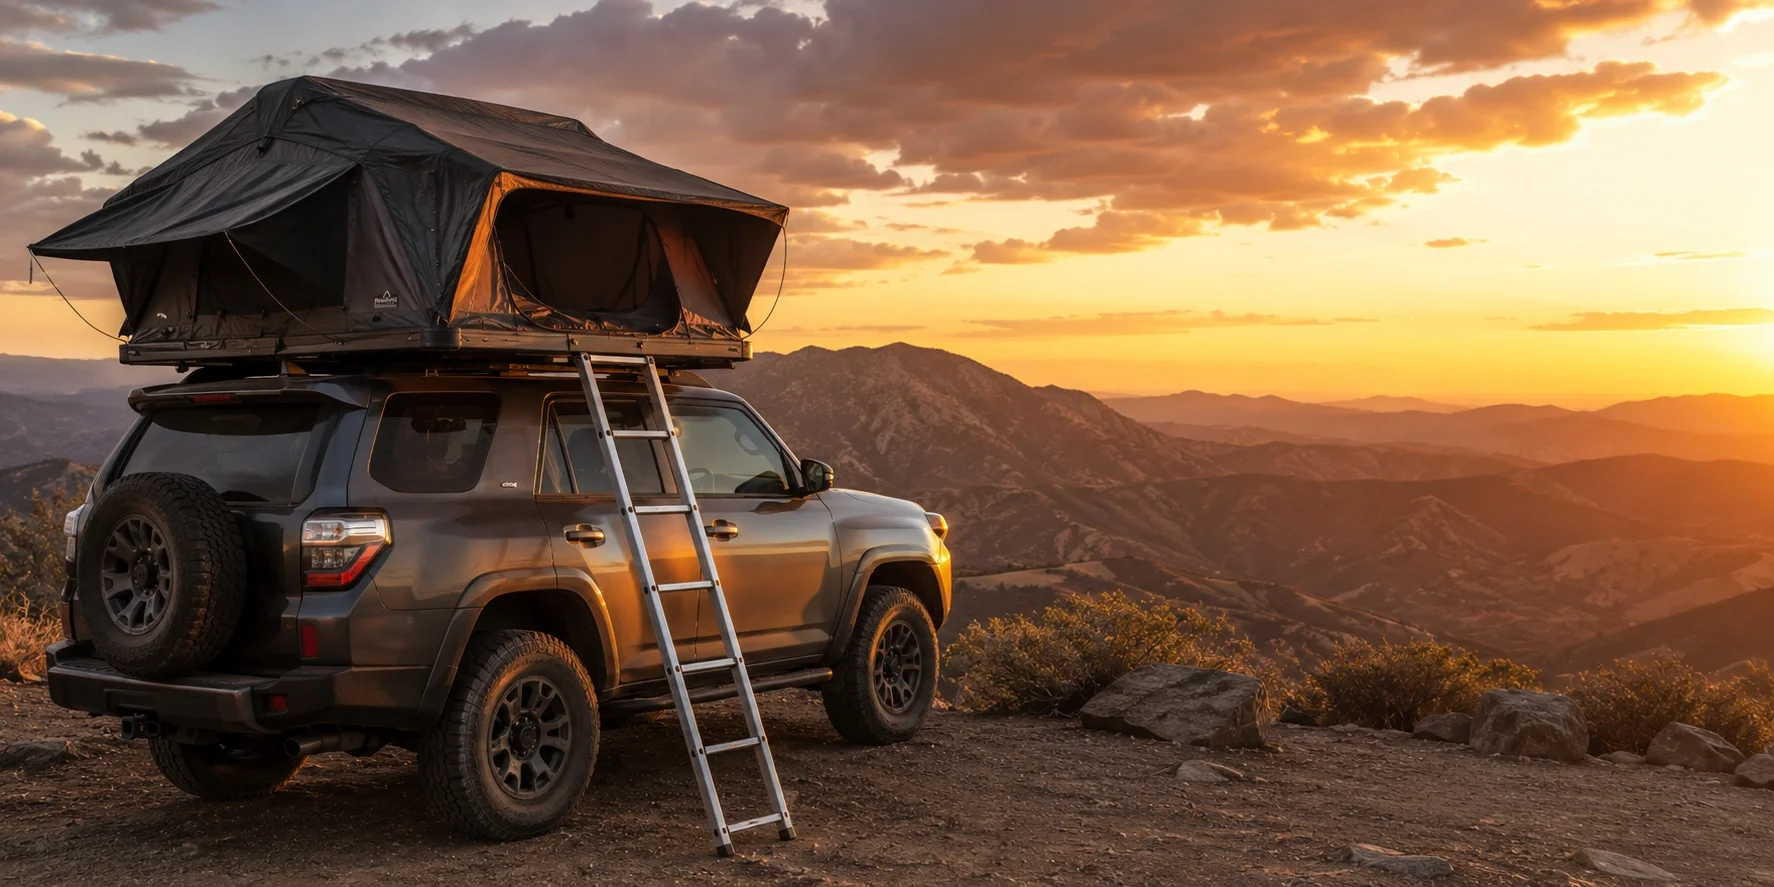
Roof Top Tents
Mounted directly onto a vehicle's roof rack. Provides an elevated sleeping platform off the ground — away from rocks, puddles, and critters. Popular for truck camping and overland travel. Requires a compatible vehicle and roof rack system.
$800–$3,500Tent Type Comparison at a Glance
The table below distills the key differences so you can quickly identify which category aligns with your needs. Keep in mind that within each category, there is significant variation between budget and premium models.
| Tent Type | Best For | Weight Range | Setup Time | Weather Rating | Price Range |
|---|---|---|---|---|---|
| Dome | All-around camping | 4–10 lbs | 5–10 min | 3-season | $60–$350 |
| Cabin | Family camping | 12–25 lbs | 10–20 min | 3-season | $150–$500 |
| Backpacking | Backcountry trips | 1.5–5 lbs | 3–8 min | 3-season | $200–$600 |
| Instant | Quick getaways | 8–18 lbs | Under 1 min | Light 3-season | $50–$200 |
| 4-Season | Winter & alpine | 6–12 lbs | 8–15 min | 4-season | $400–$900 |
| Roof Top | Overland & vehicle | 100–200 lbs | 3–5 min | 3 to 4-season | $800–$3,500 |
How to Choose the Right Tent Size
Tent sizing is one of the most misunderstood aspects of buying a tent. Manufacturers label capacity based on the number of average-sized adults who can lie side by side on the floor with no gear, no extra clothing, and no room to move. In real-world conditions, that rating is always optimistic.
The Real-World Sizing Rule
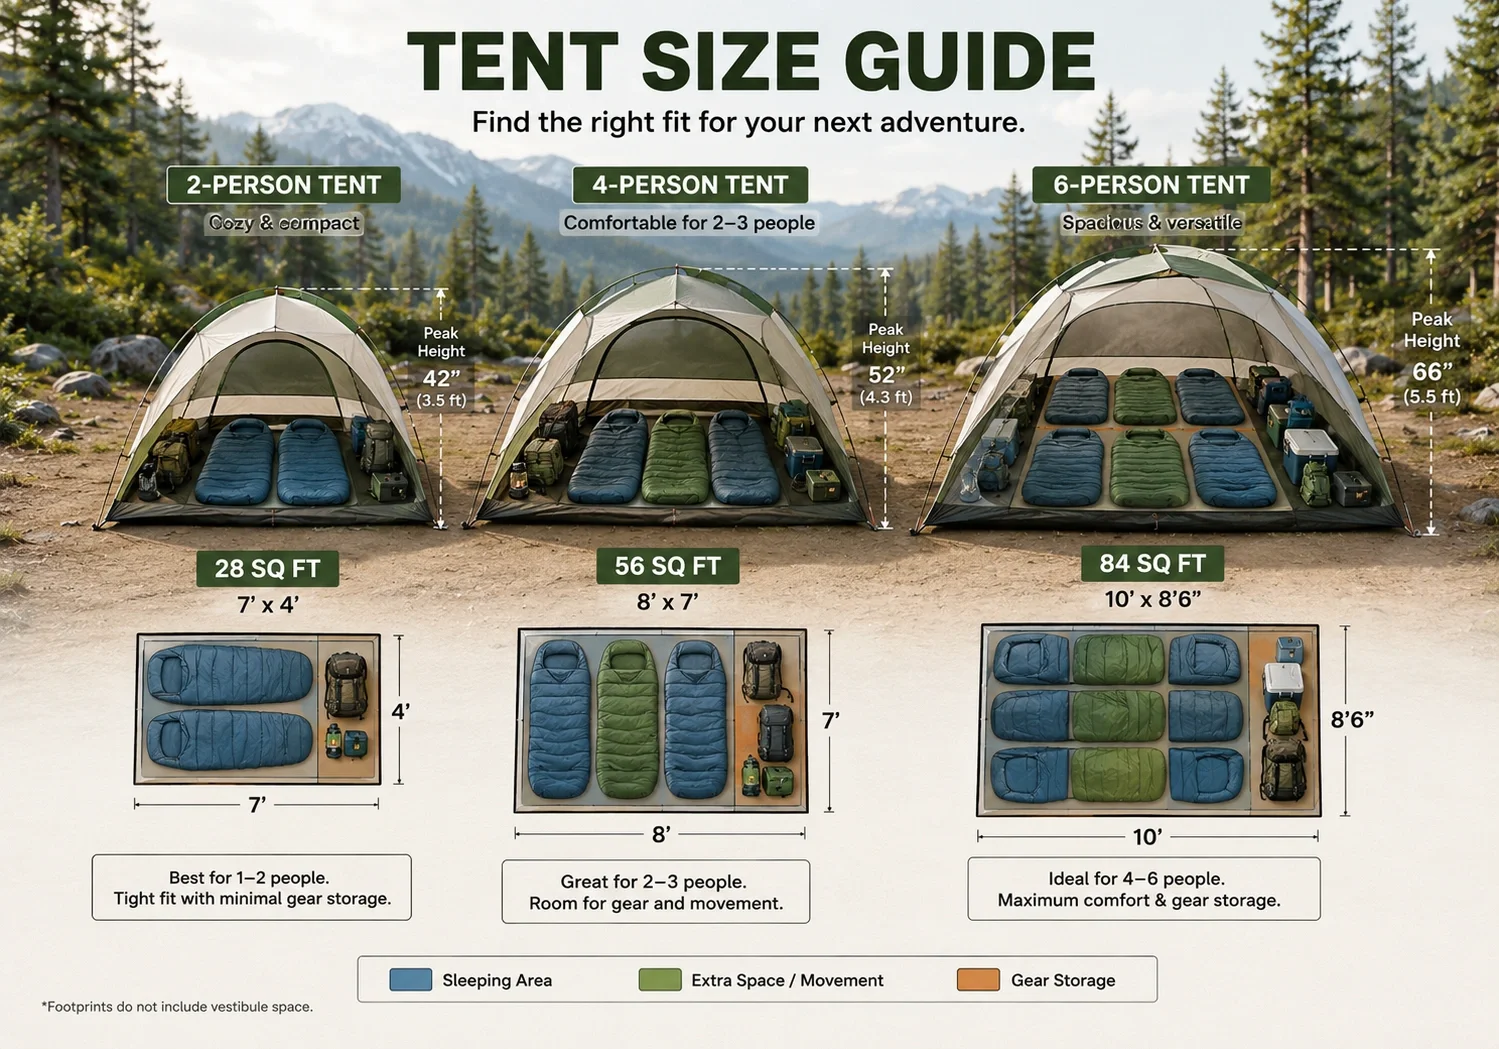
Subtract one person from the stated capacity to get a comfortable fit. A "2-person" tent fits one person plus gear comfortably. A "4-person" tent is genuinely comfortable for two to three people. This is not a marketing trick — it is simply how the industry has always measured capacity, and understanding it prevents a miserable first night.
For a detailed breakdown with capacity charts, see our dedicated guide on how to choose tent size.
Floor Area Matters More Than Person Count
Instead of fixating on "4-person" or "6-person" labels, look at the actual floor area in square feet. A quality 2-person backpacking tent typically offers 28–35 sq ft. A 4-person dome tent provides 55–65 sq ft. A 6-person cabin tent usually delivers 85–100 sq ft. Compare these numbers against your actual needs.
Quick Sizing Reference:
• Solo camper: 1-person tent (20–28 sq ft) or a compact 2-person for extra space
• Couple: 3-person tent (35–45 sq ft) minimum — 2-person models feel cramped with two sleeping mats and gear
• Family of 3–4: 5–6 person tent (70–100 sq ft), or a cabin tent with room dividers
• Group of 5–6: 8-person tent (100–130 sq ft) or two separate smaller tents
Peak height is another factor that affects livability. A tent with 40 inches of peak height forces you to crawl. A tent with 60+ inches lets you sit up comfortably. Cabin tents often exceed 72 inches, allowing most adults to stand. Consider how much time you spend inside the tent during weather delays — that time dictates how important headroom is for you.
Tent Materials & Construction
The materials used in a tent directly determine its weight, durability, waterproofing, and breathability. Understanding what you are paying for helps you evaluate whether a higher price tag is justified.
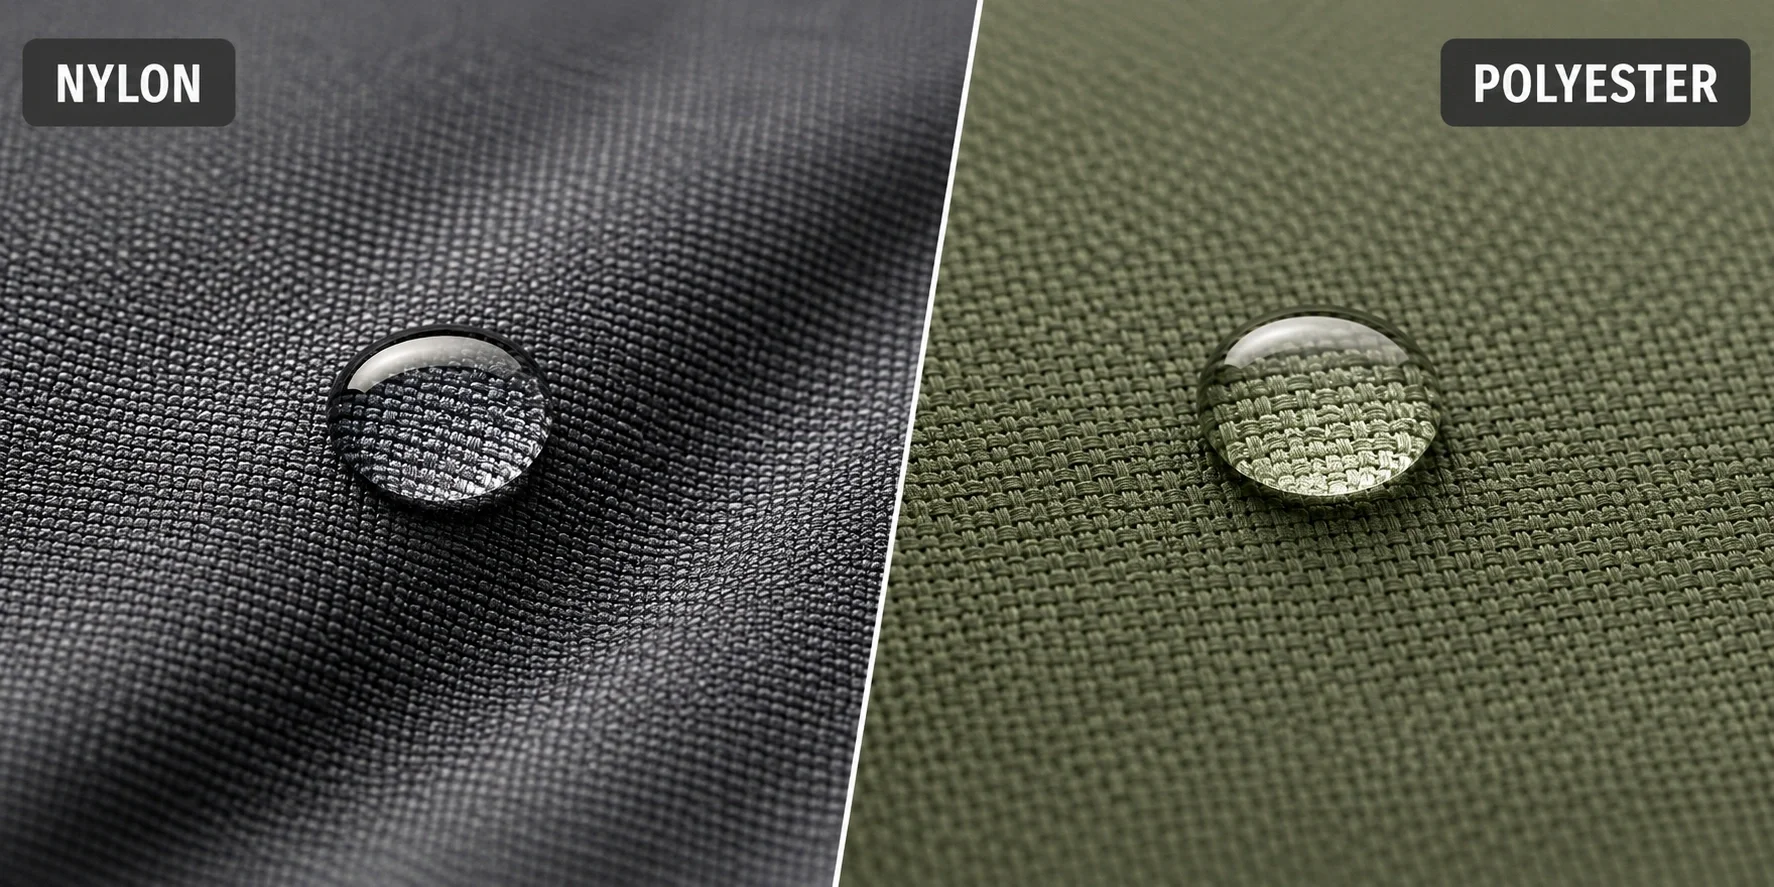
Shell Fabric: Nylon vs Polyester
- Nylon — Lighter, stronger for its weight, and more tear-resistant. Used in most backpacking and premium tents. Downsides: absorbs some water (can sag when wet) and degrades faster under UV exposure unless treated.
- Polyester — Heavier but more UV-resistant and does not absorb water, so it maintains its shape in rain. Used in most family and budget tents. Better value for car campers who do not carry their shelter.
Denier Rating Explained
Denier (D) measures the weight of the yarn used in the fabric. Lower denier means lighter and thinner; higher denier means heavier and more durable. Common ranges:
- 10D–20D: Ultralight backpacking tents. Very packable but requires careful handling. Typically found in premium models.
- 40D–70D: Standard backpacking and lightweight camping tents. Good balance of weight and durability.
- 68D–150D: Family and car camping tents. Tough enough for repeated use on rough ground, kids, and pets.
Pole Materials
- Aluminum: Standard in mid-range and premium tents. Strong, flexible in wind, and does not become brittle in cold. The best all-around choice.
- Fiberglass: Found in budget tents. Heavier, more prone to splintering and breaking under stress or in freezing temperatures. Acceptable for fair-weather car camping only.
- Carbon Fiber: Used in ultralight expedition tents. Extremely light and strong but very expensive. Overkill for most campers.
Coatings & Treatments
The waterproof coating on your tent fabric is what actually keeps water out. Two coatings dominate the market:
- Polyurethane (PU): Most common coating. Applied to the inside of the rainfly and floor. Affordable and effective but can delaminate over time with UV exposure.
- Silicone (Silnylon/Silpoly): Applied to both sides of the fabric. More durable, lighter, and does not degrade in UV like PU. Found on higher-end tents. Slippier to handle during setup.
Water resistance is measured in millimeters of hydrostatic head. A tent floor rated at 3,000mm can withstand a column of water 3 meters tall before leaking. For rainfly, look for 1,500mm–3,000mm. For tent floors, 5,000mm–10,000mm is ideal since the floor takes the most direct water pressure.
Essential Features to Look For
Beyond type and material, specific design features separate a tent you will love from one you will regret buying. Here are the features that genuinely impact your camping experience, ranked by importance.
1. Freestanding vs Non-Freestanding Design
A freestanding tent can be set up without stakes and moved around after assembly — extremely useful on rocky or sandy ground where staking is difficult. Non-freestanding tents require guylines and stakes to hold their shape. Most dome and cabin tents are freestanding. Many ultralight backpacking tents are non-freestanding to save weight.
2. Rainfly Coverage
Check whether the rainfly provides full coverage or only partial coverage. Full-coverage rainflies extend to the ground and offer maximum weather protection. Partial-coverage rainflies leave upper mesh panels exposed — great for stargazing in dry conditions but useless in sustained rain. For rainy season camping, full coverage is non-negotiable.
3. Ventilation System
Poor ventilation leads to condensation buildup inside the tent — which feels just as bad as rain leaking in. Look for: mesh ceiling panels, low and high vent openings that create cross-flow, and adjustable rainfly vents. A well-ventilated tent can reduce interior condensation by 50% or more compared to a poorly ventilated one.
4. Number of Doors & Vestibules
A single-door tent means one person is always climbing over another to exit. Two doors eliminate this problem entirely and are worth the extra cost for any tent used by two or more people. Vestibules — the covered area outside each door — provide critical dry storage space for boots, packs, and wet gear. A backpack left inside a small tent takes up valuable sleeping space.
5. Pockets & Gear Loops
Interior pockets keep small items (phone, headlamp, glasses) organized and off the floor. Gear loops on the ceiling allow you to hang a camping lantern or dry clothes. These details seem minor until you are fumbling in the dark for your phone at 2 AM.
6. Bathtub Floor Design
The tent floor should curve up the sides by several inches before meeting the wall fabric — this is called a bathtub floor. It prevents water that pools on the ground from seeping in through the side seams. Every quality tent has this feature; if a tent does not, skip it.
3-Season vs 4-Season Tents
This is not a choice between "good" and "better" — it is a choice between the right tool and the wrong tool for your conditions. Using a 3-season tent in a winter storm is dangerous. Using a 4-season tent in July in Texas is unnecessarily miserable.
3-season tents are designed for spring, summer, and fall. They feature extensive mesh panels for airflow, lighter pole structures, and are optimized to handle rain and moderate wind. They are not built to support snow loads. If you primarily camp in mild conditions, a 3-season tent is all you need.
4-season tents (sometimes called expedition tents) use more poles for structural rigidity, heavier fabrics, and minimal mesh to trap heat and shed snow. They have steeper wall angles so snow slides off rather than accumulating. If you plan winter camping, alpine climbing, or camping in areas with unpredictable severe weather, a 4-season tent is essential safety equipment — not a luxury.
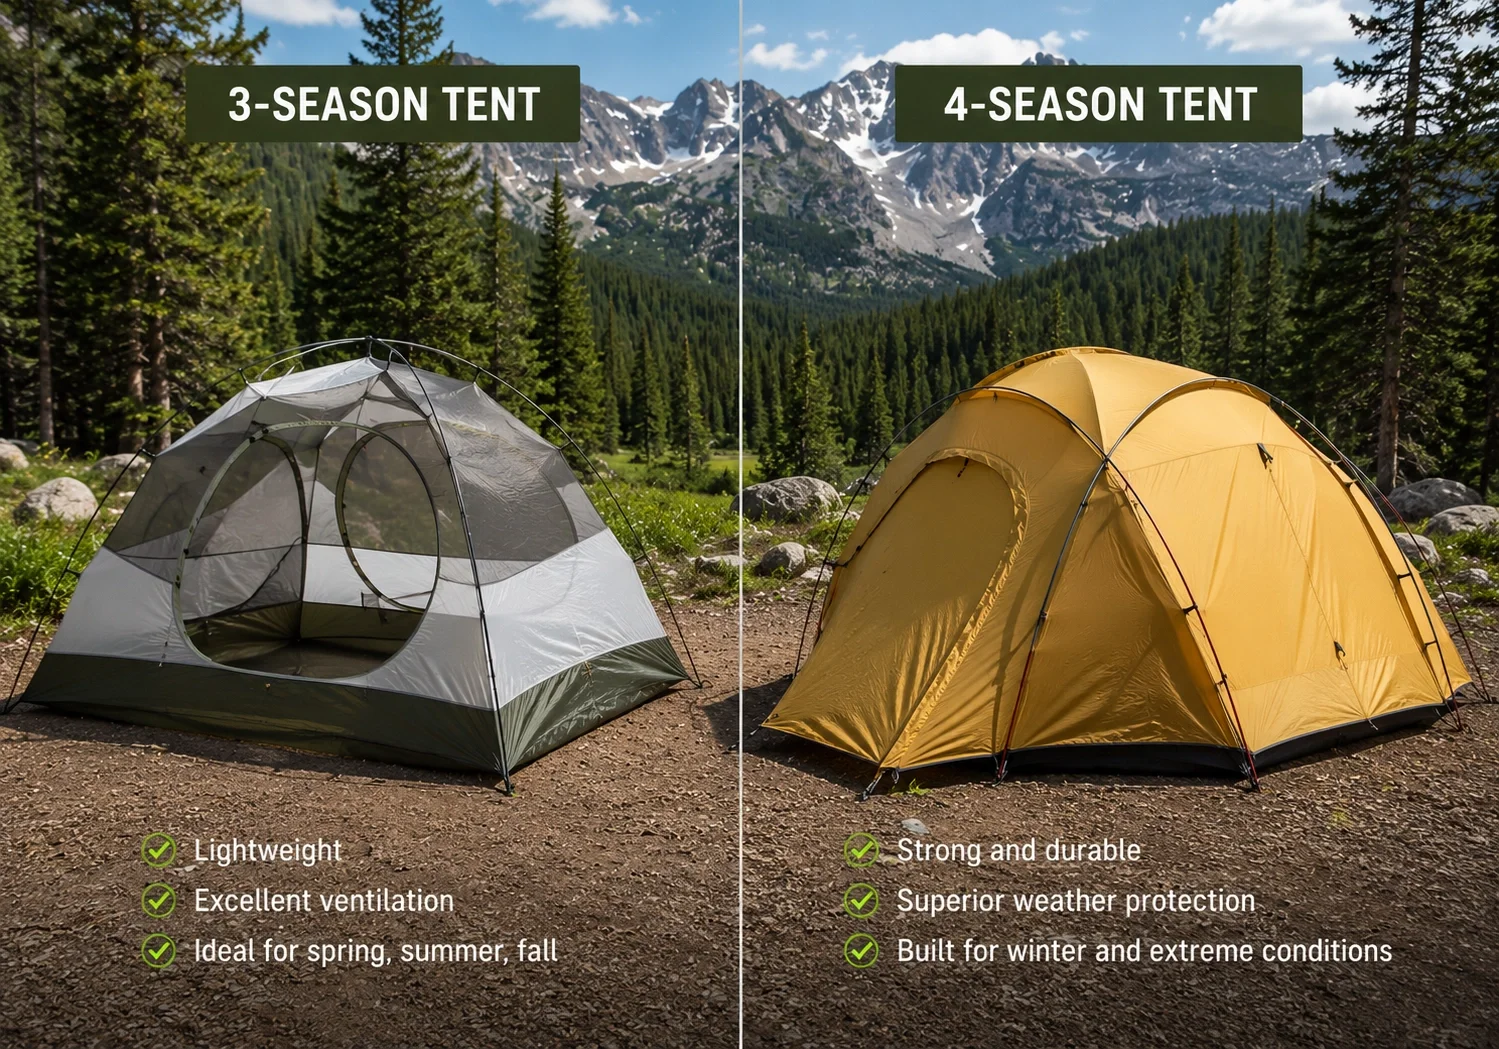
Pro Tip: If you camp in varied conditions throughout the year, consider a "3.5-season" tent — these are 3-season designs with slightly stronger pole structures and less mesh than standard models. They handle light snow and high wind better than a typical 3-season tent without the weight penalty of a full 4-season design. Many quality dome tents fall into this category.
Waterproofing & Weather Protection
Even the best tent will leak if you do not understand how its waterproofing works and how to maintain it. Here is what actually keeps you dry — and what does not.
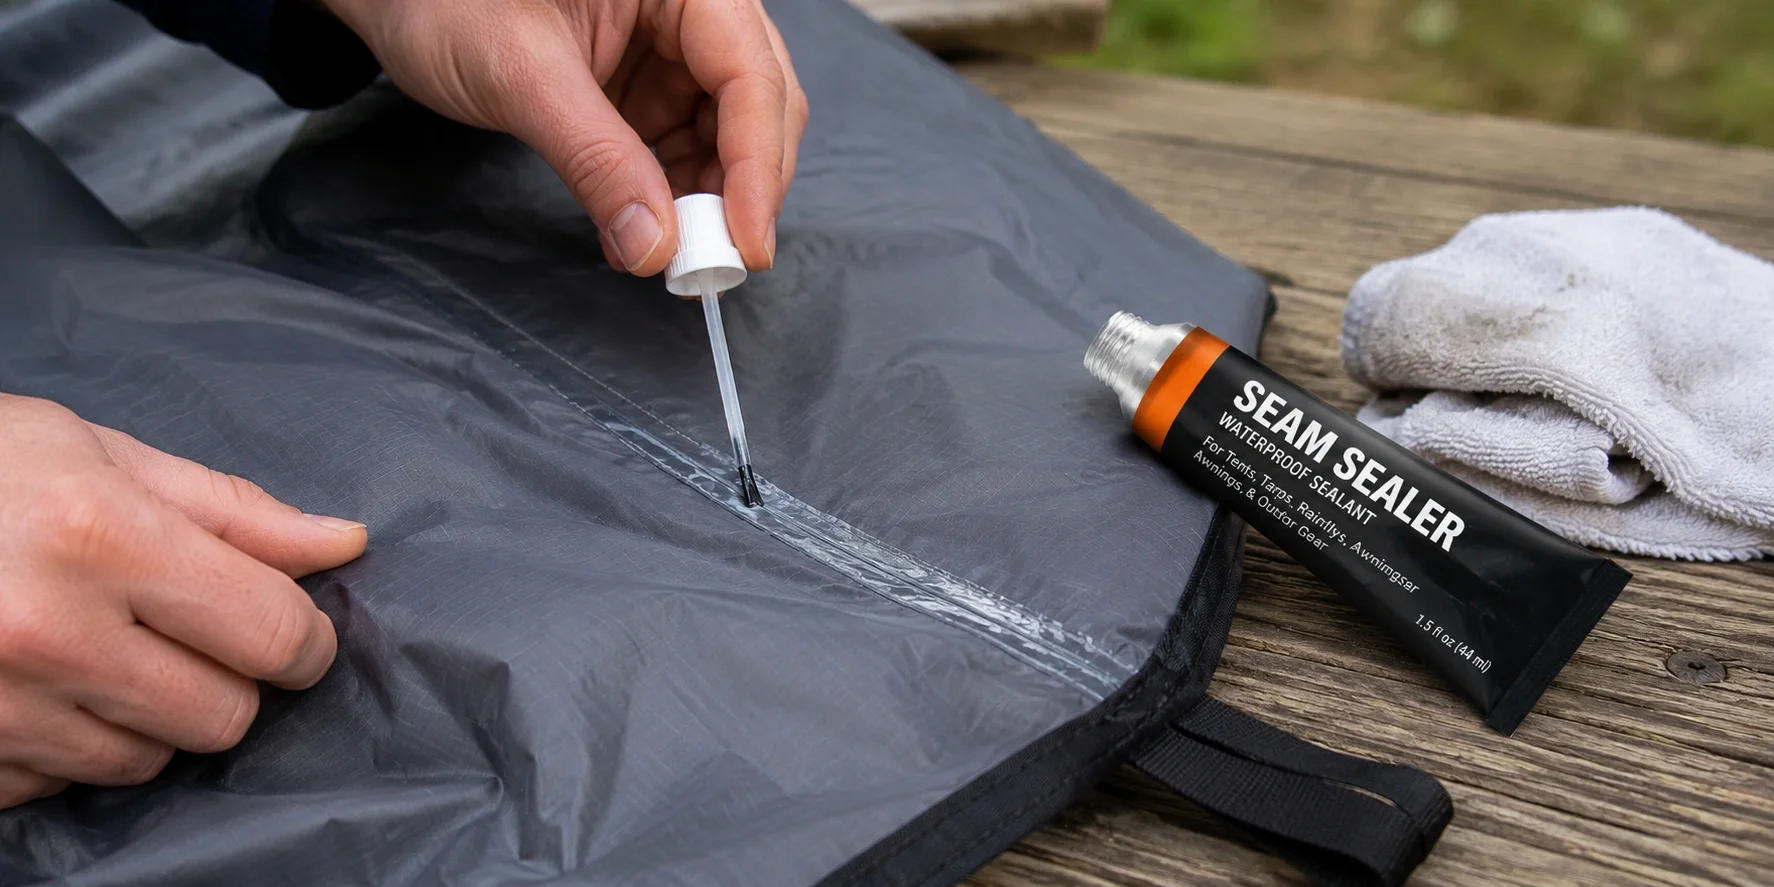
Why Tents Leak (It Is Not Usually the Fabric)
The tent fabric itself is rarely the point of failure. Water almost always enters through:
- Stitched seams — Every needle hole is a potential leak point. Factory seam taping degrades over time. Re-sealing seams annually is the most effective waterproofing maintenance you can perform.
- Contact condensation — When warm breath and body heat meet a cold rainfly, moisture condenses on the inside and drips onto you. This feels exactly like a roof leak but is actually condensation. Better ventilation is the cure.
- Ground water wicking — Water under the tent can wick up through the floor fabric if the hydrostatic rating is low or if the coating has worn through. Always use a footprint or camping tarp underneath.
- User error — Touching the rainfly from inside during rain creates a pathway for water to seep through. Setting up in a depression where water collects is another common mistake.
Waterproofing Checklist for New Tents
- Seal all floor seams and rainfly seams with liquid seam sealer before first use
- Apply DWR spray to the rainfly if water no longer beads up on the surface
- Always use a footprint or tarp underneath — sized slightly smaller than the tent floor so it does not catch rain
- Ensure all stake-out points and guylines are properly tensioned to prevent rainfly sagging
- Open vents even in rain to maintain airflow and reduce condensation
How to Set Up a Tent Properly
A great tent set up poorly performs worse than a mediocre tent set up correctly. Proper setup affects waterproofing, wind stability, and interior comfort. Follow this process every time and you will avoid 90% of common tent problems.
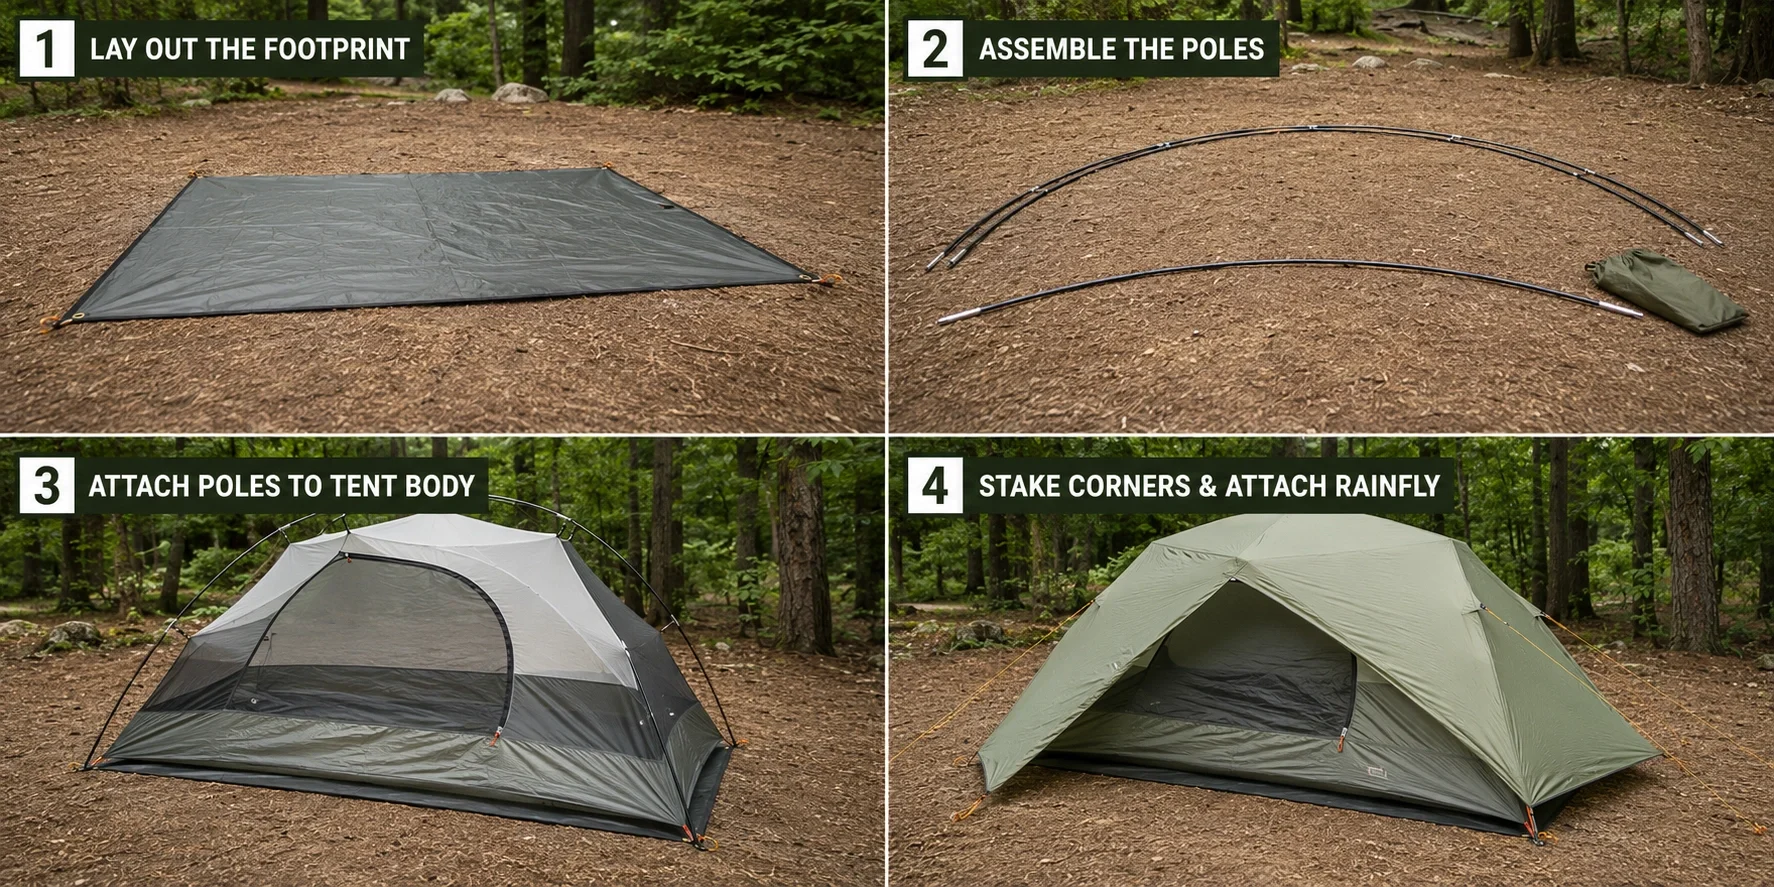
- Choose your site carefully. Look for level ground, avoid low spots where water collects, clear away rocks and sticks, and check for overhead hazards like dead branches. If bear safety is a concern, camp at least 200 feet from your cooking area.
- Lay the footprint or tarp first. It should be slightly smaller than the tent floor — if it extends beyond the tent edges, it will catch rain and channel it underneath.
- Assemble the poles and thread them through the sleeves or clip them to the body. Follow the manufacturer's specific sequence. Most modern tents use clip attachments that are faster than pole sleeves.
- Raise the tent body and stake out the corners. Pull each corner taut but do not over-stretch — the fabric should be firm, not drum-tight. Staking at a 45-degree angle away from the tent provides the best holding power.
- Attach the rainfly. Ensure it is positioned correctly (check for logo orientation or door alignment). Tighten all rainfly attachment points to prevent sagging.
- Stake out all guylines. Even in calm weather, guylines provide structural stability. In wind, they are essential. Use all available guyout points for maximum stability.
Setup Speed Tip: Practice setting up your tent at home before your trip. A tent you have assembled three times in your backyard will go up in half the time at a campsite — especially important if you arrive after dark or in worsening weather. This is particularly critical for solo campers who have no one to help.
Tent Care & Maintenance
How you care for your tent between trips determines how long it lasts. A $500 tent stored wet will fail faster than a $100 tent stored properly. For more detail on tent lifespan, read our article on how long tents last.
- Always dry your tent completely before storing. This is the single most important maintenance step. Even slightly damp fabric will develop mold and mildew within 24–48 hours, which weakens the fabric, destroys waterproof coatings, and creates permanent odors. If you must pack up wet, set it up to dry within hours of returning home.
- Clean with mild soap and cool water only. Never use bleach, detergents, or washing machines. Hand wash soiled areas with a soft sponge. For stubborn sap or pitch, use a specialized tent cleaner or rubbing alcohol on a small area.
- Store loosely in a cool, dry place. Do not leave your tent compressed in its stuff sack for months. The constant pressure weakens coatings and creates permanent creases. Store it in a large breathable cotton sack or hang it loosely in a closet.
- Minimize UV exposure. Prolonged direct sunlight degrades nylon and polyester fibers. Set up in shade when possible. Use the rainfly even in clear weather — it is cheaper to replace a rainfly than the entire tent body.
- Reapply seam sealer and DWR annually. Even if the tent looks fine, the factory tape under the seams deteriorates over time. A 15-minute seam sealing session before each camping season prevents surprise leaks.
Storage Tip: If your tent has aluminum poles, store them fully assembled or in their shortest collapsed configuration — never force them into a tight space where they could develop a permanent bend. Fiberglass poles should be stored where they will not be crushed or stepped on, as hairline fractures are invisible until the pole snaps under load.
Common Tent Mistakes to Avoid
These mistakes are made by beginners and experienced campers alike. Learning from them now saves frustration later.
- Buying based on "person capacity" alone. A 4-person label does not mean four people will be comfortable. Always check floor area and peak height. See our tent size guide for detailed recommendations.
- Skipping the footprint. The factory floor warranty is almost always voided without a footprint. More importantly, the ground is abrasive and will wear through the floor coating over time. A $30 footprint protects a $200+ investment.
- Not staking out guylines. "It looks calm" is not a reason to skip guylines. Wind can shift suddenly, especially in mountains and coastal areas. A gust can flip an unsecured tent in seconds.
- Storing the tent wet. Even one instance of storing a damp tent can start mold growth that permanently damages the fabric and coating. This is the number one killer of tents.
- Using the tent as a kitchen. Cooking inside a tent creates condensation, food odors that attract wildlife, and a serious carbon monoxide risk with any flame-based stove. Cook outside, preferably at least 200 feet from your tent if in bear country — follow food storage rules carefully.
- Choosing price over suitability. The cheapest tent that fits your group is not always the best value. A slightly more expensive tent with better ventilation, stronger poles, and a full-coverage rainfly will outlast two cheap tents and keep you drier in the process.
- Ignoring weight for backpacking trips. A 7-pound dome tent might be fine for car camping, but carrying it on a 10-mile backpacking trip will be miserable. Match the tent weight to your activity — see our backpacking checklist for weight guidance.
Frequently Asked Questions
Still Not Sure Which Tent to Buy?
If you are a beginner, start with a dome tent in the $100–$200 range — it is the most forgiving design for learning setup, offers decent weather protection, and works for both car camping and short hikes. Add it to your beginner camping checklist and practice setting it up at home before your first trip. Once you have a few trips under your belt, you will know exactly what features matter most for your specific style of camping — and that knowledge makes upgrading to a premium tent a confident decision rather than a guess.