Winter Camping: The Complete Guide to Cold-Weather Adventures
Everything you need to know about camping in snow and freezing temperatures — from essential gear and clothing systems to safety protocols and the best destinations.
Explore Essential GearWhat Is Winter Camping?
Winter camping is the practice of setting up camp in conditions where temperatures regularly drop below freezing (32°F / 0°C) and the ground is covered in snow or ice. Unlike warm-weather trips, winter camping requires a fundamentally different approach to camping gear, shelter, clothing, and food preparation. The stakes are higher — inadequate preparation can lead to hypothermia, frostbite, or worse — but the rewards are extraordinary.
There are several approaches to winter camping, each with its own character. Car camping in winter allows you to bring heavier gear and more supplies. Backcountry camping in snow demands lightweight, packable equipment and advanced skills. Hot tent camping uses a wood stove inside a canvas tent for warmth, while primitive winter camping relies purely on your sleeping system and clothing for insulation.
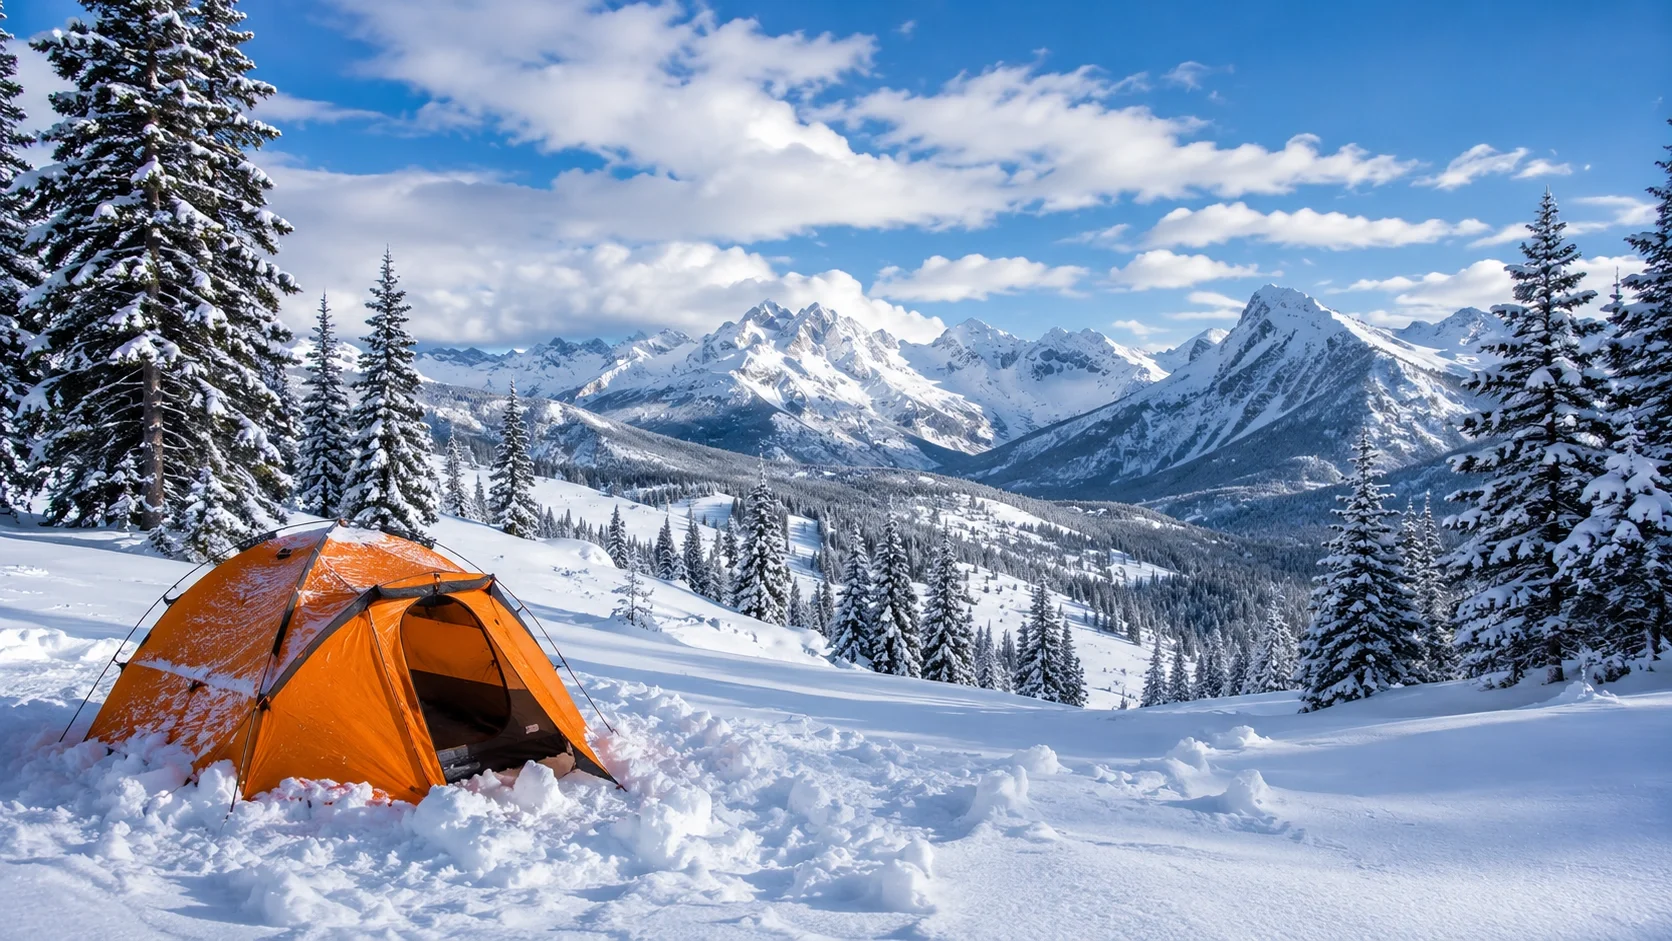
Regardless of your chosen style, the core principles remain the same: manage moisture, insulate from the ground, protect against wind, and maintain your body's core temperature. Understanding these fundamentals is what separates a miserable, dangerous experience from an unforgettable adventure under a winter sky.
Why Camp in Winter? Key Benefits
Many experienced campers consider winter their favorite season. Here is why:
No Crowds
Popular campsites and trails that are packed in summer become completely empty. You get pristine solitude and often have entire areas to yourself.
Stunning Scenery
Snow transforms landscapes into breathtaking scenes. Frozen waterfalls, ice-crusted trees, and snow-covered peaks create views that simply do not exist in other seasons.
No Bugs
Mosquitoes, ticks, flies, and other insects are completely absent. No need for bug spray, netting, or swatting during meals.
Better Wildlife Viewing
Animal tracks are clearly visible in snow, making wildlife tracking fascinating. Many animals are also more active during daylight hours in winter.
Longer-Lasting Food
The natural refrigerator means perishable foods stay fresh without a cooler. Frozen ground acts as free cold storage for meat, cheese, and drinks.
Unique Challenge
Winter camping builds advanced outdoor skills that transfer to all other seasons. Mastering cold-weather camping makes you a more competent and confident outdoorsperson.
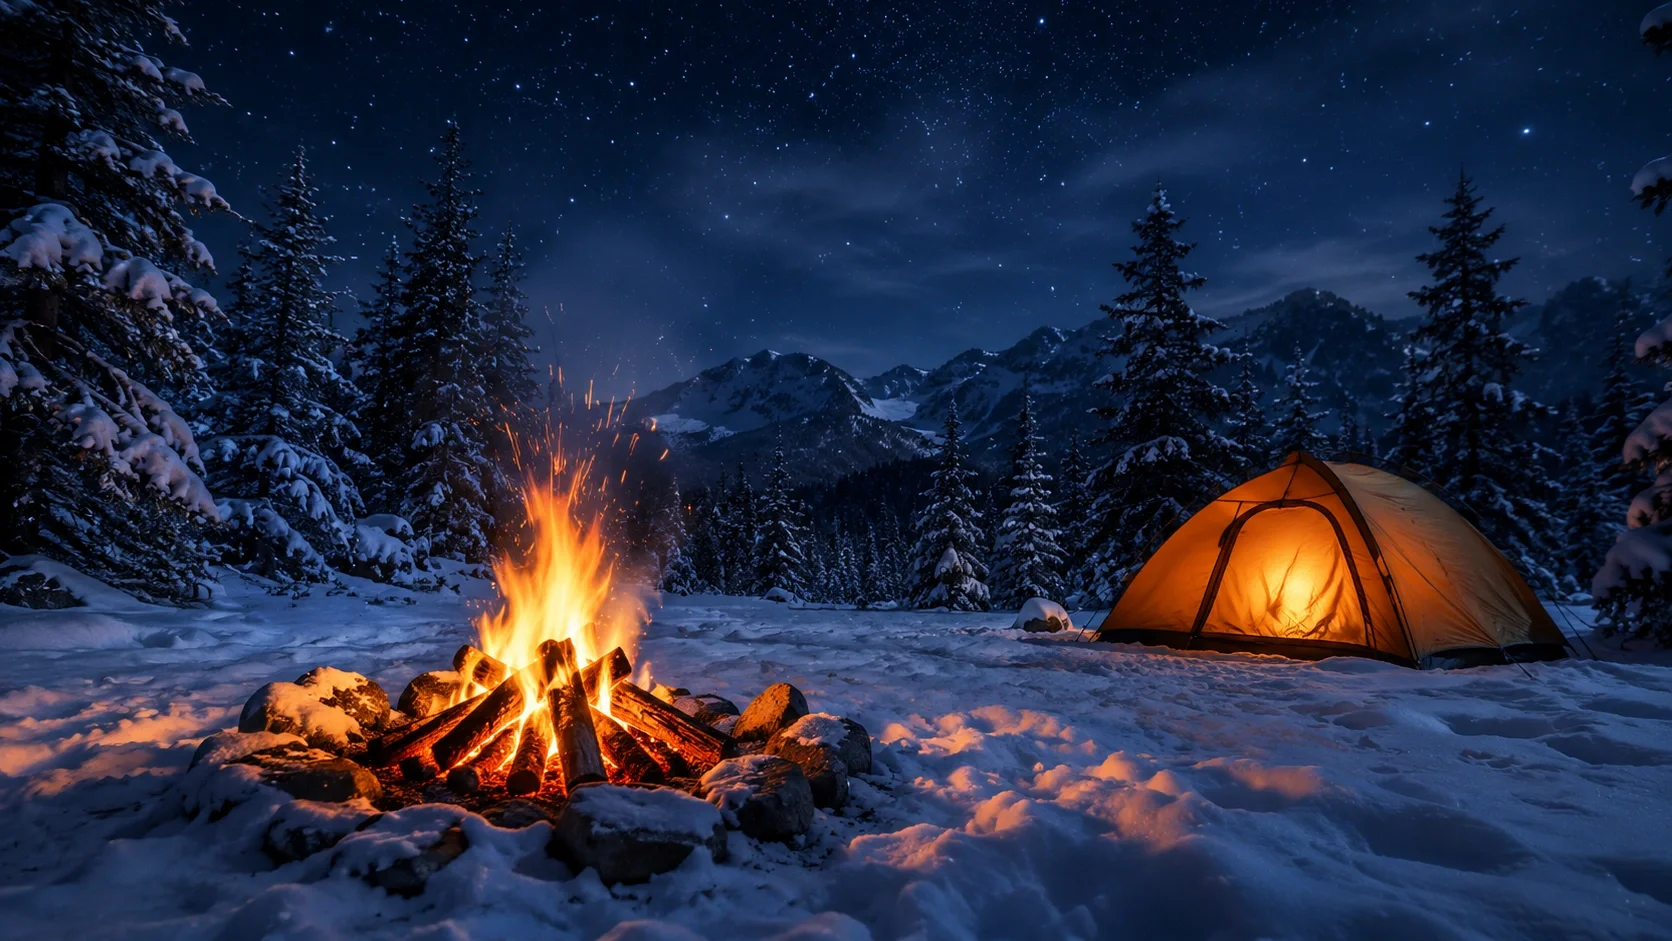
Essential Winter Camping Gear
Your winter camping gear is not just about comfort — it is about survival. Every piece must be evaluated for cold-weather performance. Below is a comprehensive breakdown of what you need, organized by category. For a complete printable list, see our winter camping checklist.
Winter Shelter
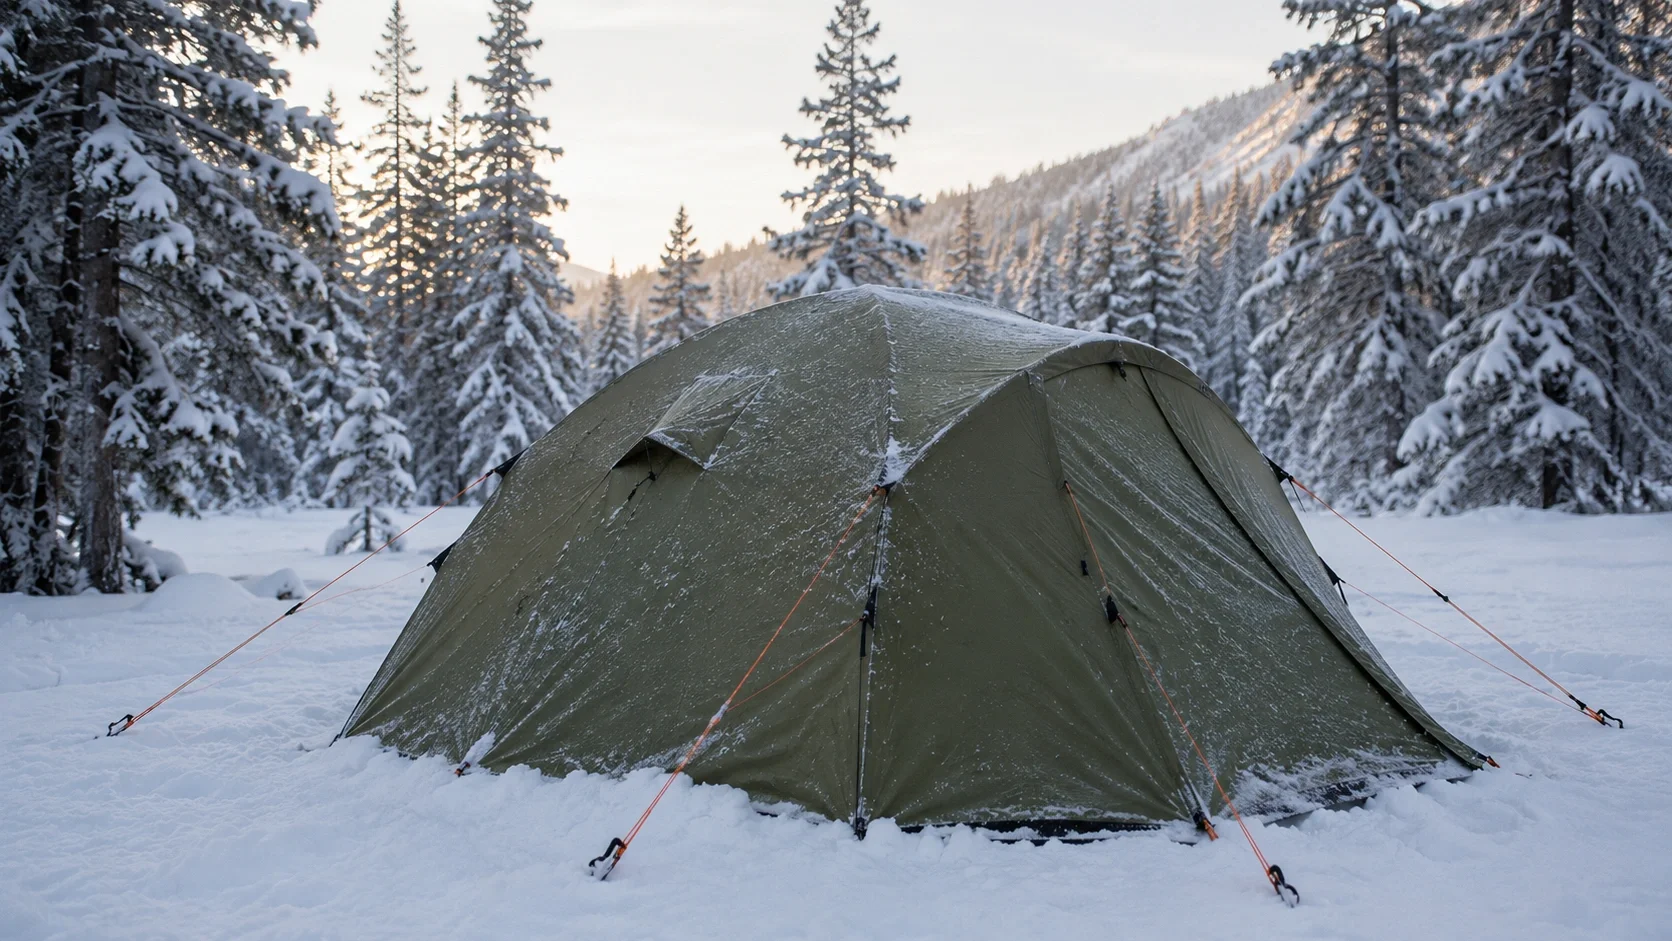
A standard three-season camping tent will not cut it in genuine winter conditions. Four-season tents are built with stronger pole structures to support snow loads, reduced mesh for better heat retention, and full-coverage rain flies that extend close to the ground to block wind and drifting snow. Expect to invest in the mid-range to premium tier for a quality four-season tent, with premium models reaching the premium tier for larger capacities.
For those who want genuine warmth, hot tent camping has become increasingly popular. A hot tent is a cotton-canvas shelter with a built-in stove jack that allows a lightweight wood stove inside. With a hot tent, indoor temperatures can reach 60–70°F even when it is below zero outside. Complete hot tent setups (tent + stove) typically sit in the mid-range to premium tier.
In extreme conditions, snow shelter building skills become invaluable. A quinzhee (a hollowed-out mound of snow) or a snow cave can maintain interior temperatures around 30–35°F regardless of how cold it is outside, thanks to the insulating properties of packed snow.
Winter Sleeping System
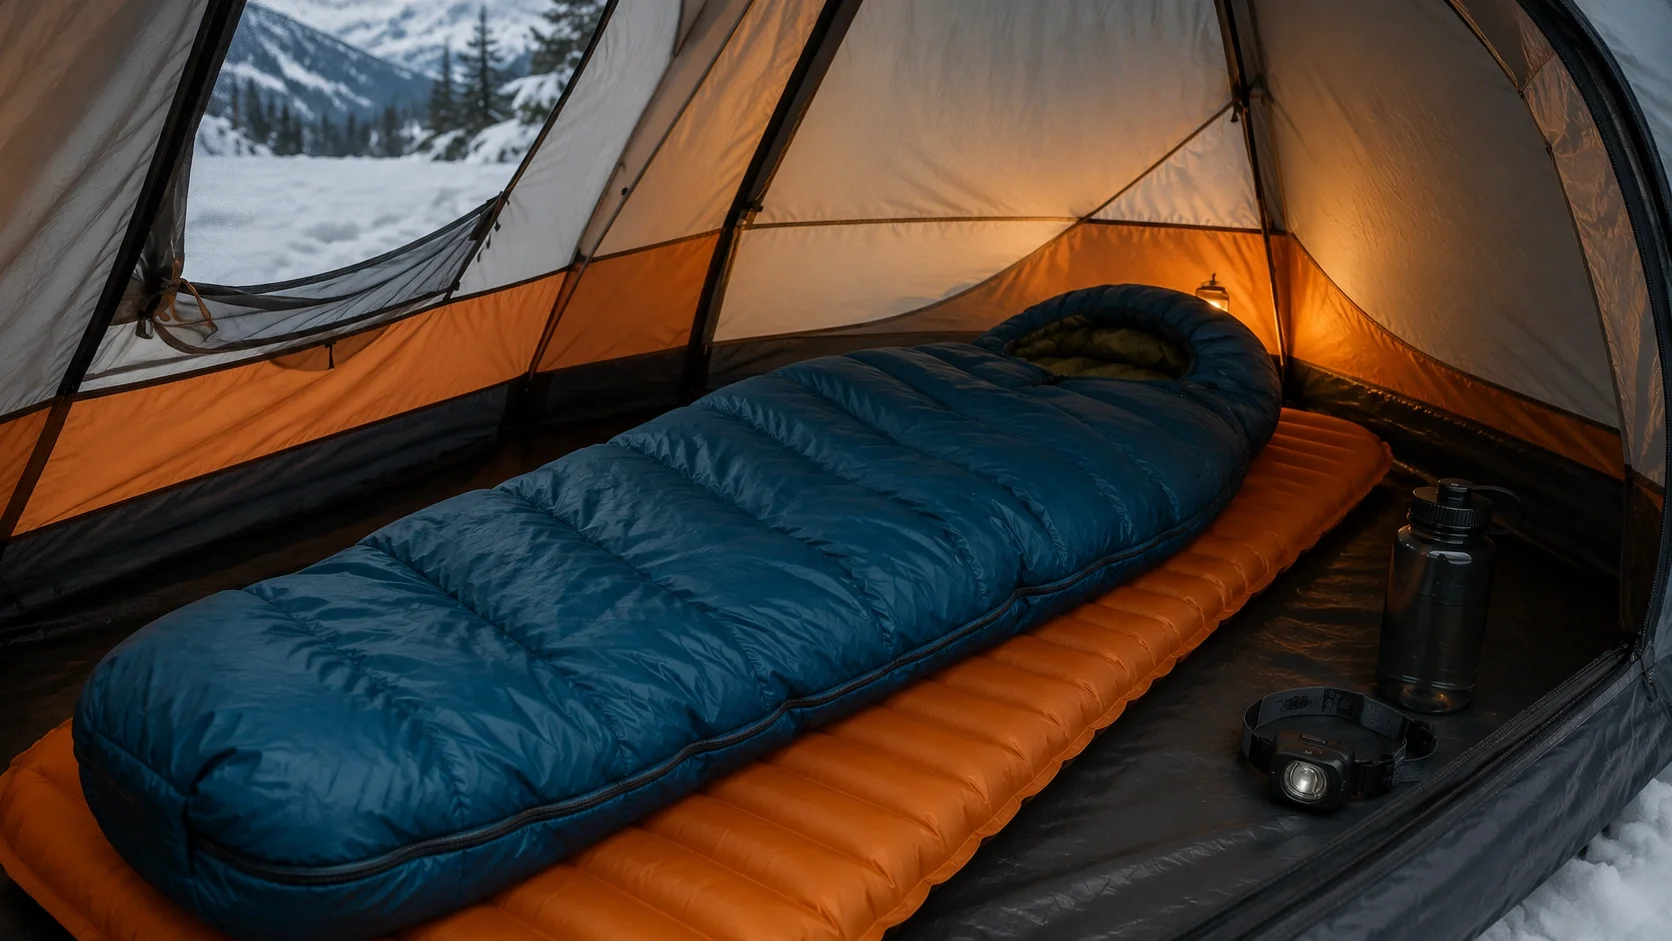
Your sleeping system is the most critical survival component of winter camping. It consists of three parts: the sleeping bag, the sleeping pad, and optional accessories.
Winter Sleeping Bags: A winter sleeping bag rated for temperatures 10–15°F below the coldest expected low is essential. If you expect 15°F nights, get a bag rated to 0°F or lower. Sleeping bags with high-quality down fill (800+ fill power) offer the best warmth-to-weight ratio but lose insulating value if they get wet. Synthetic-filled bags retain warmth when damp and sit in the mid-range tier, while premium down bags range up to the premium tier. Understanding the sleeping bag temperature rating system is crucial — the "comfort" rating and "lower limit" rating mean very different things.
Sleeping Pads: This is where most beginners make a critical mistake. A sleeping pad's R-value measures its resistance to heat loss through the ground. For winter camping, you need a combined R-value of at least 5.0, and for sub-zero conditions, aim for R-value 7.0 or higher. Many campers use two pads stacked — a closed-cell foam pad underneath (R-value 2.0–3.0, budget-friendly) and an inflatable pad on top (R-value 4.0–6.0, mid-range). See our guide to camping mats for detailed comparisons.
Accessories: A insulated camping pillow (budget-friendly) prevents heat loss from your head. A camping blanket (budget-friendly to mid-range) can be layered inside your bag for extra warmth. Some campers also use camping cots (budget-friendly to mid-range) to get off the cold ground entirely, though this requires additional insulation underneath the cot.
Winter Clothing & Layering System
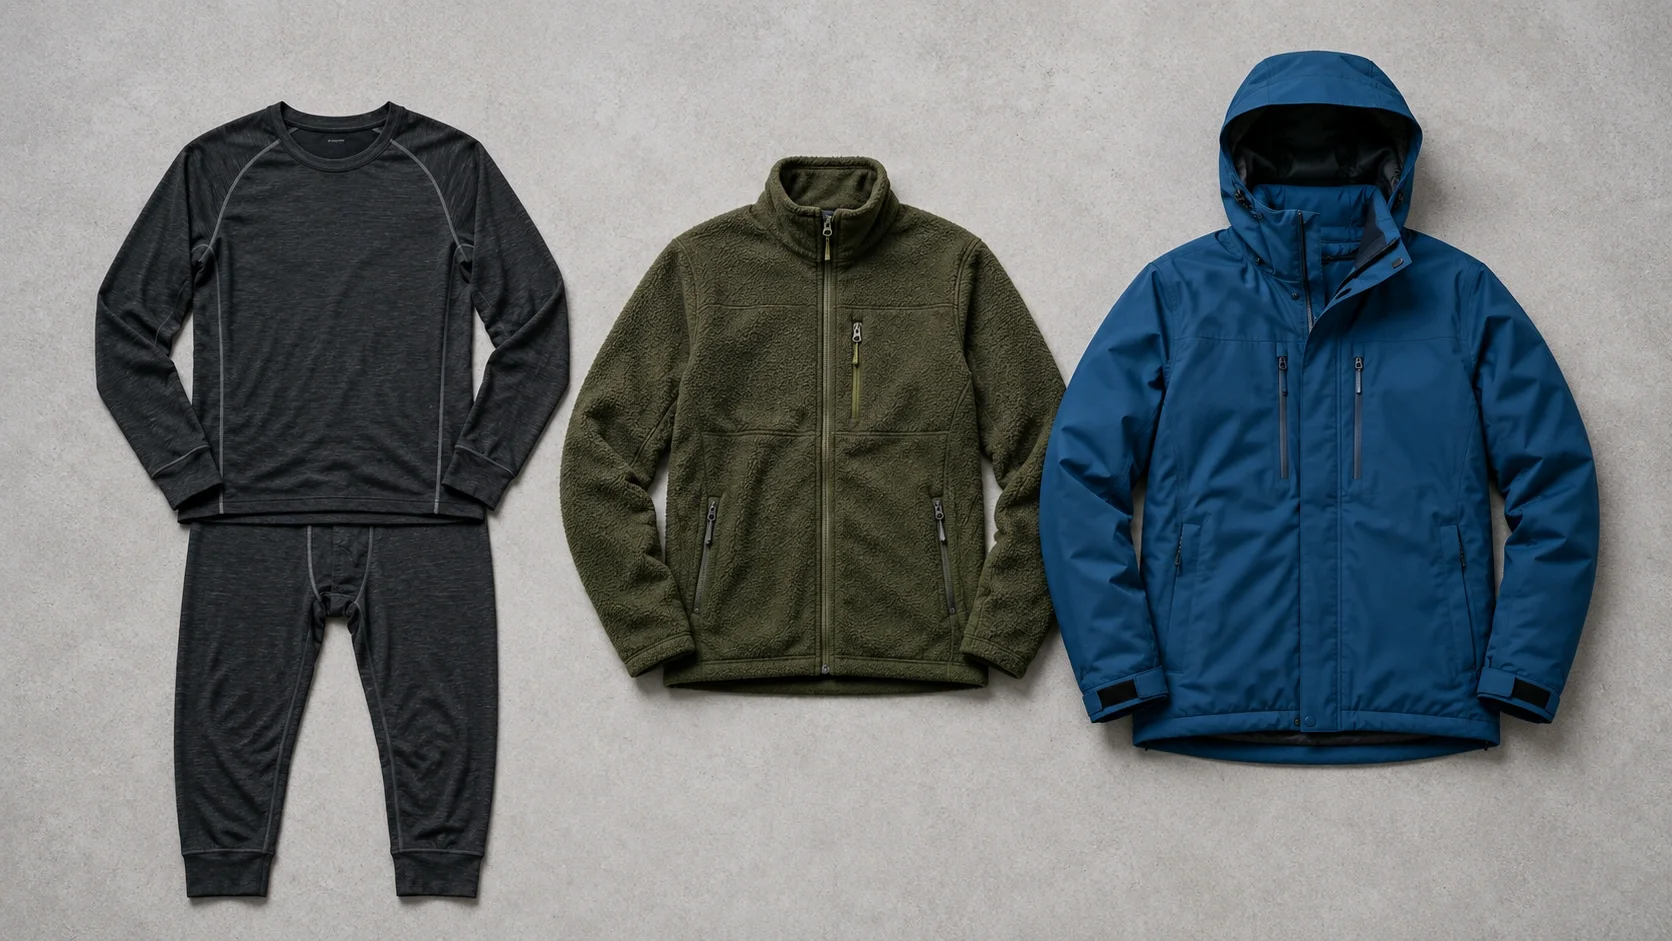
The layering clothing system is the foundation of staying warm in winter. It consists of three layers, each serving a specific purpose:
- Base Layer (Moisture Management): Merino wool or synthetic fabrics that wick sweat away from your skin. Never wear cotton — it traps moisture and loses all insulating value when damp. Quality base layers sit in the budget-friendly to mid-range tier per set.
- Mid Layer (Insulation): Fleece jackets, down sweaters, or synthetic insulated jackets trap warm air. A good mid-layer jacket sits in the budget-friendly to mid-range tier. Carry two options — a lightweight fleece for activity and a heavier insulated jacket for camp.
- Outer Layer (Weather Protection): A waterproof, windproof shell jacket and pants block wind, snow, and rain while allowing moisture vapor to escape. Quality winter shells sit in the mid-range to premium tier. See our clothing packing list for the full breakdown.
Do not forget extremities protection: insulated gloves (budget-friendly to mid-range), a warm beanie or balaclava (budget-friendly), and quality winter camping boots (mid-range) with insulation rated for sub-zero temperatures. Bring multiple pairs of wool socks (budget-friendly per pair) and change them whenever they become damp.
Heating Solutions
While your clothing and sleeping system provide personal warmth, camping heaters can make your shelter significantly more comfortable. Propane-powered radiant heaters (budget-friendly to mid-range) work well in ventilated tents and can raise interior temperatures by 20–30°F. For hot tent setups, lightweight titanium or stainless steel wood stoves (mid-range) provide powerful, sustained heat using nothing but found wood.
Safety is non-negotiable with any heater. Never use a fuel-burning heater in an unventilated tent — carbon monoxide is invisible, odorless, and lethal. Always maintain airflow, keep heaters away from tent walls and fabrics, and never leave them running while you sleep unless the manufacturer explicitly states it is safe for overnight use. Learn more about winter camping heater safety.
Winter Cooking Equipment
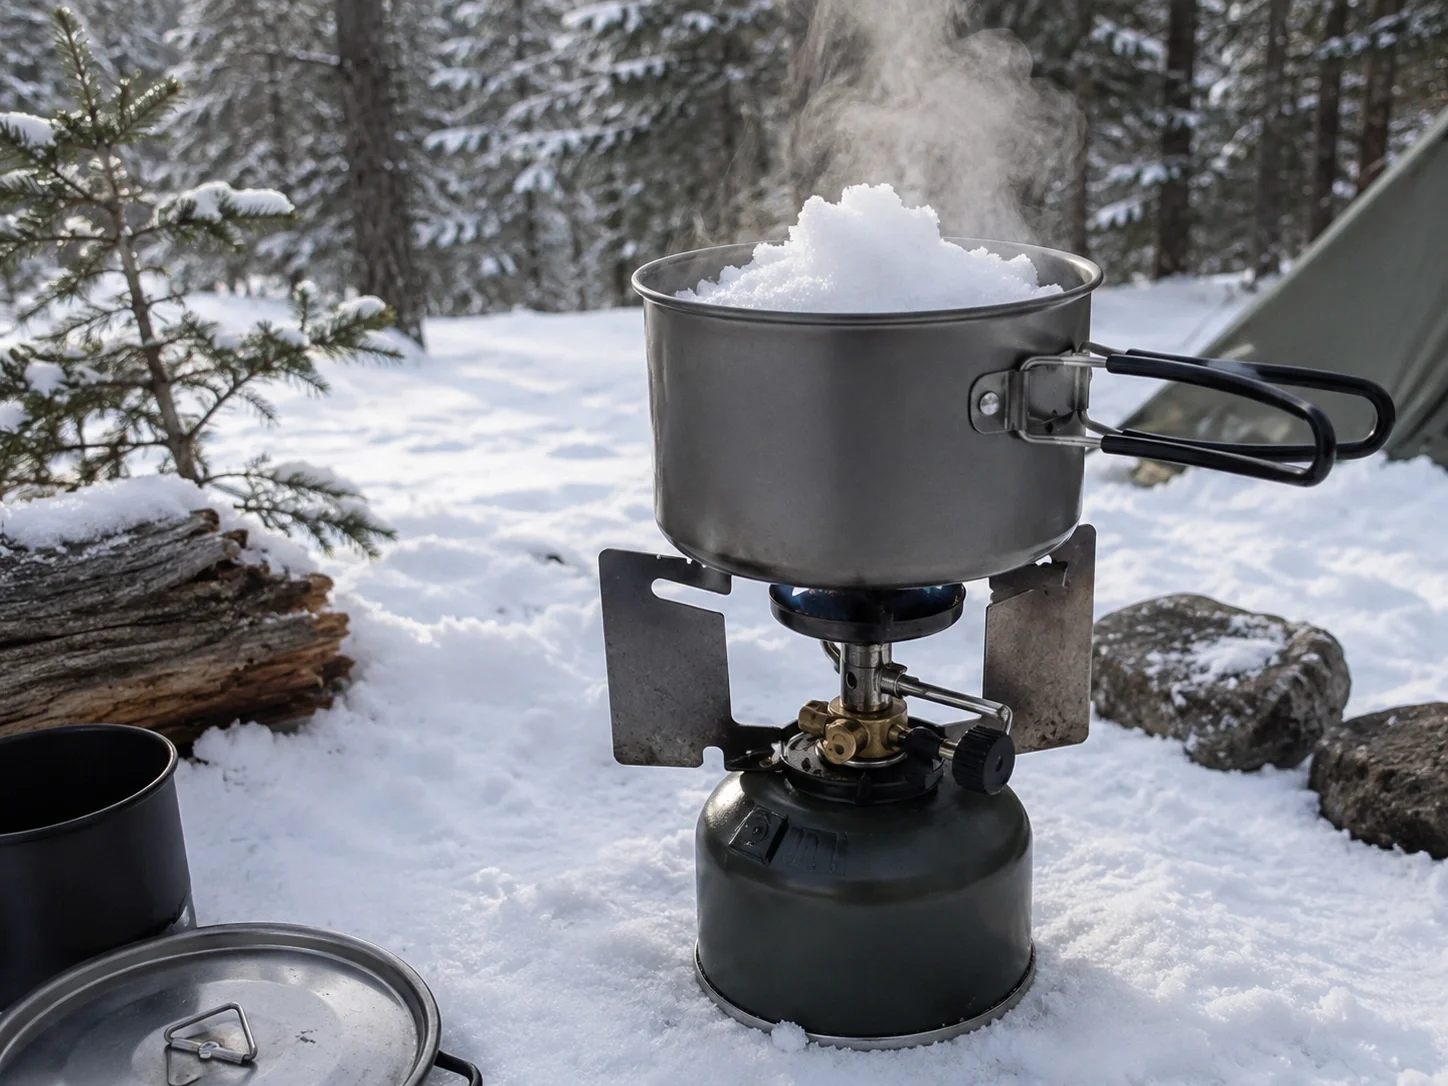
Cooking in winter presents unique challenges: fuel canisters lose pressure in cold temperatures, water takes longer to boil, and you need more calories to stay warm. A reliable camping stove is essential — liquid fuel stoves (white gas) perform far better in sub-freezing conditions than canister stoves, though modern inverted canister stoves (budget-friendly to mid-range) also work well down to about -10°F.
Your winter camping kitchen should include insulated cookware with lids to retain heat, a good camping kettle (budget-friendly) for melting snow and making hot drinks, and durable utensils that will not become brittle in the cold. A cooler is still useful — not to keep things cold, but to prevent food from freezing solid.
Plan for high-calorie meals — your body burns significantly more calories in cold weather. Hot meals and drinks are not just comforting; they actively help maintain core temperature. Check our winter hot drinks recipes for warming beverage ideas.
Lighting & Electronics
Winter nights are long, and reliable lighting is essential. Cold temperatures drastically reduce battery life, so plan accordingly. LED camping lanterns (budget-friendly to mid-range) provide area light inside your tent. A good camping light or headlamp (budget-friendly to mid-range) is needed for tasks outside. Bring camping power banks (budget-friendly) and keep them warm inside your sleeping bag to preserve charge. For longer trips, portable power stations (mid-range to premium) or solar chargers (budget-friendly to mid-range) can keep devices powered.
Gear at a Glance
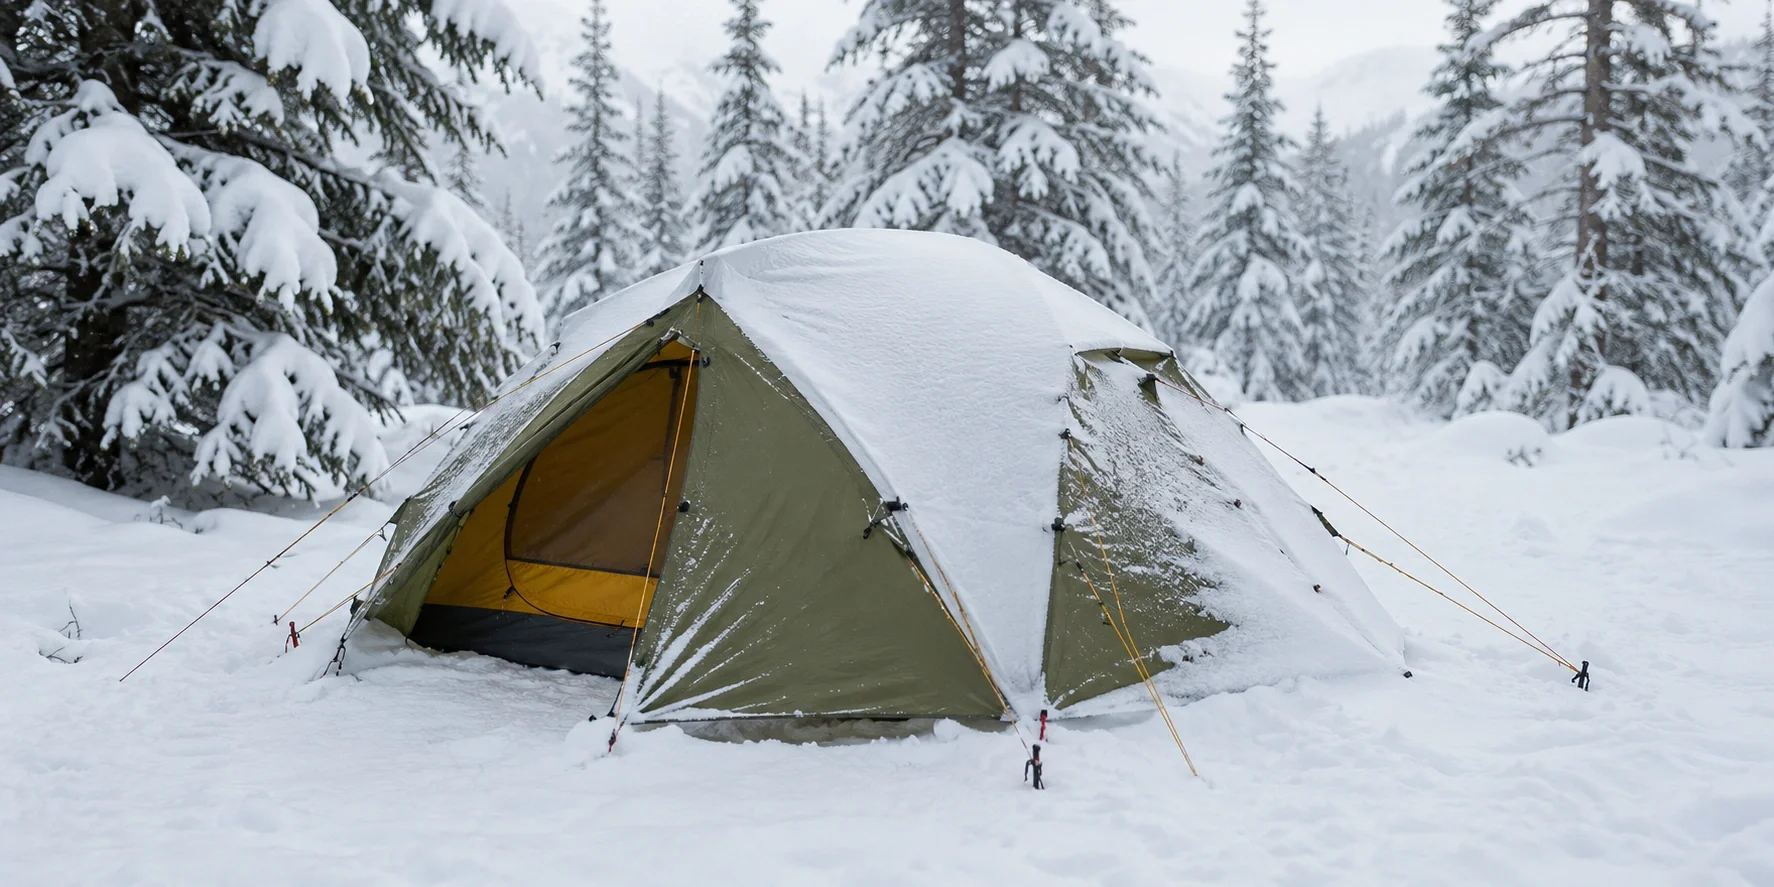
Four-Season Tent
Strong poles, minimal mesh, full rain fly for snow and wind protection.
mid-range to premium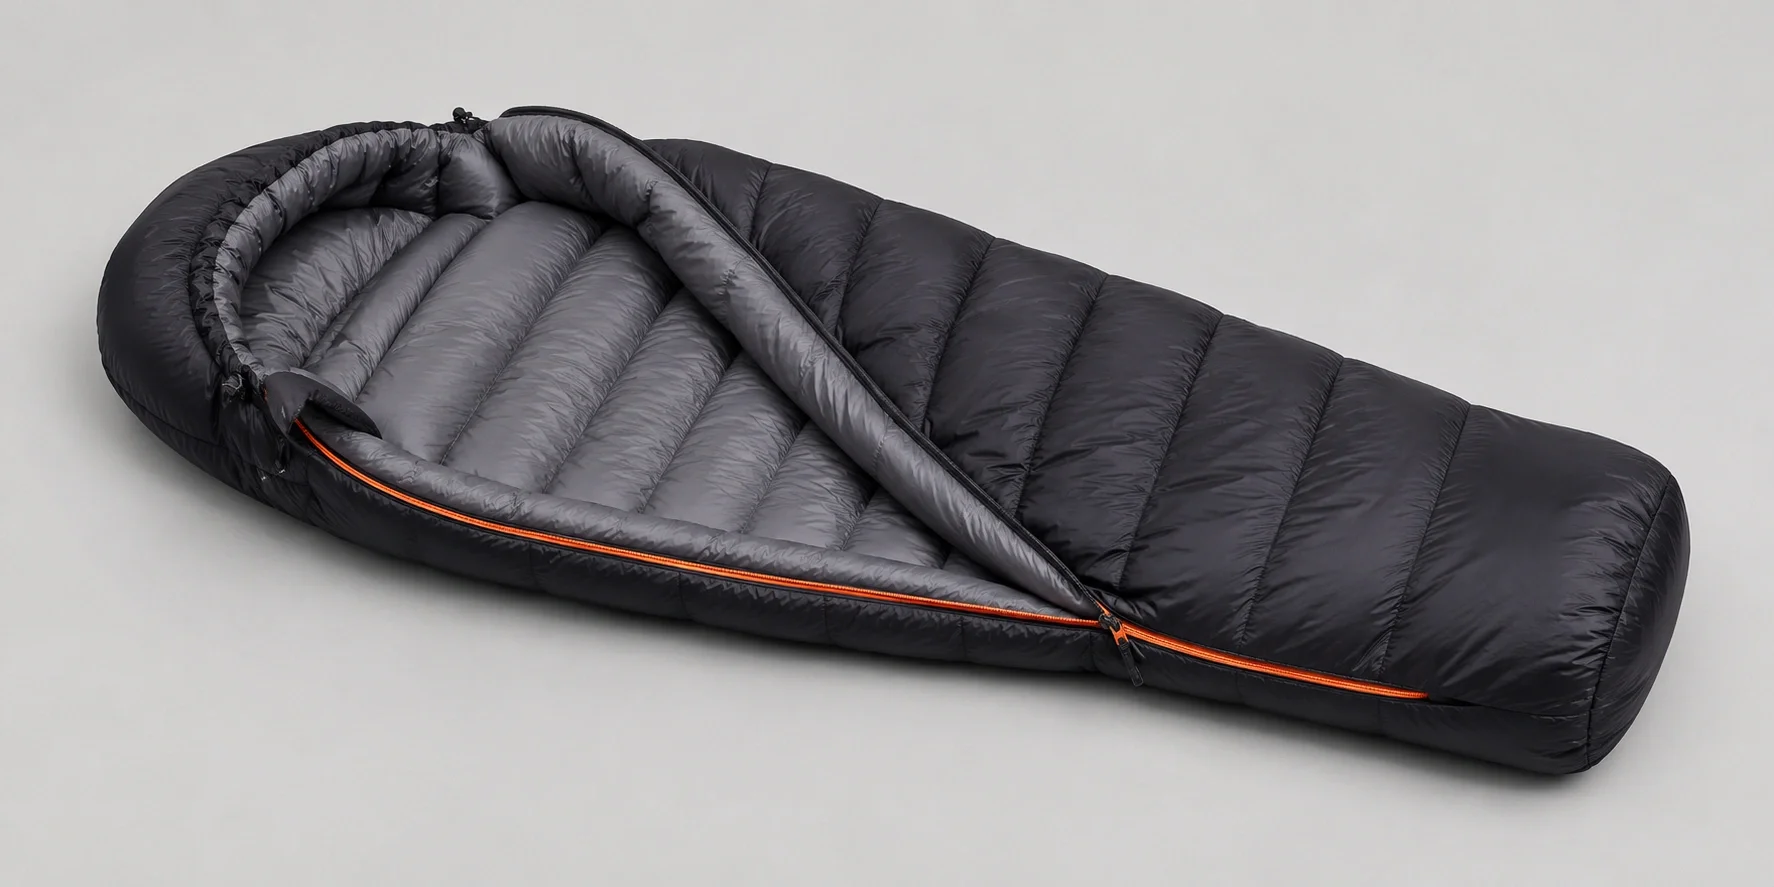
Winter Sleeping Bag (0°F rated)
Down or synthetic, mummy shape with draft collar and hood.
mid-range to premium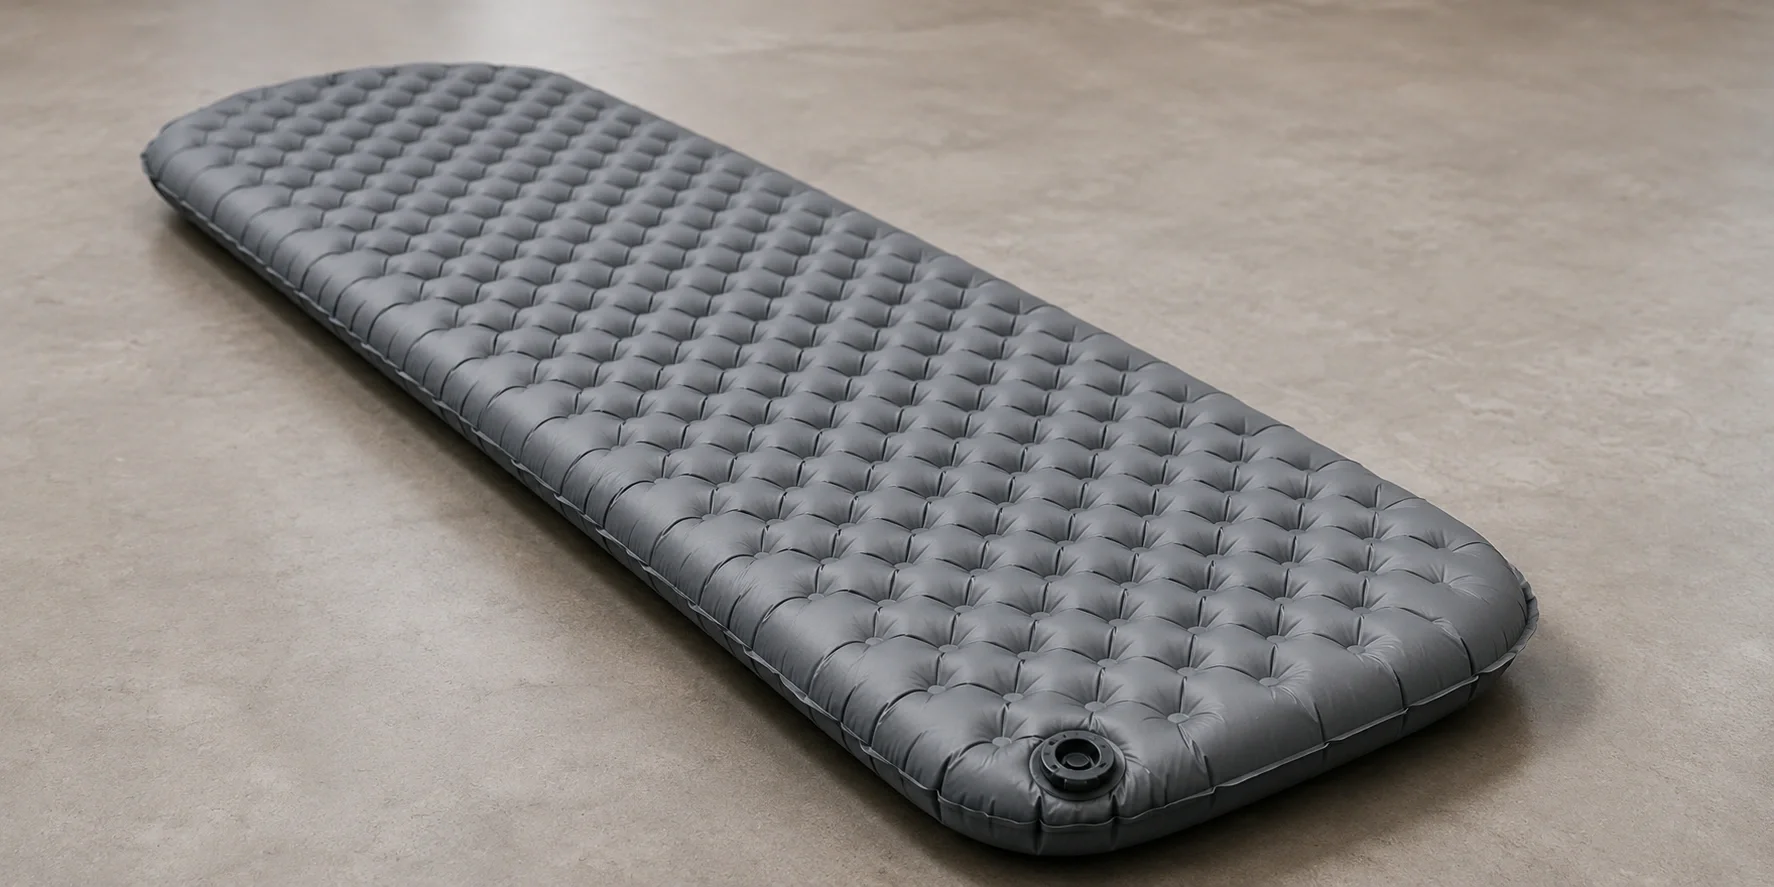
Insulated Sleeping Pad (R-5+)
Prevents ground heat loss — the most overlooked essential item.
mid-range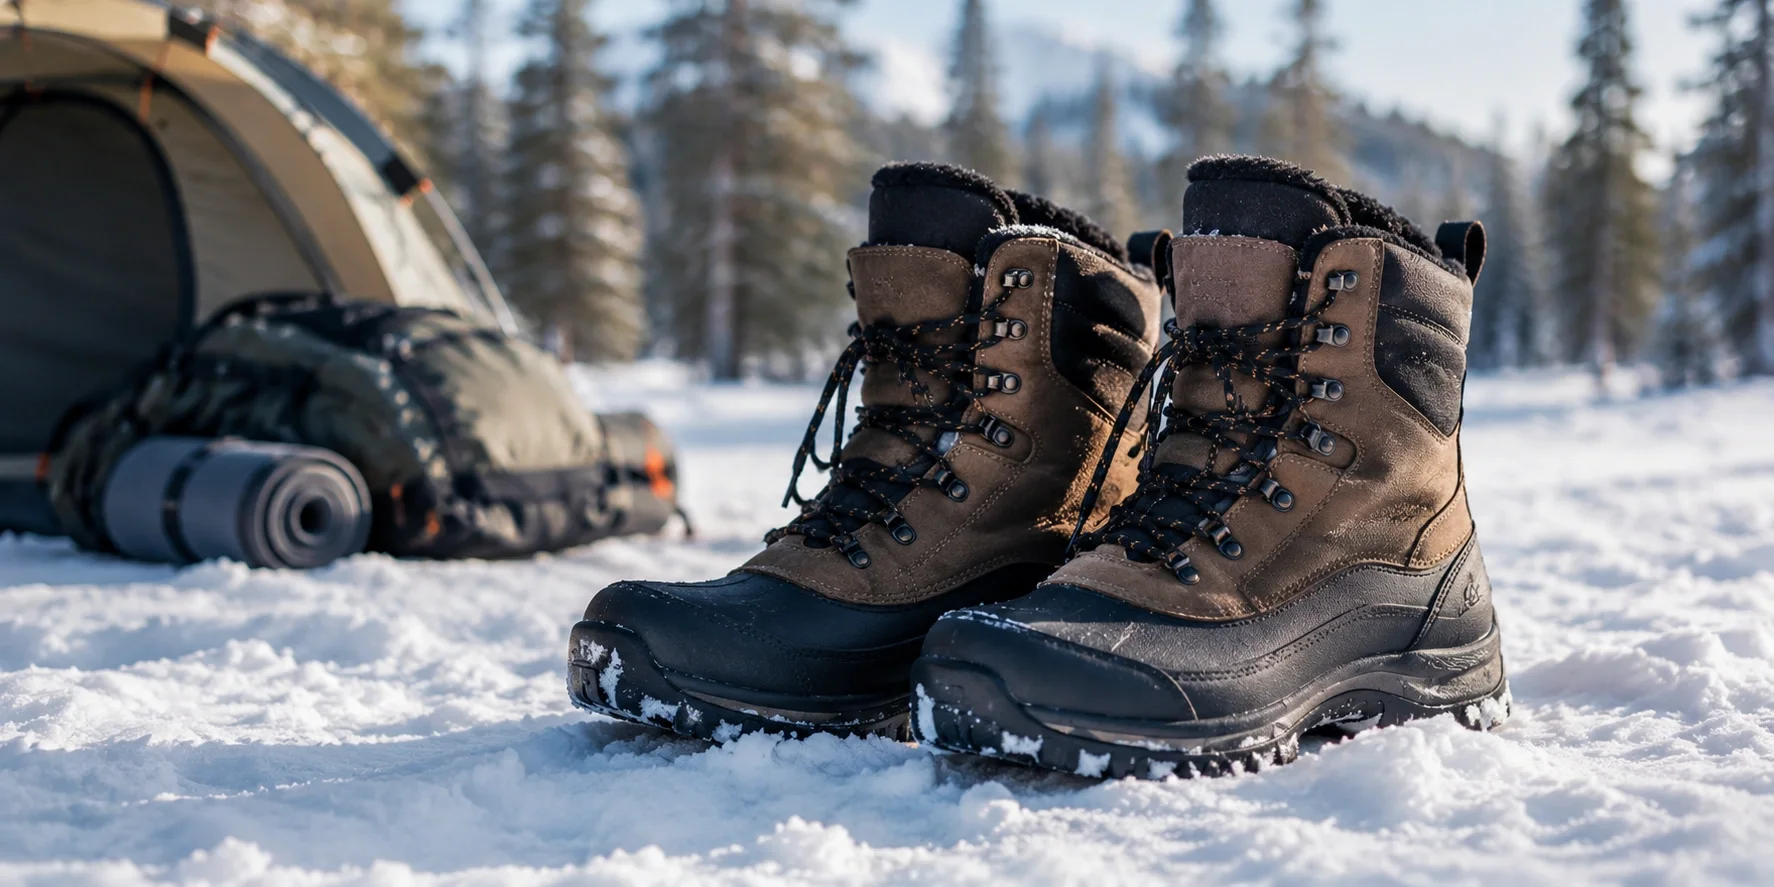
Insulated Winter Boots
Waterproof, insulated to -40°F, with aggressive tread for snow.
mid-range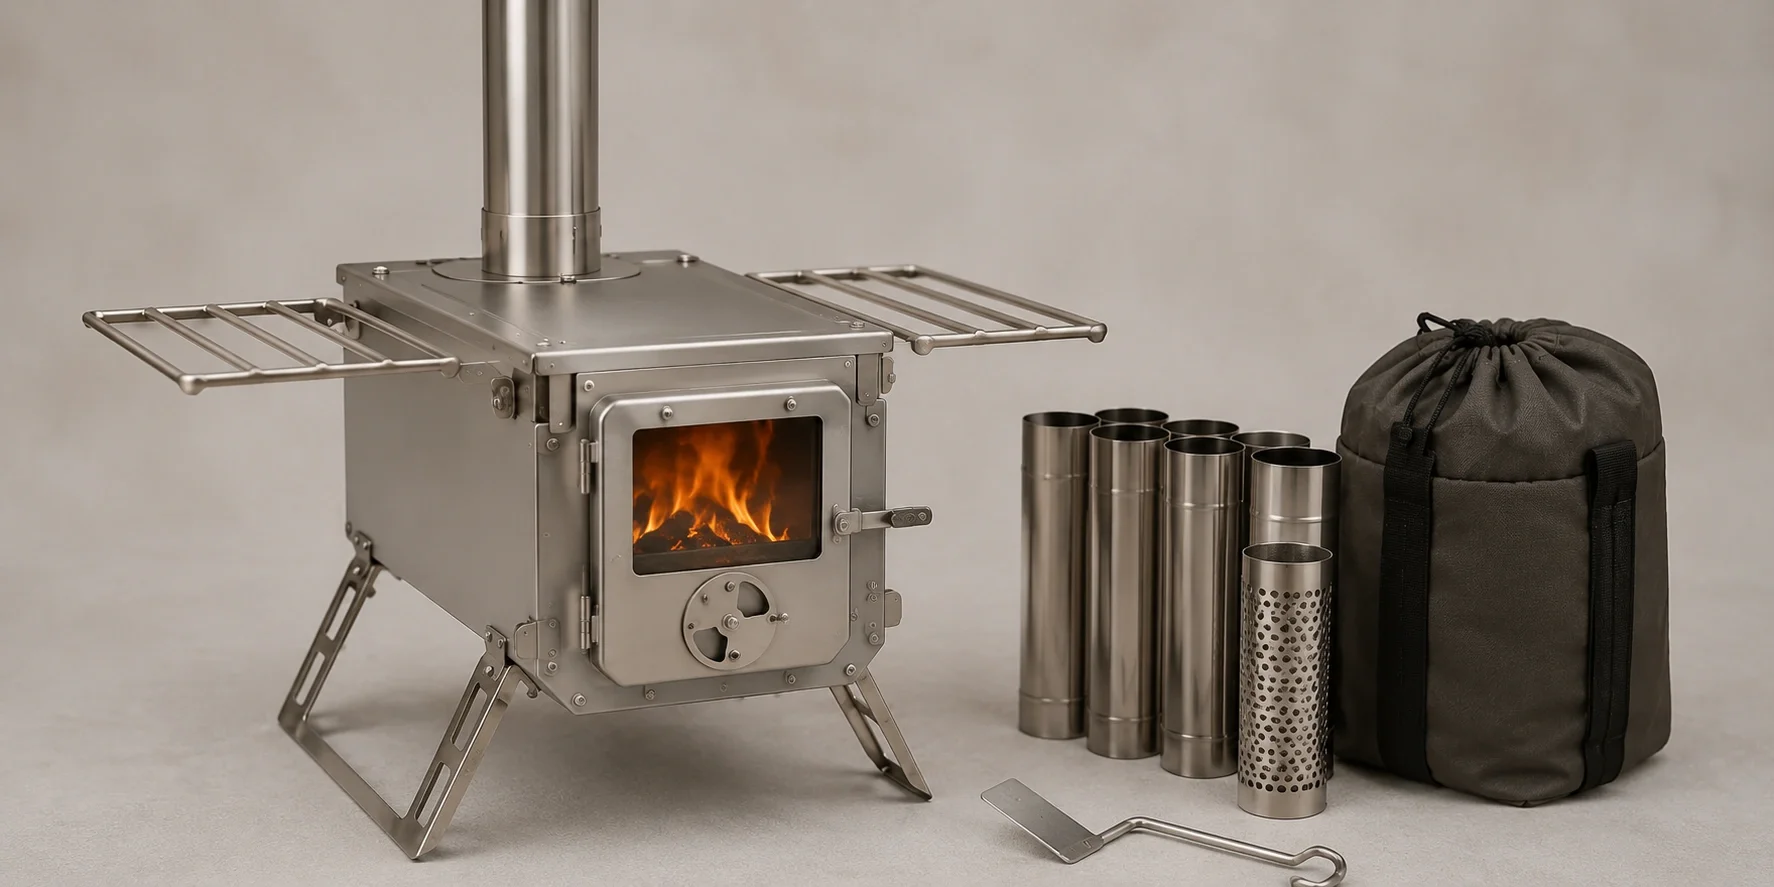
Hot Tent Wood Stove
Titanium or steel stove with stove pipe for canvas hot tents.
mid-range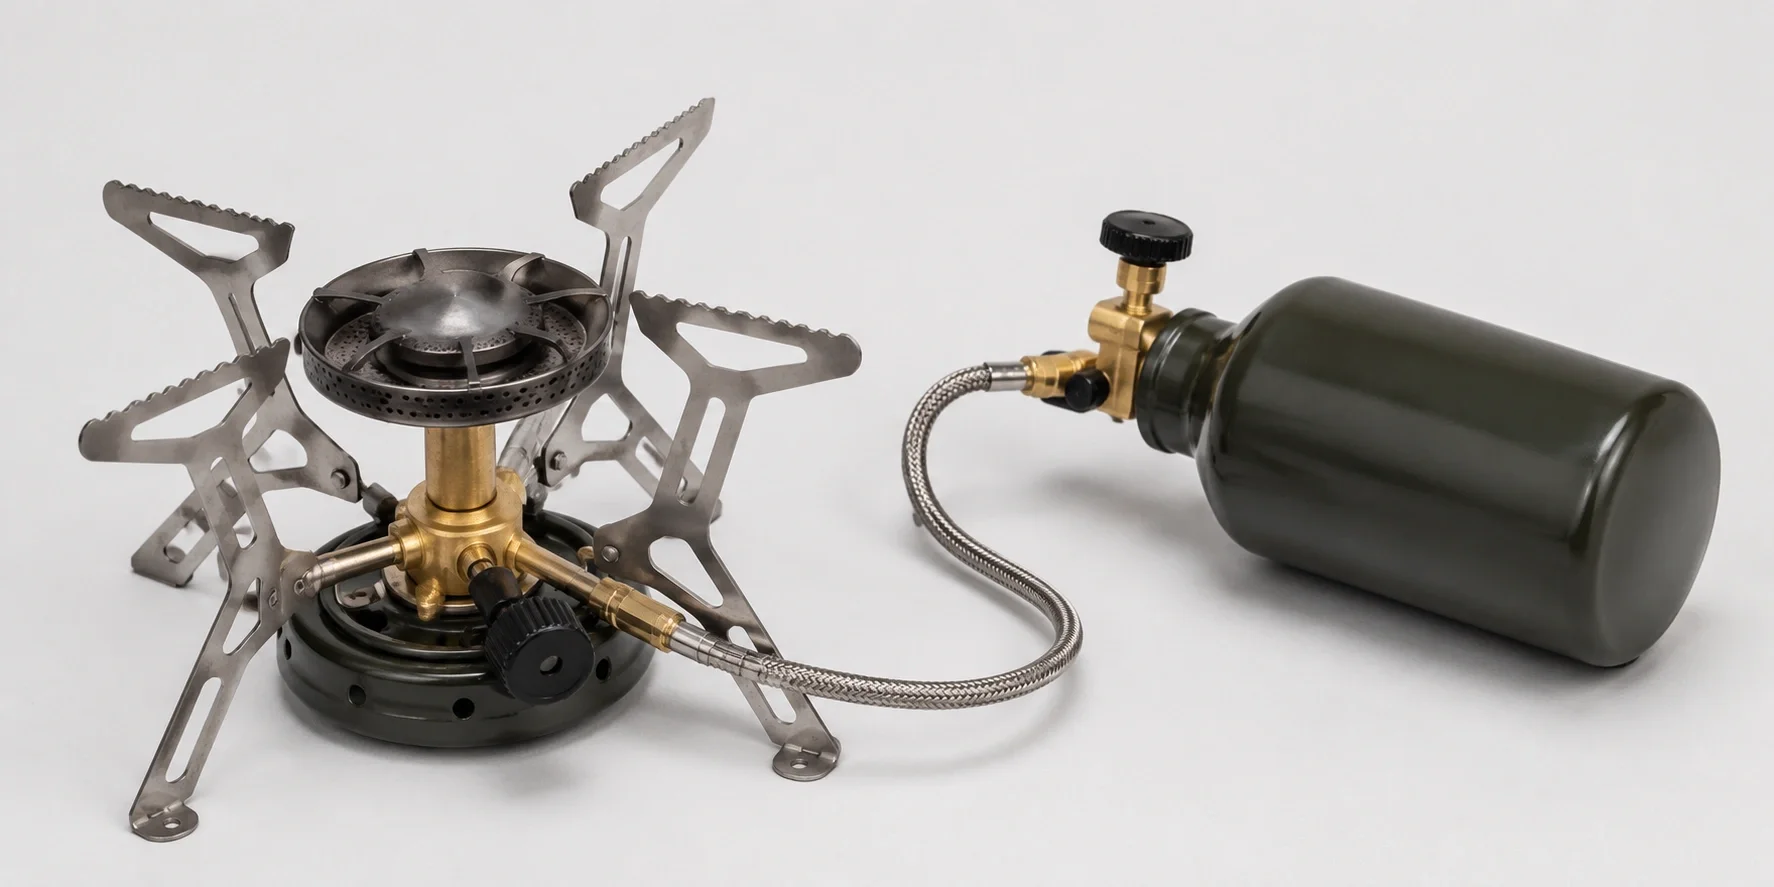
Liquid Fuel Stove
White gas stove that performs reliably in sub-zero temperatures.
budget-friendly to mid-rangeHow to Stay Warm While Winter Camping
Staying warm is not just about having the right gear — it is about using it correctly. Many people with excellent gear still get cold because they make simple mistakes. Here are the key strategies covered in detail in our complete guide to staying warm in winter:
- Manage moisture relentlessly. Sweat is your biggest enemy in cold weather. Remove layers before you start overheating during physical activity, and add them back when you stop. Change into dry base layers before getting into your sleeping bag.
- Eat and drink constantly. Your body generates heat through metabolism. Eat high-calorie, high-fat snacks every hour during the day. Drink warm beverages regularly — dehydration accelerates heat loss.
- Insulate from the ground. The ground draws heat from your body faster than cold air. A high R-value pad is non-negotiable. Add a foam pad under your inflatable for extra protection.
- Use a hot water bottle. Fill a Nalgene bottle with hot water and place it in your sleeping bag near your core or feet. This can add 10–15°F of perceived warmth and lasts for hours.
- Pre-warm your sleeping bag. Do your evening routines (cooking, brushing teeth) before getting in the bag. The bag warms you — you do not warm the bag. Keep it in a dry stuff sack during the day.
- Protect extremities first. Your body prioritizes core temperature, so hands and feet get cold first. Wear insulated gloves, good boots, and a hat even inside the tent. Keep spare dry socks in your sleeping bag.
- Ventilate your tent. Counterintuitively, a slightly ventilated tent is warmer than a sealed one. Condensation from your breath will freeze on the tent interior and then drip on you when temperatures rise.
⚠️ Critical Warning — Hypothermia: Hypothermia can occur at temperatures well above freezing, especially if you are wet or exhausted. Know the signs: uncontrollable shivering, confusion, slurred speech, and drowsiness. If you or anyone in your group shows symptoms, take immediate action — get dry, get warm, get shelter. Read our detailed hypothermia prevention guide and learn about frostbite prevention before every winter trip.
Setting Up Camp on Snow
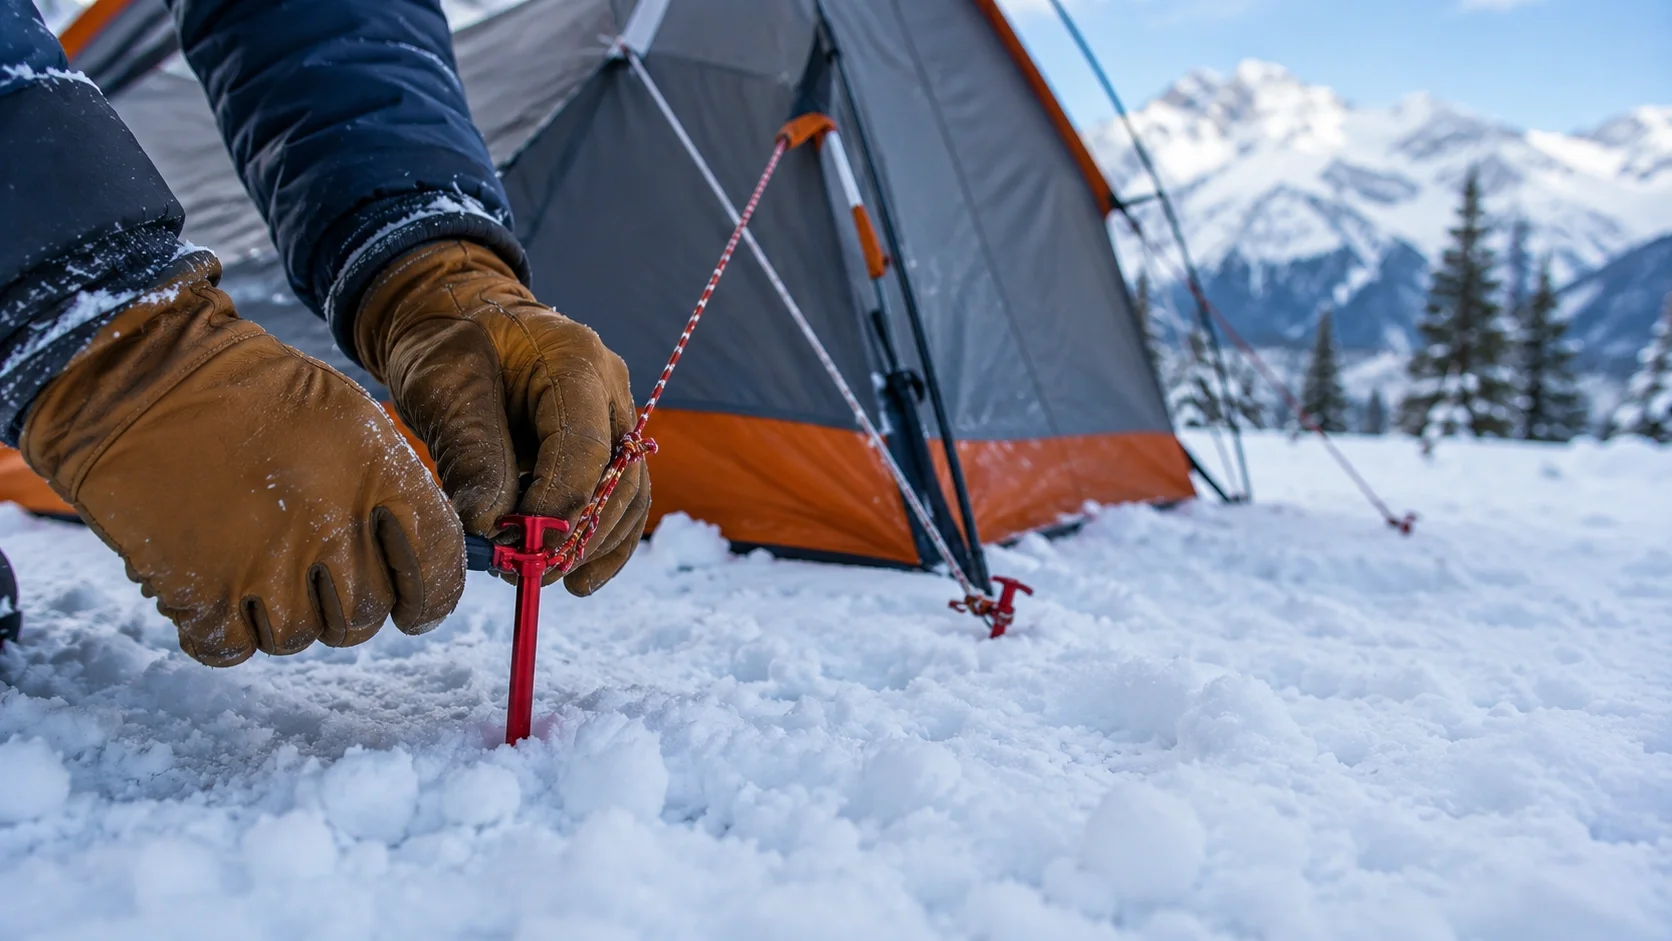
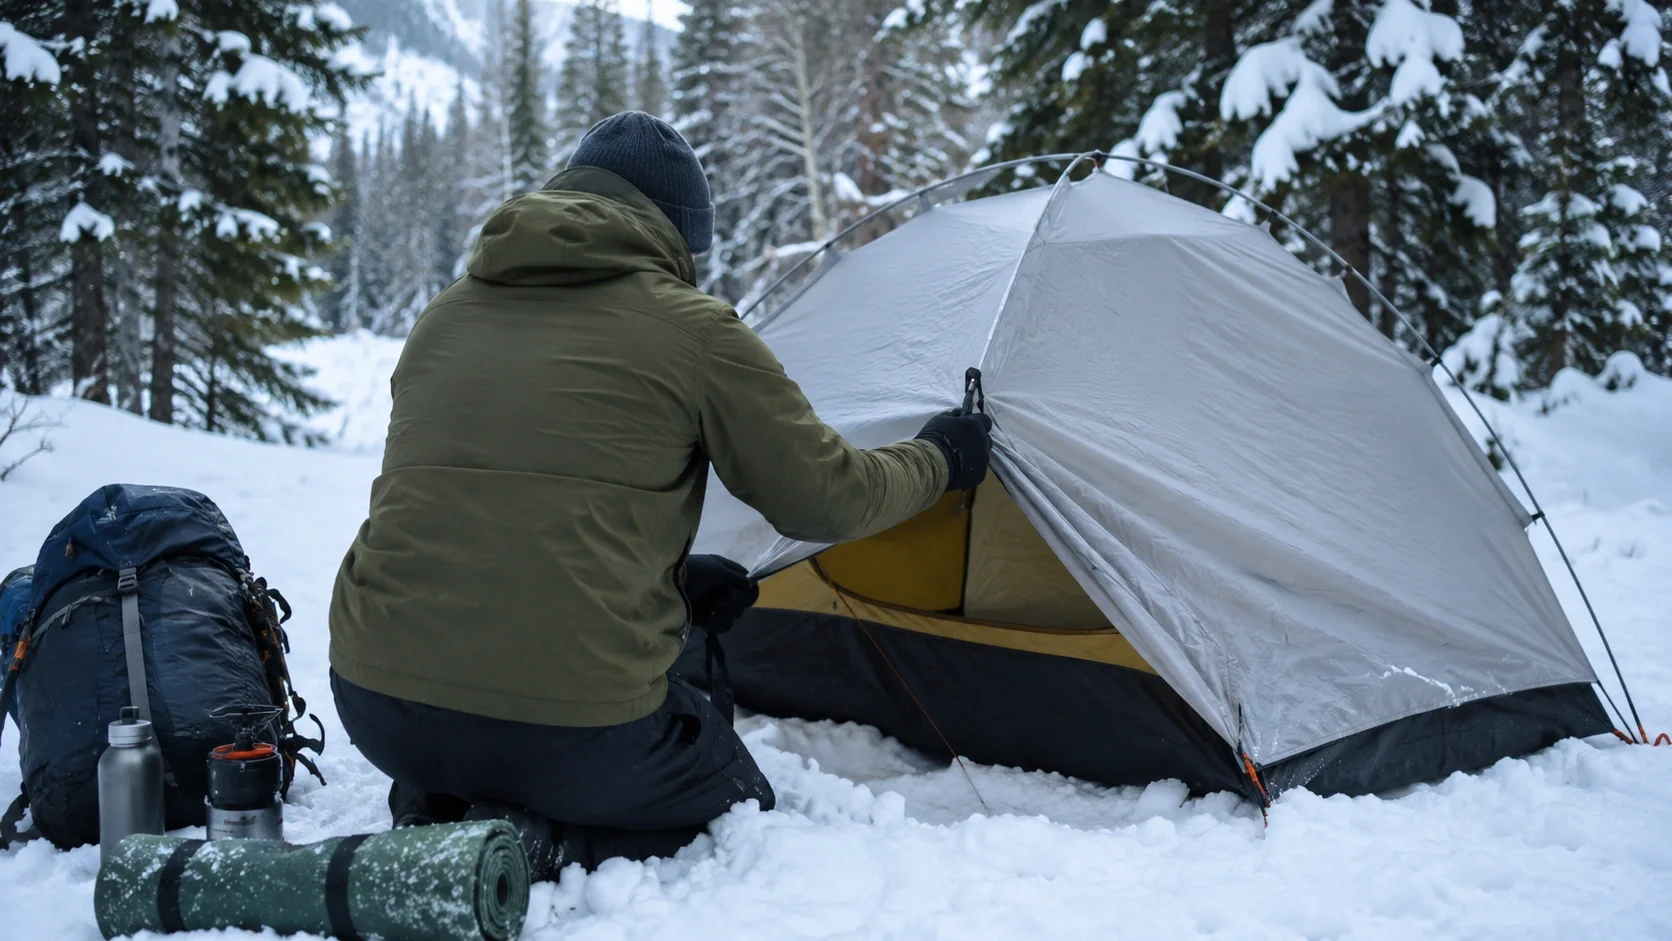
Setting up a tent on snow requires different techniques than pitching on dirt or grass. Standard tent stakes will not hold in loose snow — you need snow stakes (wide, metal or plastic anchors, budget-friendly per set) or deadman anchors (buried objects like stuff sacks filled with snow or rocks attached to guy lines).
Before pitching, stomp down the snow where your tent will sit and let it firm up for 15–30 minutes. This creates a solid, level platform. If the snow is deep, dig a tent platform into the snow — this provides wind protection and reduces the height you need to climb in and out. Position your tent so the door faces away from the prevailing wind direction.
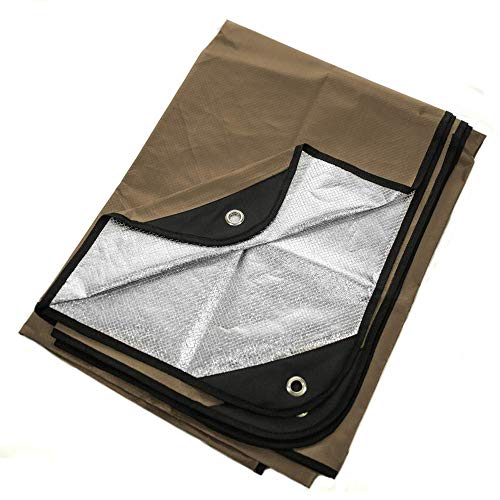
Use a camping tarp (budget-friendly) as a ground cloth under your tent to prevent melting snow from soaking through the floor. Create a defined kitchen area on a packed snow surface, and keep your camping essentials organized in waterproof stuff sacks so nothing gets lost in the snow.
Getting Water in Winter
Water access is one of the biggest logistical challenges in winter camping. Streams may be frozen, and lakes are covered in ice. The most reliable method is melting snow for water. Always start with a small amount of liquid water in the bottom of your pot before adding snow — this prevents scorching and speeds up melting. Collect clean white snow from elevated areas, avoiding any that looks discolored.
Keep water bottles insulated inside your backpack during the day and inside your sleeping bag at night to prevent freezing. Some campers use insulated bottle covers or store bottles upside down (water freezes from the top down, so the drinking opening stays ice-free longer). A water filter is still useful near open water sources, but most winter campers rely on boiling for purification since they are already melting snow on a stove.
Winter Camping Safety
Winter camping safety encompasses multiple risk categories that do not exist in summer. Being prepared for emergencies is not optional — it is the difference between a challenging situation and a life-threatening one.
Avalanche Awareness
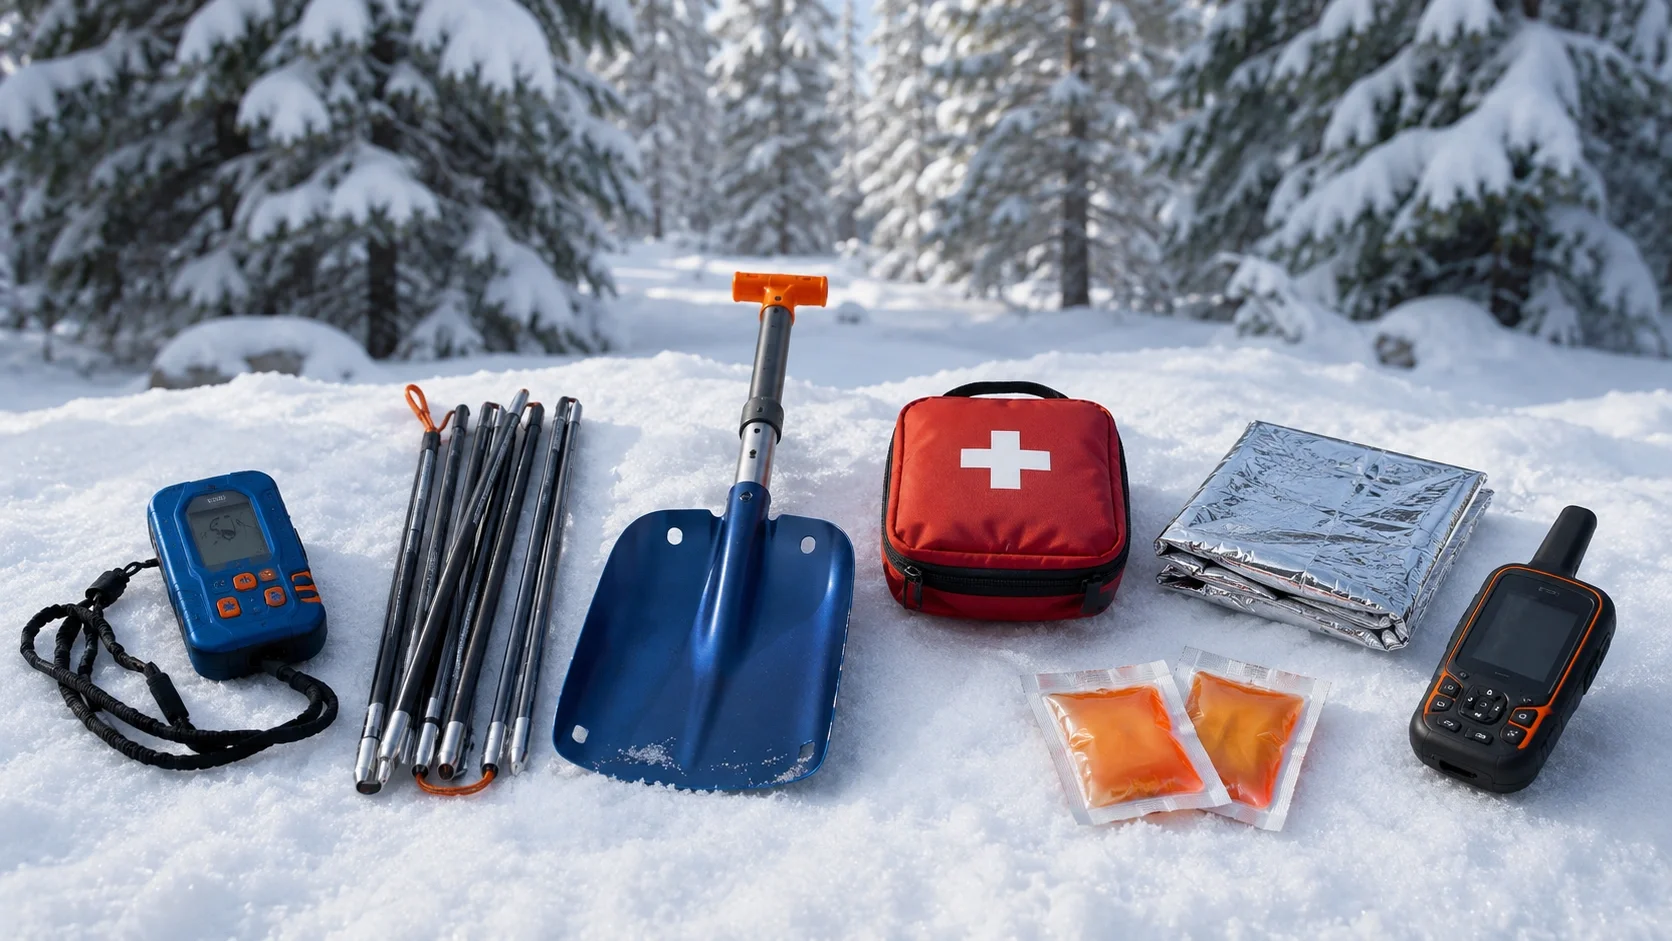
If you are camping in or traveling through mountainous terrain, avalanche safety knowledge is mandatory. Take an avalanche awareness course, carry a beacon/probe/shovel (mid-range to premium for a complete set), check daily avalanche forecasts, and avoid terrain with slopes between 30–45 degrees. Even if you are not traveling on steep slopes, your campsite should be positioned away from potential avalanche runout zones.
Cold Weather Health Risks
Beyond hypothermia and frostbite, winter campers face risks like dehydration (cold suppresses thirst response), snow blindness (UV reflection off snow — always wear sunglasses), and carbon monoxide poisoning from heaters in enclosed spaces. Your first aid kit should include chemical warmers, emergency blankets, and cold-specific supplies. Review cold weather camping safety protocols before every trip.
🚨 Emergency Preparedness: Always carry a winter emergency kit that includes: a satellite communicator or emergency beacon (mid-range to premium), a printed map and compass (electronics fail in cold), fire-starting materials that work when wet, extra food for at least one additional day, and a bivy sack or emergency shelter. Register your trip plan with someone who is not on the trip. See our emergency preparedness guide and emergency communication options for complete details.
Ice Safety
If your winter camping involves frozen lakes or rivers, understand frozen lake safety and ice fishing safety rules. A minimum of 4 inches of clear, solid ice is needed for walking. Ice thickness is never uniform — check frequently with an ice chisel or auger. Never go onto ice alone, and wear ice picks around your neck for self-rescue if you break through.
Weather Monitoring
Winter weather can change rapidly and dramatically. Use weather apps for camping to monitor conditions before and during your trip. Pay attention to winter weather alerts including winter storm warnings, wind chill advisories, and blizzard watches. Have a bailout plan — know the quickest route to safety and the threshold conditions that will trigger you to leave.
Winter Camping Tips for Beginners
If this is your first cold-weather camping experience, start small and build gradually. Here is a practical progression:
- Start with a single night close to home. Choose a campground within 30 minutes of your house. If conditions become too much, you can easily retreat. See our first-time camping checklist for basics.
- Pick mild conditions for your first trip. Aim for 25–35°F with minimal wind. Avoid your first trip during a winter storm or deep cold snap.
- Go with experienced people. Join a local hiking or camping club. Learning from someone who has winter camped many times accelerates your skill development enormously.
- Test your gear at home first. Set up your tent in your backyard on a cold night. Sleep in your sleeping bag on your pad. Discover problems in a safe environment where you can go inside.
- Bring more food and water than you think you need. Your body burns 2,000–4,000+ extra calories per day in cold conditions. Running out of food is a serious emergency.
- Keep gear organized. In snow, dropped items disappear instantly. Use stuff sacks, color-code your gear, and establish a system where every item has a designated place.
- Go to bed warm. Do jumping jacks or walk around before getting in your bag. A sleeping bag does not generate heat — it only retains what your body produces.
Quick Winter Camping Checklist
- Four-season tent or hot tent
- Winter sleeping bag (0°F or lower)
- Sleeping pad (R-value 5.0+)
- Snow stakes or deadman anchors
- Base, mid, and outer layer clothing
- Insulated winter boots
- Waterproof gloves (2 pairs minimum)
- Wool beanie and balaclava
- Wool socks (4+ pairs)
- Liquid fuel or inverted canister stove
- Fuel (1.5x your estimated need)
- Pot with lid for melting snow
- Insulated water bottles
- Headlamp with extra batteries
- Chemical hand warmers
- Fire-starting kit
- First aid kit (cold-weather stocked)
- Map, compass, and GPS device
- Emergency bivy or space blanket
Best Winter Camping Destinations
The United States and Canada offer extraordinary winter camping opportunities, from mild desert winters to extreme alpine snow camping. Here are some standout destinations — explore our full guide to the best winter camping in the US for more options.
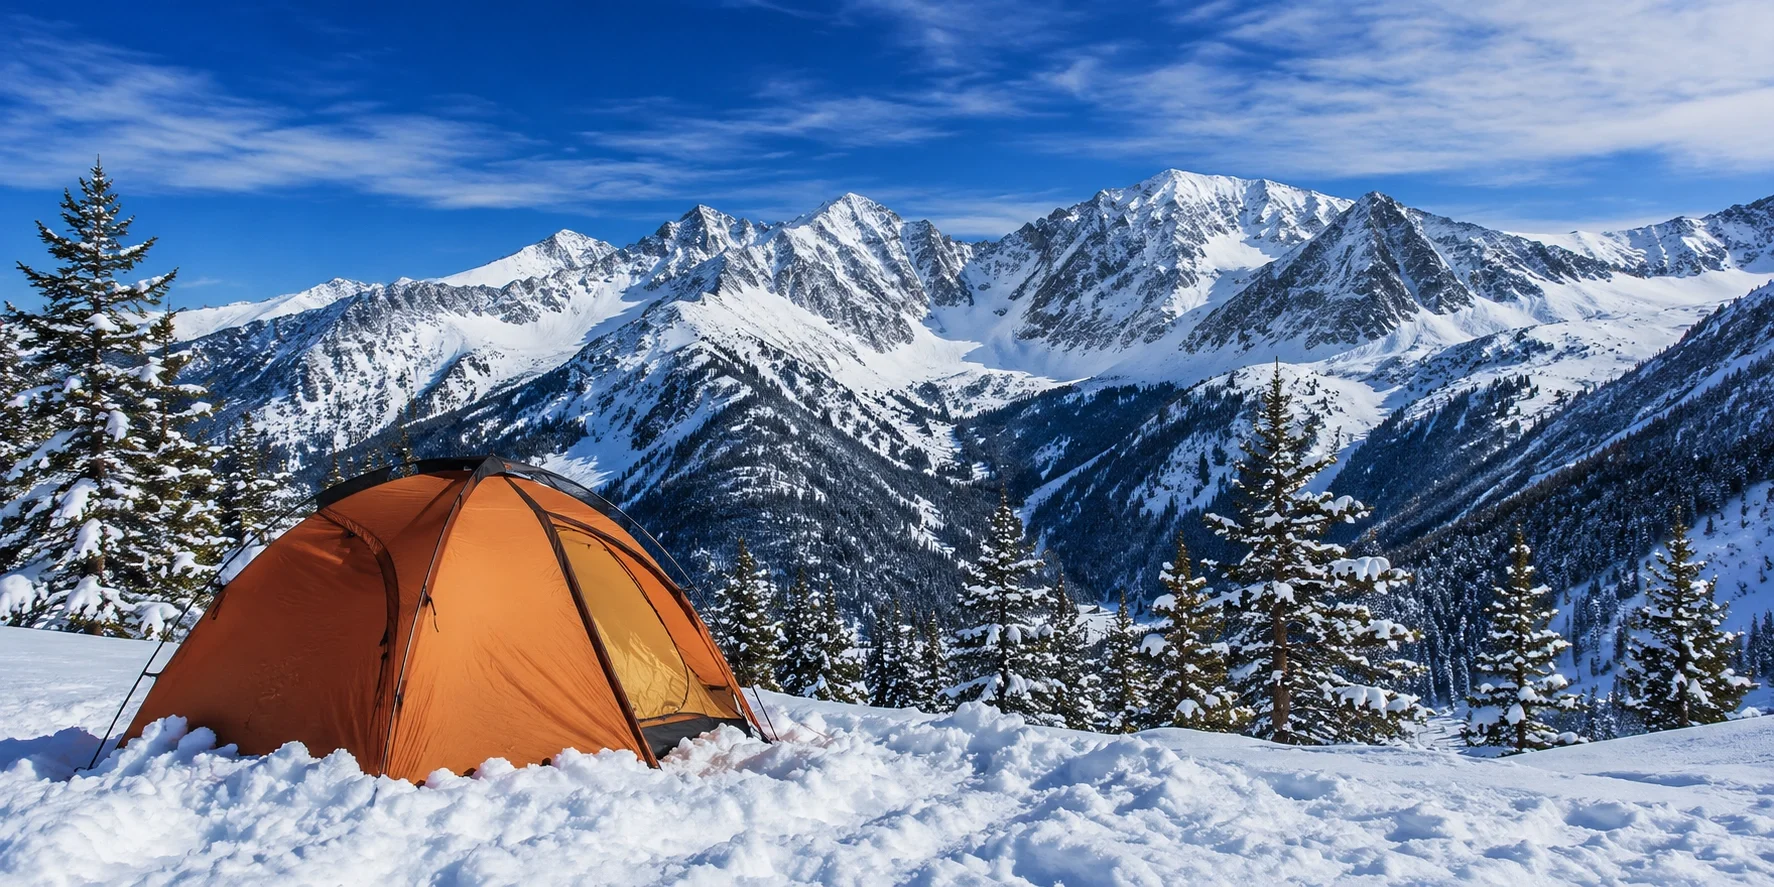
Colorado Rocky Mountains
World-class snow camping with established backcountry sites, stunning alpine scenery, and reliable snowpack from December through March.
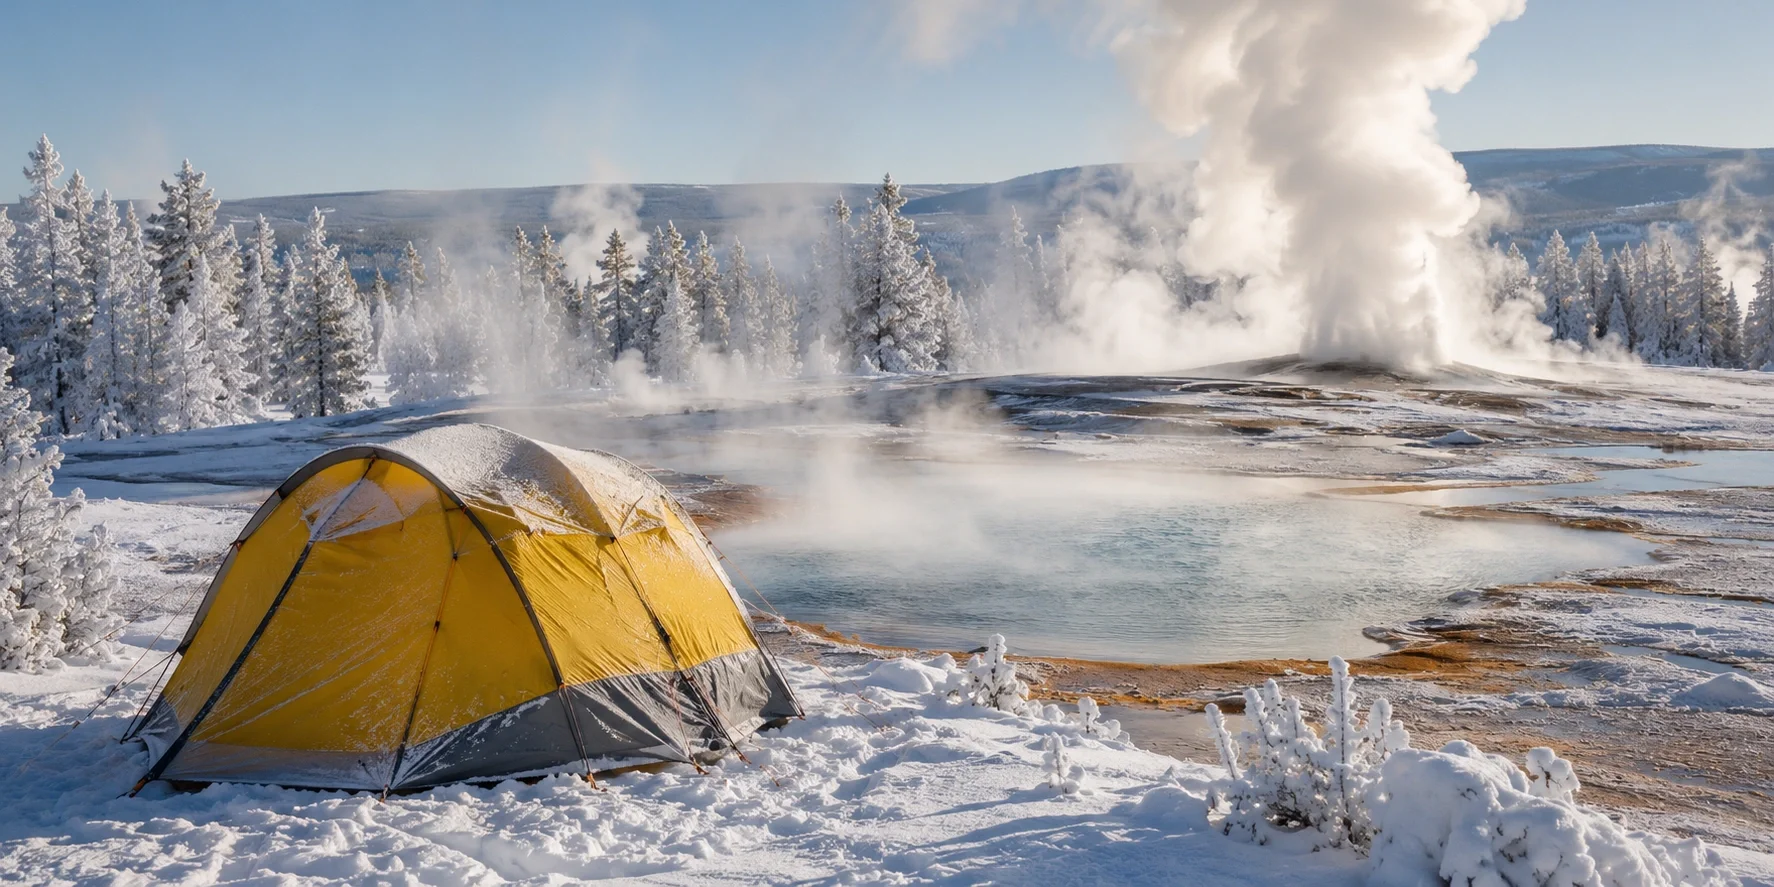
Yellowstone National Park
Geothermal features create surreal winter landscapes. Limited campground access but unforgettable backcountry opportunities with wildlife viewing.
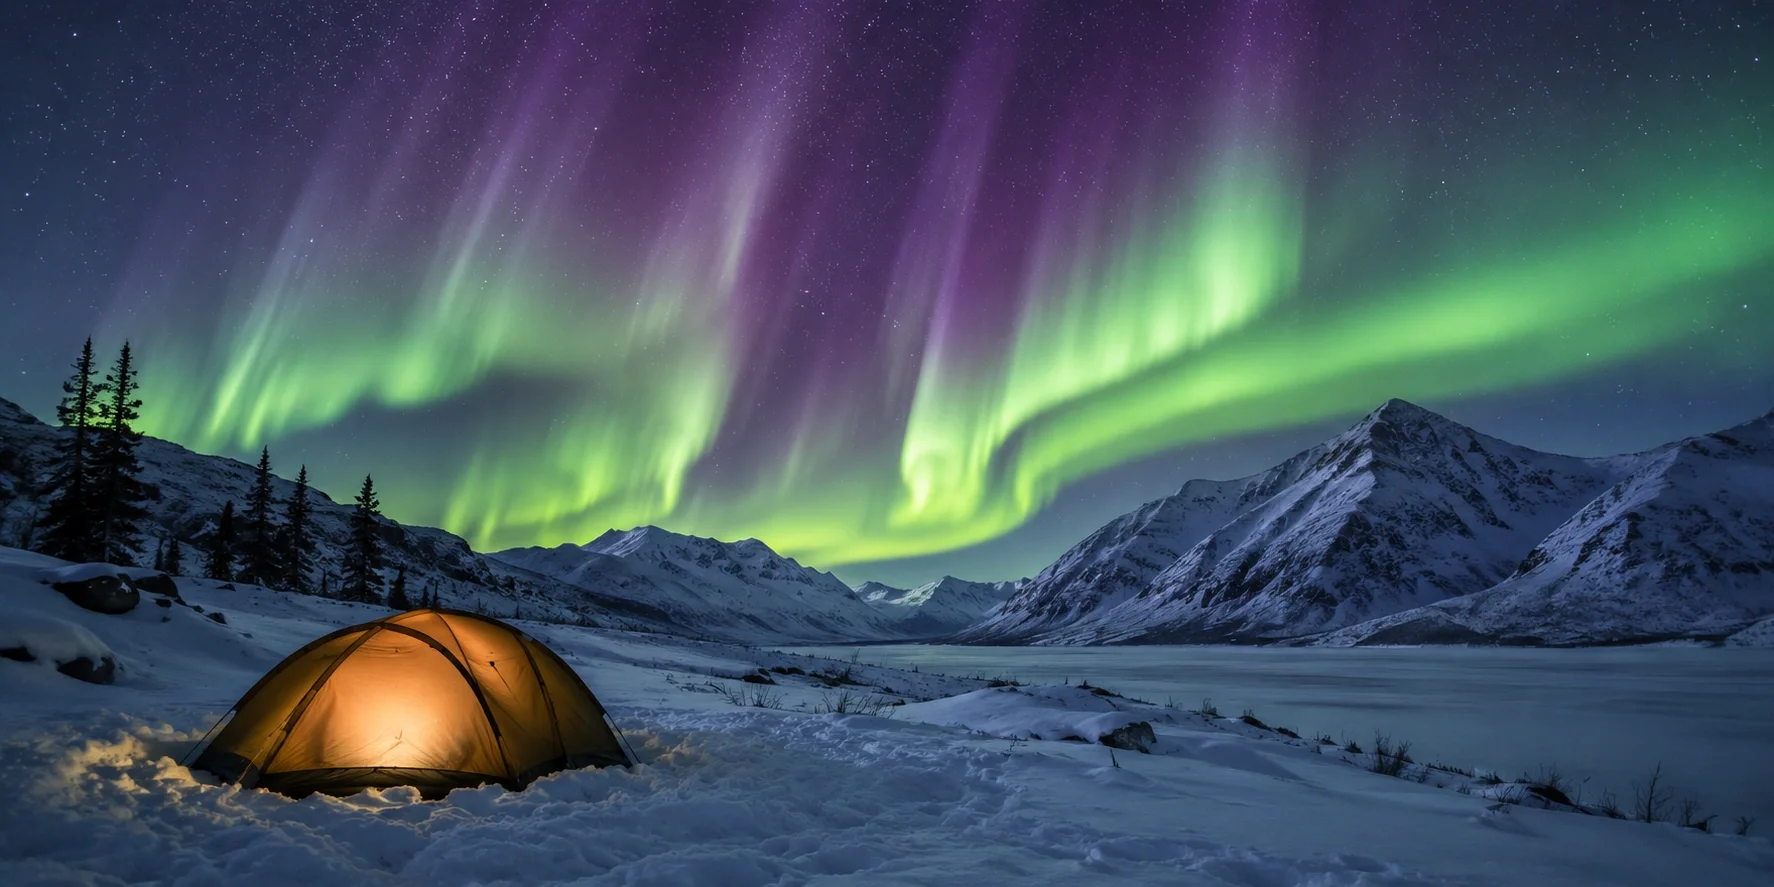
Alaska Wilderness
The ultimate winter camping challenge. Pristine solitude, northern lights, and extreme conditions for the most experienced winter campers.
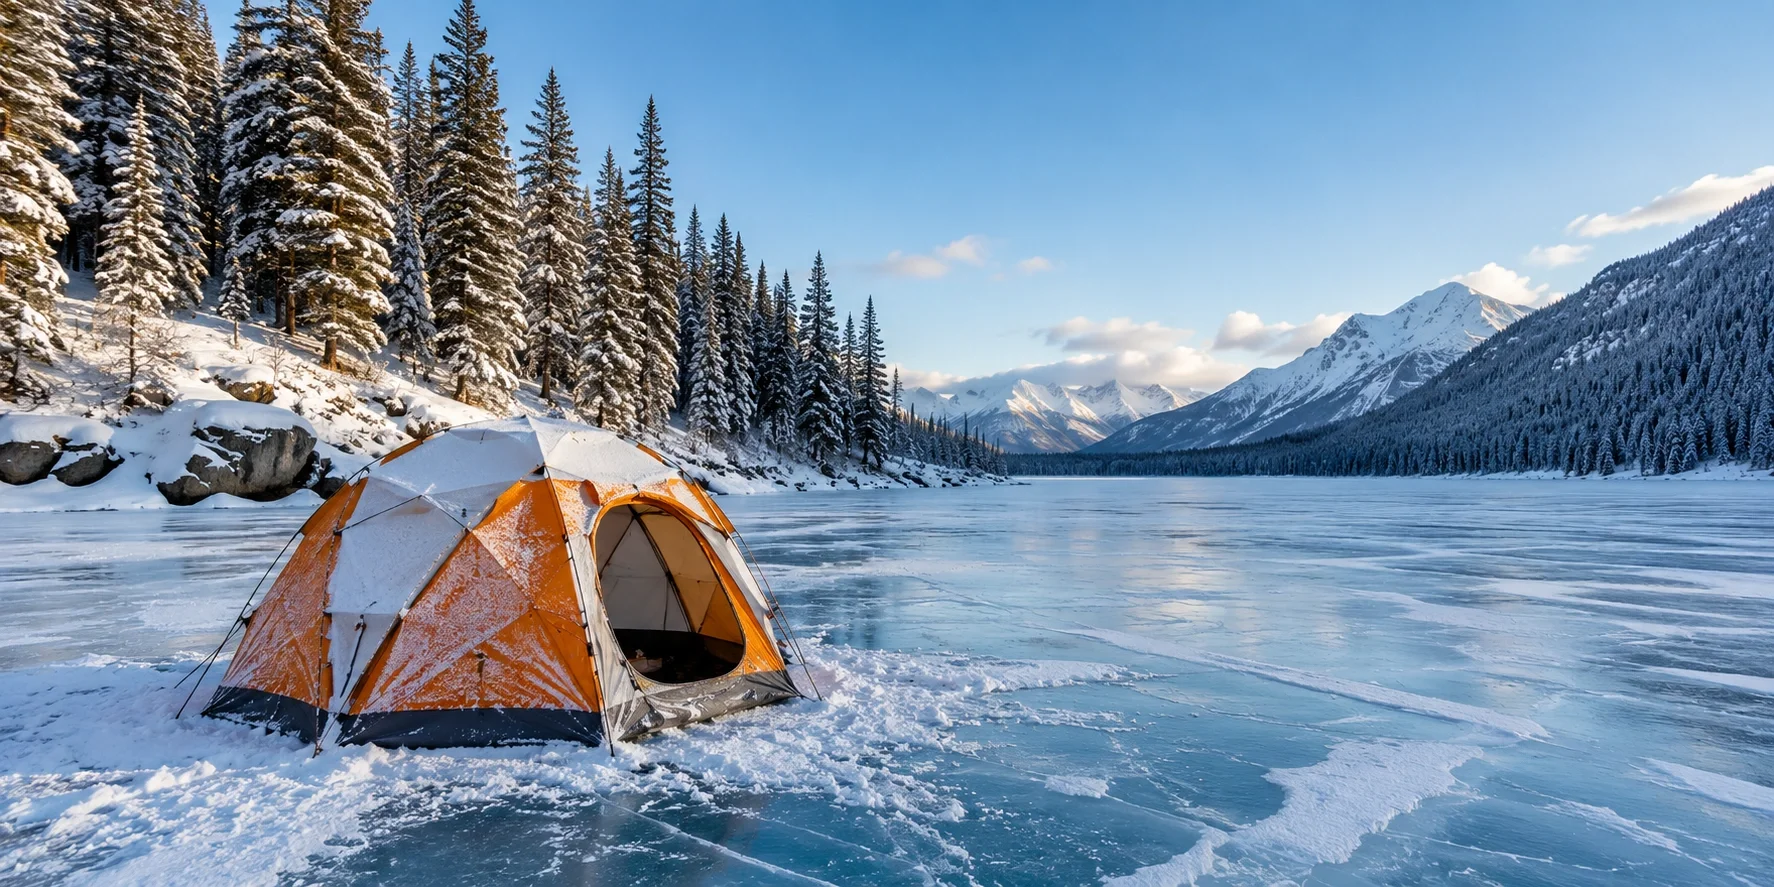
Canadian Wilderness
From British Columbia mountains to Quebec forests, Canada offers vast, uncrowded winter camping with reliable snow conditions and stunning beauty.
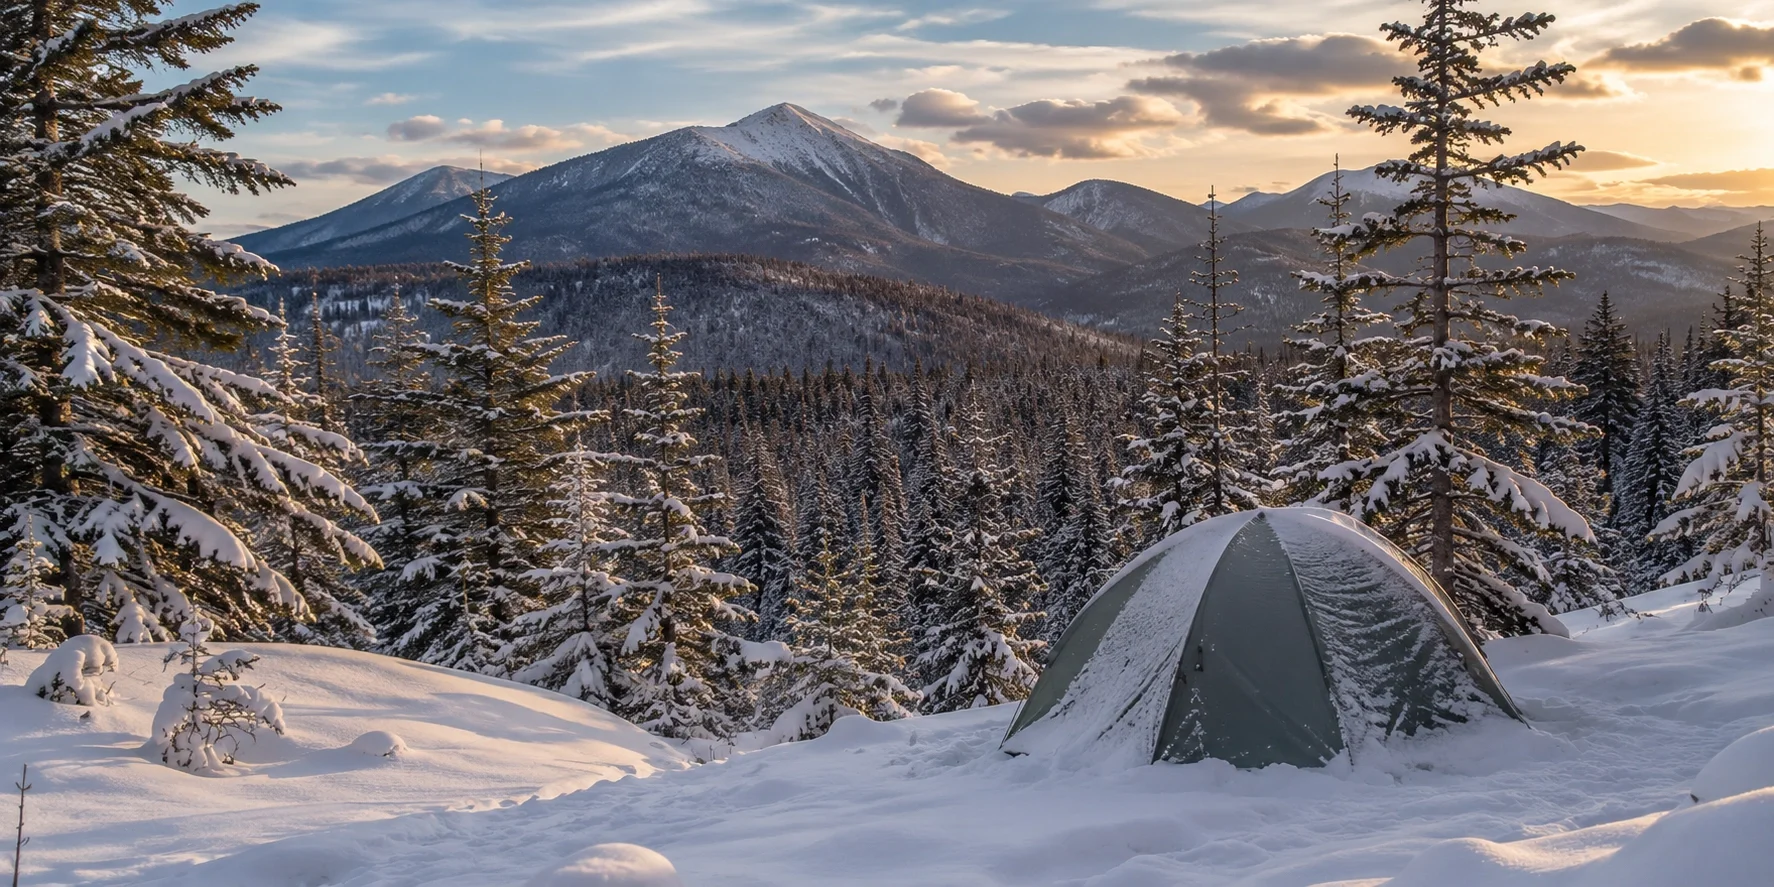
Adirondack Mountains, NY
Accessible yet rugged winter camping with lean-tos, trail systems, and deep snowpack. Perfect for Northeast campers seeking a serious winter experience.
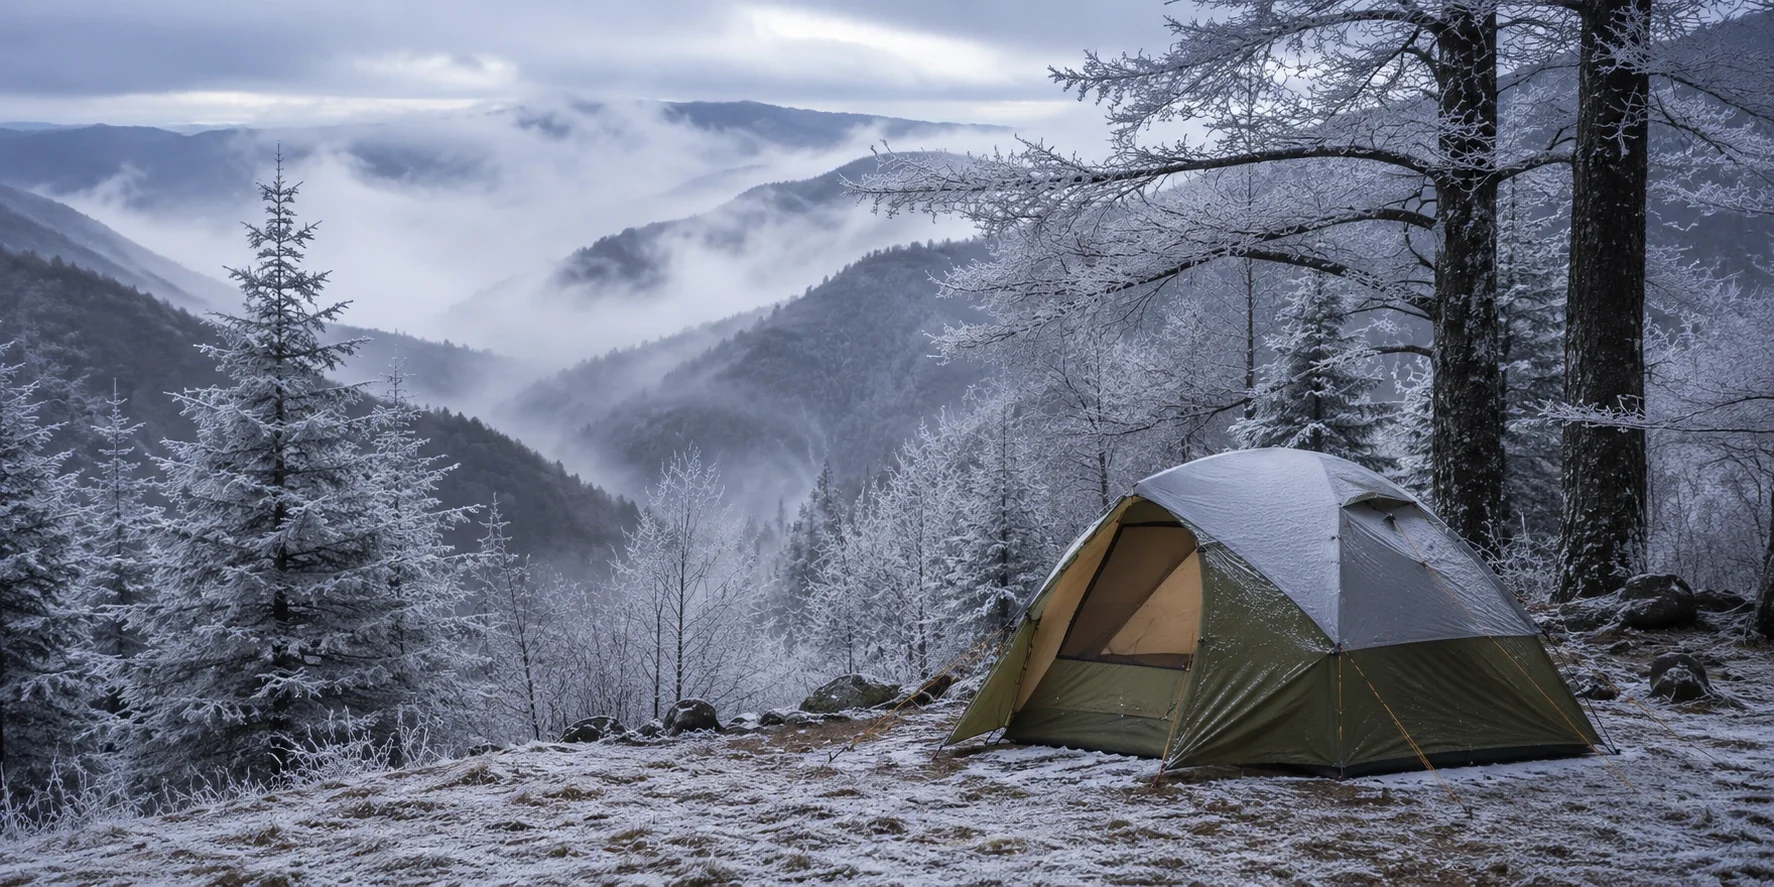
Great Smoky Mountains
Milder winter conditions at lower elevations with occasional snow at higher peaks. A great entry point for Southeast winter campers.
When choosing a destination, consider your experience level, the available facilities, and the typical weather patterns for that specific region. Always check current conditions and road access before departure — many mountain roads close in winter, and weather can change rapidly.
Frequently Asked Questions
Ready to Gear Up for Winter Camping?
Now that you understand what it takes, check our recommended winter camping products below — each one selected for proven cold-weather performance and real-world reliability.
View Recommended Gear