RV Hookup Guide: Power, Water & Sewer Connections
Learn how to safely connect your RV to campsite utilities. Step-by-step instructions for electrical, water, and sewer hookups — perfect for first-timers and seasoned campers alike.
START HOOKING UPRV hookup is the process of connecting your recreational vehicle to essential services at a campground: electrical power, fresh water, and sewer disposal. Whether you're staying at a full-service RV site or a rustic RV lot, understanding the proper hookup sequence prevents damage to your RV and ensures a safe, comfortable stay. This guide covers everything from the equipment you'll need to the correct order of connections, plus pro tips to avoid common mistakes.
Step-by-Step RV Hookup Process
1. Electrical Hookup (Power)
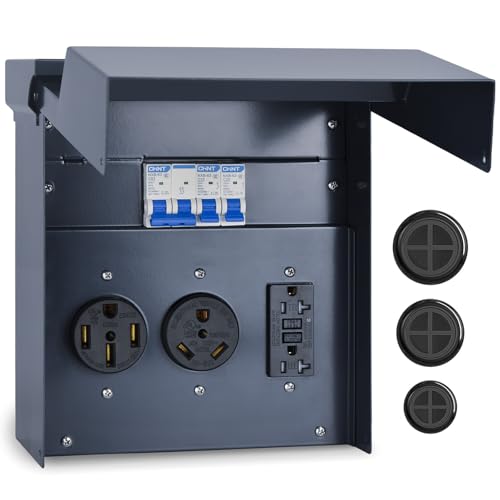
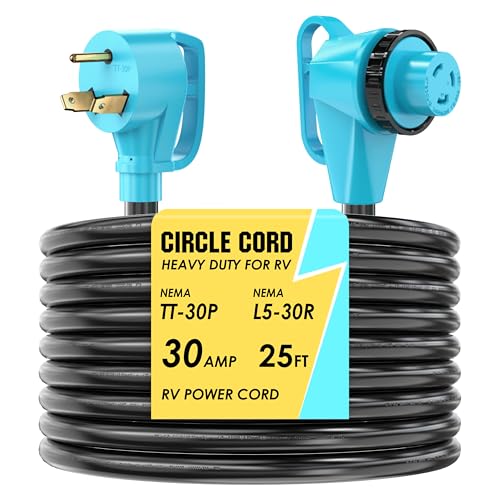
Always connect your power cord before plugging into the pedestal. Start by turning off the campground breaker, then plug your RV's power cord into the receptacle. Turn the breaker back on and check your RV's electrical panel. Most modern RVs use a 30-amp or 50-amp service.
- 30-amp: Standard for smaller trailers and Class C motorhomes.
- 50-amp: Provides 240V for larger RVs with multiple air conditioners.
- Adapter needed? Carry a 50-to-30 amp dogbone adapter for flexibility.
Entry-level to Mid-range for quality surge protectors and adapters.
2. Water Hookup (Fresh Water)
Always use a water pressure regulator to protect your RV's plumbing from high campground water pressure. Attach the regulator to the spigot, then connect your white potable water hose. Turn on the spigot slowly and check for leaks.
- Use a dedicated drinking water hose (white or blue, marked NSF-61).
- Install a water pressure regulator (set to 40–50 PSI).
- Consider a solar shower or portable water container for extra water needs.
Entry-level for hoses, regulators, and filters.
3. Sewer Hookup (Waste Water)
Connect the sewer hose last, and always wear gloves. Attach the hose to your RV's waste outlet using a bayonet fitting, then connect the other end to the campsite sewer inlet. Ensure the hose has a slight downward slope for proper drainage.
- Use a sewer hose support to maintain a downhill slope.
- Carry a clear elbow adapter to see when the water runs clear.
- After dumping, rinse the hose and store it in a sealed container.
Entry-level for hoses, supports, and accessories.
✅ Correct Hookup Order
- Level your RV (use leveling blocks).
- Connect electrical (shore power).
- Connect fresh water (with regulator and filter).
- Connect sewer (last, and only open valves when dumping).
🔁 Reverse order when packing up: Sewer → Water → Electrical (disconnect power last).
Essential RV Hookup Equipment
Common RV Hookup Mistakes & How to Avoid Them
Campground water pressure can exceed 100 PSI, which can burst your RV plumbing. Always use a regulator set to 40–50 PSI.
This causes solids to accumulate and form a "poop pyramid." Keep the valve closed until the tank is at least ⅔ full, then dump.
Using a 30-amp adapter on a 50-amp pedestal is safe (you'll only get 30 amps), but never use a 50-amp adapter on a 30-amp pedestal — you'll trip the breaker.
Without support, waste can pool and cause clogs. Use a collapsible support to maintain a downhill slope.
RV Hookup Equipment: Build Tiers Overview
Entry-level starter kit: covers a basic water hose, pressure regulator, and sewer hose. Mid-range setup: includes a 30-amp surge protector, premium hoses, and a sewer support. Premium system: for a 50-amp EMS (Electrical Management System), heated water hose, and high-end sewer kit.
Investing in quality equipment saves you from costly repairs. Check our camping checklists for more essentials.