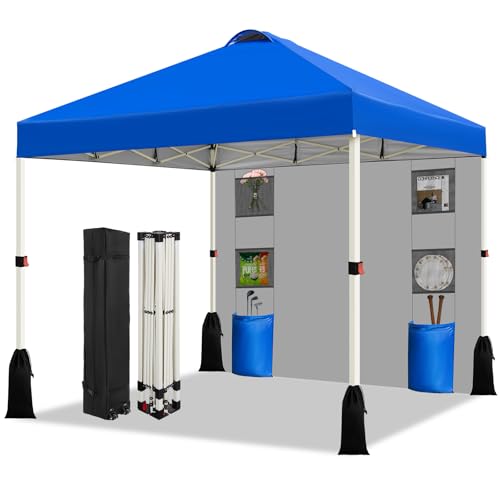
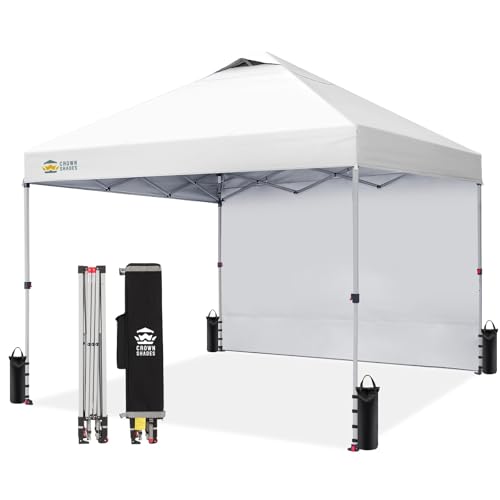
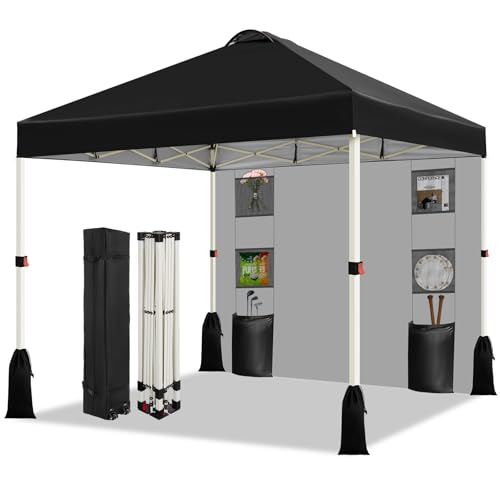
Easiest Canopy to Set Up by Yourself
Discover the features that make a canopy truly solo-friendly, learn step-by-step setup tips, and find the best options for one-person deployment.
Compare Top PicksWhy Solo Setup Matters: Setting up a canopy alone can be frustrating if you choose the wrong model. A canopy that is easy for two people may be a nightmare for one. This guide focuses on canopies specifically designed for solo setup—instant pop-up models, hub-and-spoke frames, and lightweight designs that one person can deploy in minutes. Whether you are setting up shade at a campsite, a beach, or a backyard event, these canopies will save you time and effort.
What Makes a Canopy Easy to Set Up Alone?
Not all canopies are created equal when it comes to solo setup. The easiest canopies share several key design features that simplify the process for one person. Understanding these features will help you identify the right model for your needs.
One-Piece Frame
A one-piece frame eliminates the need to assemble separate poles. The frame is pre-connected, so you simply pull it open and lock the legs into place. This is the single most important feature for solo setup.
Pre-Attached Canopy Top
Canopies with the fabric already attached to the frame save you from wrestling with a separate top. You just unfold, extend, and secure. No need to thread poles through sleeves or attach fabric in the wind.
Central Hub System
A central hub connects all the upper poles. When you push up on the hub, the canopy expands evenly. This mechanism is common in pop-up canopies and is very intuitive for one person to operate.
Push-Button or Pull-Pin Legs
Adjustable legs with push-button or pull-pin mechanisms allow you to extend the legs to your desired height without tools. These are much easier to handle alone than twist-lock or snap-button systems.
Lightweight Construction
A lighter canopy is easier to maneuver, lift, and reposition by yourself. Look for models made with aluminum or lightweight steel frames. A wheeled carry bag is also a huge plus for transport.
Wheeled Carry Bag
A wheeled bag makes it much easier to move the canopy from your vehicle to the setup spot. This is especially helpful if you are camping or going to the beach alone.
Types of Canopies for Solo Setup
There are several types of canopies that work well for solo setup. Each has its own advantages and ideal use cases.
Pop-Up Canopy (Instant Canopy)
- Fastest setup—often under 2 minutes
- One-piece frame with pre-attached top
- Central hub for easy expansion
- Available in 10x10 and 12x12 sizes
- Ideal for camping, beach, and events
Considerations
- May be heavier than traditional canopies
- Can be bulky in the carry bag
- Less stable in high wind without weights
- Higher-quality models cost more
Hub-and-Spoke Canopy
- Very intuitive setup mechanism
- Even tension across the canopy
- Often lighter than standard pop-ups
- Good for backpacking and lightweight camping
Considerations
- Usually smaller than 10x10 canopies
- May require more careful handling
- Fewer options with side walls
Inflatable Canopy
- No poles to assemble at all
- Inflates with a pump in minutes
- Very stable once inflated
- Great for soft ground and sand
Considerations
- Requires a pump (manual or electric)
- Can be heavy and bulky
- Risk of puncture
- Higher cost than pop-up canopies
Step-by-Step Solo Setup Guide
Even the easiest canopy requires a bit of technique to set up alone. Follow these steps to make the process smooth and safe.
- Choose a flat, clear area. Remove any rocks, sticks, or debris that could damage the canopy or trip you. If it is windy, orient the canopy so the wind hits the side, not the top.
- Remove the canopy from the bag. If you have a wheeled bag, roll it to the setup spot. Lay the canopy flat on the ground with the legs pointing outward.
- Unfold the legs. Pull the legs outward until they are fully extended. Most pop-up canopies have legs that unfold automatically as you pull the frame apart.
- Push up the central hub. With the legs extended, push up on the central hub (or pull the fabric upward, depending on the model). The canopy will expand. You may need to use both hands, but the mechanism should be smooth.
- Lock the legs. Once the canopy is fully expanded, lock each leg into place using the push-button or pull-pin mechanism. Make sure all four legs are locked at the same height.
- Secure the canopy. If you are using the canopy in an open area, stake it down or use weight bags on the legs. Even a light breeze can lift an unsecured canopy.
- Adjust as needed. If you need more shade on one side, you can lower one or two legs slightly. Just be sure to keep the canopy stable.
- Attach side walls or accessories. If you have side walls, attach them after the canopy is fully set up. This is easier than trying to attach them while the canopy is still folded.
Comparison of Easy Setup Canopies
The table below compares the key features of different types of canopies to help you decide which is best for your solo adventures.
| Canopy Type | Setup Time (Solo) | Weight | Best For | Ease of Solo Setup |
|---|---|---|---|---|
| Instant Pop-Up Canopy | 1–3 minutes | Moderate to Heavy | Camping, beach, events | Excellent |
| Hub-and-Spoke Canopy | 2–5 minutes | Light to Moderate | Backpacking, lightweight camping | Very Good |
| Inflatable Canopy | 3–7 minutes | Heavy | Soft ground, family camping | Good |
| Traditional Pole Canopy | 10–20 minutes | Moderate | Long-term camping, permanent shade | Poor for Solo |
Tips for Setting Up a Canopy Alone
Even with an easy canopy, a few smart tips can make solo setup even smoother.
Practice at Home First
Before you rely on your canopy in the field, set it up once at home. This will help you understand the mechanism and identify any tricky steps. You will also learn how to fold it back correctly.
Use Weight Bags
Weight bags are easier to manage alone than stakes, especially on hard ground or sand. Fill them with sand, water, or rocks at the campsite. They also provide better stability in wind.
Choose a Calm Day
Wind is the biggest enemy of solo canopy setup. If possible, set up on a calm day or in a sheltered area. If you must set up in wind, orient the canopy so the wind hits the side first.
Use a Ground Tarp
Lay a tarp on the ground before setting up. This protects the canopy fabric from dirt and sharp objects, and it also makes it easier to slide the canopy into position.
Related Guides for Your Camping Setup
If you are building a complete camping setup, these guides will help you choose other essential gear.
- → Easiest 1 Person Tent to Set Up – Find a tent you can pitch alone in minutes.
- → Easiest 2 Person Tent to Set Up – Perfect for solo campers who want extra space.
- → 10x10 Canopy Tent with Sides – Add privacy and wind protection to your canopy.
- → Pop-Up Beach Tent Sun Shade Shelter – A lightweight alternative for beach trips.
- → Easiest Tent to Set Up and Take Down – Compare the fastest tents for solo campers.
- → Things to Bring Camping for One Night – A checklist for your next quick trip.
- → Camping Hammock with Mosquito Net and Rainfly – An alternative shelter for solo campers.
- → Most Comfortable Camping Chair for Big Guys – Relax under your canopy in comfort.
Frequently Asked Questions
Ready to Choose Your Solo Canopy?
Now that you know what to look for, browse our recommended canopies below. These models are selected for their ease of solo setup, durability, and value.
See Recommended Canopies