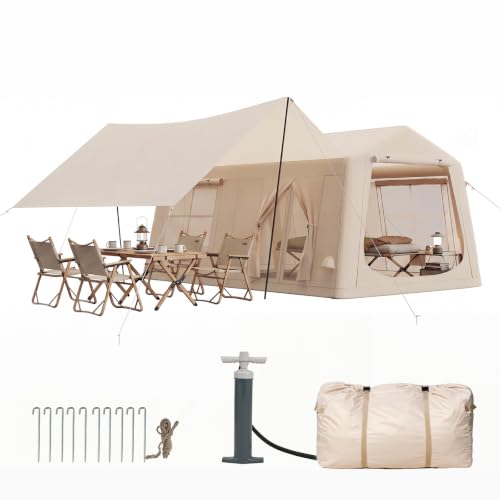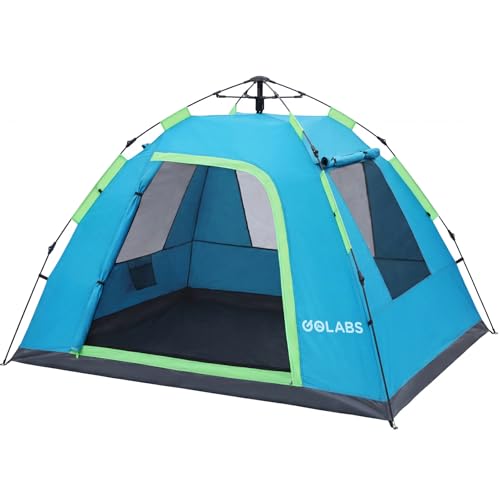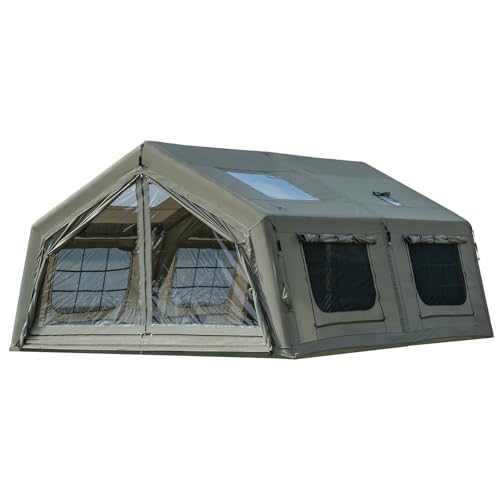
How to Set Up a Tent on Snow: Expert Winter Camping Guide
Master snow camping with proven techniques for anchoring, insulating, and staying warm. Your comprehensive guide to a safe and comfortable winter adventure.
START CAMPING❄️ Why This Guide Matters: Setting up a tent on snow is entirely different from pitching on dirt. Without proper technique, your tent can collapse, you'll lose heat, or you could even face dangerous conditions. This guide walks you through every step — from choosing the right winter tent to anchoring securely in deep powder. Whether you're planning a weekend winter escape or a multi-day backcountry expedition, these proven methods will keep you safe and comfortable.
Step-by-Step: Setting Up Your Tent on Snow
1 Choose the Right Location
Avoid areas with avalanche risk, cornices, or unstable snowpack. Look for a flat, sheltered spot with firm snow. If possible, set up near a tree line for wind protection but never directly under heavy snow-laden branches. Use your winter navigation skills to assess the terrain.
Pro Tip: Aim for a spot that gets morning sun to warm your tent early.
2 Prepare the Snow Surface
Before pitching, compact the snow thoroughly with your boots or a snow shovel. Create a flat platform slightly larger than your tent footprint. If the snow is deep, dig down to a firmer layer or build a raised platform. This prevents melting from your body heat and keeps you off the cold ground.
❄️ Essential: A winter camping gear checklist should always include a collapsible snow shovel.
3 Lay a Groundsheet or Tarp
Use a footprint or a piece of Tyvek to create a moisture barrier between the snow and your tent floor. This reduces condensation and keeps your gear dry. For extreme cold, consider an insulated sleeping pad underneath to further block the cold.
Budget: $30–$80 for a good footprint, or use a heavy-duty tarp.
4 Pitch the Tent with Snow Anchors
Standard tent stakes won't work in snow. Instead, use snow anchors: deadman anchors (stuff sacks filled with snow, buried), snow stakes (wide, flat), or ice screws. For a trekking pole tent, use ski poles or dedicated snow stakes. Bury your anchors at a 45° angle away from the tent for maximum holding power.
Typical Cost: Snow stakes $15–$30 per set; ice screws $20–$40 each.
5 Ventilation & Snow Management
Keep vents open to reduce condensation — even in winter. A frozen tent interior is a serious problem. Also, periodically clear snow from the tent sides and roof to prevent collapse. If you're using a hot tent with a stove, ensure the stove jack is properly sealed and the pipe is secure.
🔥 Pro Tip: In heavy snowfall, set up your tent with the door facing away from the prevailing wind. Use a winter campfire or stove for extra warmth, but never leave it unattended.
6 Interior Setup for Warmth
Lay down a closed-cell foam pad, then an inflatable sleeping pad on top. Use a winter sleeping bag rated for the expected temperature. Bring a camping pillow and a camping blanket for extra coziness. Store water bottles upside down to prevent freezing and keep your electronics warm inside your sleeping bag.
Sleep System Cost: $200–$600 for a quality winter sleeping bag + pad combo.
Essential Snow Camping Tips
🥾 Pack a Shovel
Essential for clearing snow, creating windbreaks, and digging out if needed.
🔥 Stay Hydrated
Eat snow, drink water, and use a thermos for hot drinks. Avoid dehydration.
🧤 Layer Up
Wear merino wool base layers, fleece, and a waterproof shell. Avoid cotton.
📡 Emergency Comms
Carry a satellite communicator or PLB for safety in remote areas.
Snow Tent Setup Gear Checklist
- 4-season or winter tent
- Footprint or tarp
- Snow stakes or deadman anchors
- Collapsible snow shovel
- Closed-cell foam pad
- Inflatable sleeping pad (R-value ≥ 5)
- Winter sleeping bag (-20°F or lower)
- Camping pillow & blanket
- Stove & fuel (white gas or canister)
- Hydration system (insulated hose)
- Headlamp with extra batteries
- Emergency bivy or blanket
📘 Continue Your Winter Camping Education: