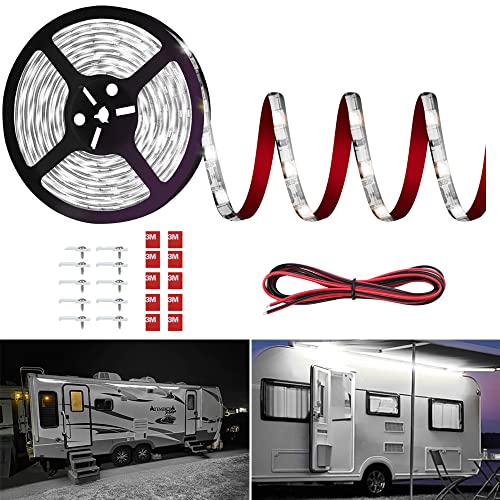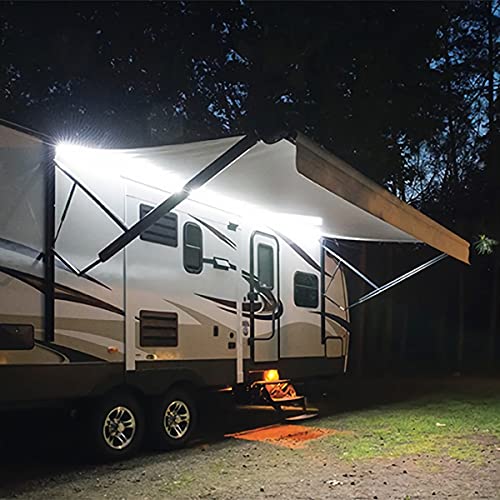
12 Volt LED Strip Lights for RV Exterior: A Complete Installation & Buying Guide
Transform your campsite ambiance and improve nighttime visibility with the perfect 12V LED strip lights. Learn about waterproof ratings, color temperatures, and seamless installation.
VIEW RECOMMENDED LIGHTSPro Tip: Upgrading your RV's exterior lighting isn't just about aesthetics. The right 12V LED strip lights enhance safety around your rig, deter pests, and create a welcoming outdoor living space for your RV camping checklist setup.
Why 12V LED Strips are Essential for RV Exteriors
Unlike traditional incandescent bulbs that drain your battery quickly, 12-volt LED strip lights are designed to run directly off your RV's deep-cycle house battery. They provide intense, clean light with minimal power draw, making them perfect for camping light solutions during boondocking or dry camping. Whether you want a subtle glow under your awning or a vibrant party setup, these flexible light strips can be cut to length and adhered to virtually any smooth surface on your motorhome or travel trailer.
Modern 12V strips come in single colors, tunable whites, and full RGB (color-changing) options with remote controls or smartphone app integration. For RV owners venturing into colder climates or coastal areas, durability is key; high-quality strips resist UV damage and yellowing, ensuring they remain bright season after season.
Key Features to Look For Before Buying
Selecting the right strip involves more than just picking a color. Here’s a breakdown of the critical specifications that separate premium outdoor RV strips from standard indoor variants. Understanding these will help you integrate them perfectly with your existing camping technology setup.
- IP Rating (Ingress Protection): For exterior use, never settle for less than IP65 (water-resistant against jets). IP67 strips can handle temporary submersion, while IP68 is fully waterproof—ideal for under-chassis mounting or areas exposed to heavy road spray.
- Adhesive Backing Quality: The default tape on most strips fails in extreme heat and cold. Look for strips featuring 3M VHB (Very High Bond) adhesive tape. For permanent mounting, supplemental clips or channel tracks are highly recommended.
- Color Accuracy (CRI) and Temperature: For functional lighting (like an outdoor kitchen), a high CRI (90+) and a warm white (3000K) tone reduces eye strain. For awning party lights, RGB+W strips offer both colored effects and a dedicated pure white diode.
Waterproof Ratings: IP65 vs. IP67 vs. IP68
Water intrusion is the number one killer of RV exterior electronics. When mounting lights on an awning rail, roller tube, or along the sidewall, you’re constantly battling rain, morning dew, and high-pressure sprays from highway driving. An IP65 strip is coated in silicone epoxy, offering good splash resistance, which works well under a sheltered awning. However, if the strip will be directly exposed to rain, such as on the roof line or bumper, an IP67 or IP68 strip encased in a hollow silicone sleeve is non-negotiable. It's a similar principle to ensuring your camping tables and outdoor gear can withstand the elements.
Installation Guide: Mounting Your RV LED Light Strips
Proper installation ensures your lights stay attached at 70 mph and look professionally integrated. Before you begin, ensure you have a clean surface, rubbing alcohol, a plastic squeegee, and possibly a heat gun for tight bends. Safety dictates that you should always disconnect the house battery before splicing into the 12V system.
Step 1: Surface Preparation
Clean the mounting track thoroughly with isopropyl alcohol to remove wax, dirt, and oxidation. Do not use standard glass cleaner, as it often leaves a residue that prevents adhesion. The surface must be completely dry and smooth.
Step 2: Dry Fit and Plan
Unroll the strip and hold it against the mounting location without removing the backing tape. Plan where the cut points (marked copper dots) will fall. Most RV owners prefer to wire a connection at the start and end of an awning roll, rather than in the middle, to avoid voltage drop across long runs.
Step 3: Peel, Stick, and Press
Peel the backing away gradually. Press the strip firmly onto the surface using a plastic squeegee or a soft cloth. Avoid stretching the strip as you apply it. If temperatures are below 50°F, warm the adhesive with a heat gun on low for a stronger initial bond.
Step 4: Wiring and Connection
Solder the connector wires to the copper pads for the most reliable connection, insulating with adhesive-lined heat shrink. If using solderless connectors, ensure they are fully latched and sealed with silicone caulk. Run the wire through a grommet into the rig's battery compartment or a 12V accessory plug.
Power Consumption and Battery Life
One of the greatest advantages of 12V LED strip lights is their efficiency. A standard density strip (30 LEDs per meter) draws roughly 2.4 Watts per foot. A medium density strip (60 LEDs per meter) draws about 4.8 Watts per foot. For a typical 16-foot awning strip, you're looking at a draw of only 3 to 6 amps total. This is exceptionally low and can easily be handled by a small 100Ah deep cycle battery for multiple nights without recharging—a key consideration when stocking your rig with other camping essentials like portable fridges or inverters.
Types of 12V LED Strips for RVs
Choosing the right chip type determines the smoothness of your light. Basic "3528" chips are efficient but dimmer, suitable only for accent glow. "5050" chips are the industry standard for RV exteriors, offering high brightness and vibrant color mixing. The premium "COB" (Chip on Board) strips provide a seamless, dot-free line of light that mimics a neon tube, perfect for a high-end luxury look often seen in high-end luxury camping setups. For a complete outdoor makeover, you might also pair these with updated camping chair sets and a new awning mat.
| Feature | Standard (3528) | Bright (5050 RGB) | Premium (COB) |
|---|---|---|---|
| Brightness | Low (4-5 lumens/chip) | High (15-18 lumens/chip) | Very High (Dotless line) |
| Best Use | Marker or accent | Awning & main lighting | High-end aesthetic |
| Typical Cost/Foot | $3–$5 | $6–$15 | $15–$25 |
| Dimmable | Yes | Yes (With Controller) | Yes |
Common Installation Mistakes to Avoid
Even experienced DIYers make critical errors that cause strip failure within weeks. Never ignore voltage drop: if you try to run a single strip longer than 16 feet (5 meters) without injecting power at both ends, the far end will appear dimmer and yellow. Avoid using acid-cure silicone to seal connections near the copper pads; it corrodes the traces. Finally, don't route wires through pinch points in slide-outs or awning arms without proper protective sheathing, a safety step as important as following campfire safety rules is to fire prevention.
Smart Control Integration
Modern 12V strips integrate seamlessly with your smart ecosystem. Bluetooth-enabled controllers allow you to sync your exterior lights to music or set automated schedules via your phone. For those who rely heavily on a centralized command center, look for strips that are compatible with systems you might already use for smart camping gear. This allows you to turn your awning lights on from your truck as you return to camp after a night hike, ensuring you never approach a dark rig.
Ready to upgrade your RV's exterior with brilliant, energy-efficient lighting? Browse our curated selection of the best 12-volt LED strip lights below, chosen for their durability and brightness.